So, you’re thinking about going solar. It’s a fantastic decision, but the path from here to generating your own clean power can seem a bit mysterious. What actually happens between signing a contract and flipping the switch?
The entire journey, from the first handshake to the final sign-off, typically takes about two to four months. It’s a carefully orchestrated process designed to make sure your system is safe, efficient, and meets all the local codes.
Let's walk through what that process really looks like, step-by-step.
Your Journey to Solar Power Begins Here
Switching to solar is a lot more than just getting panels bolted onto your roof. It's a full-scale home energy project, and understanding the road ahead is the best way to feel confident about your investment.
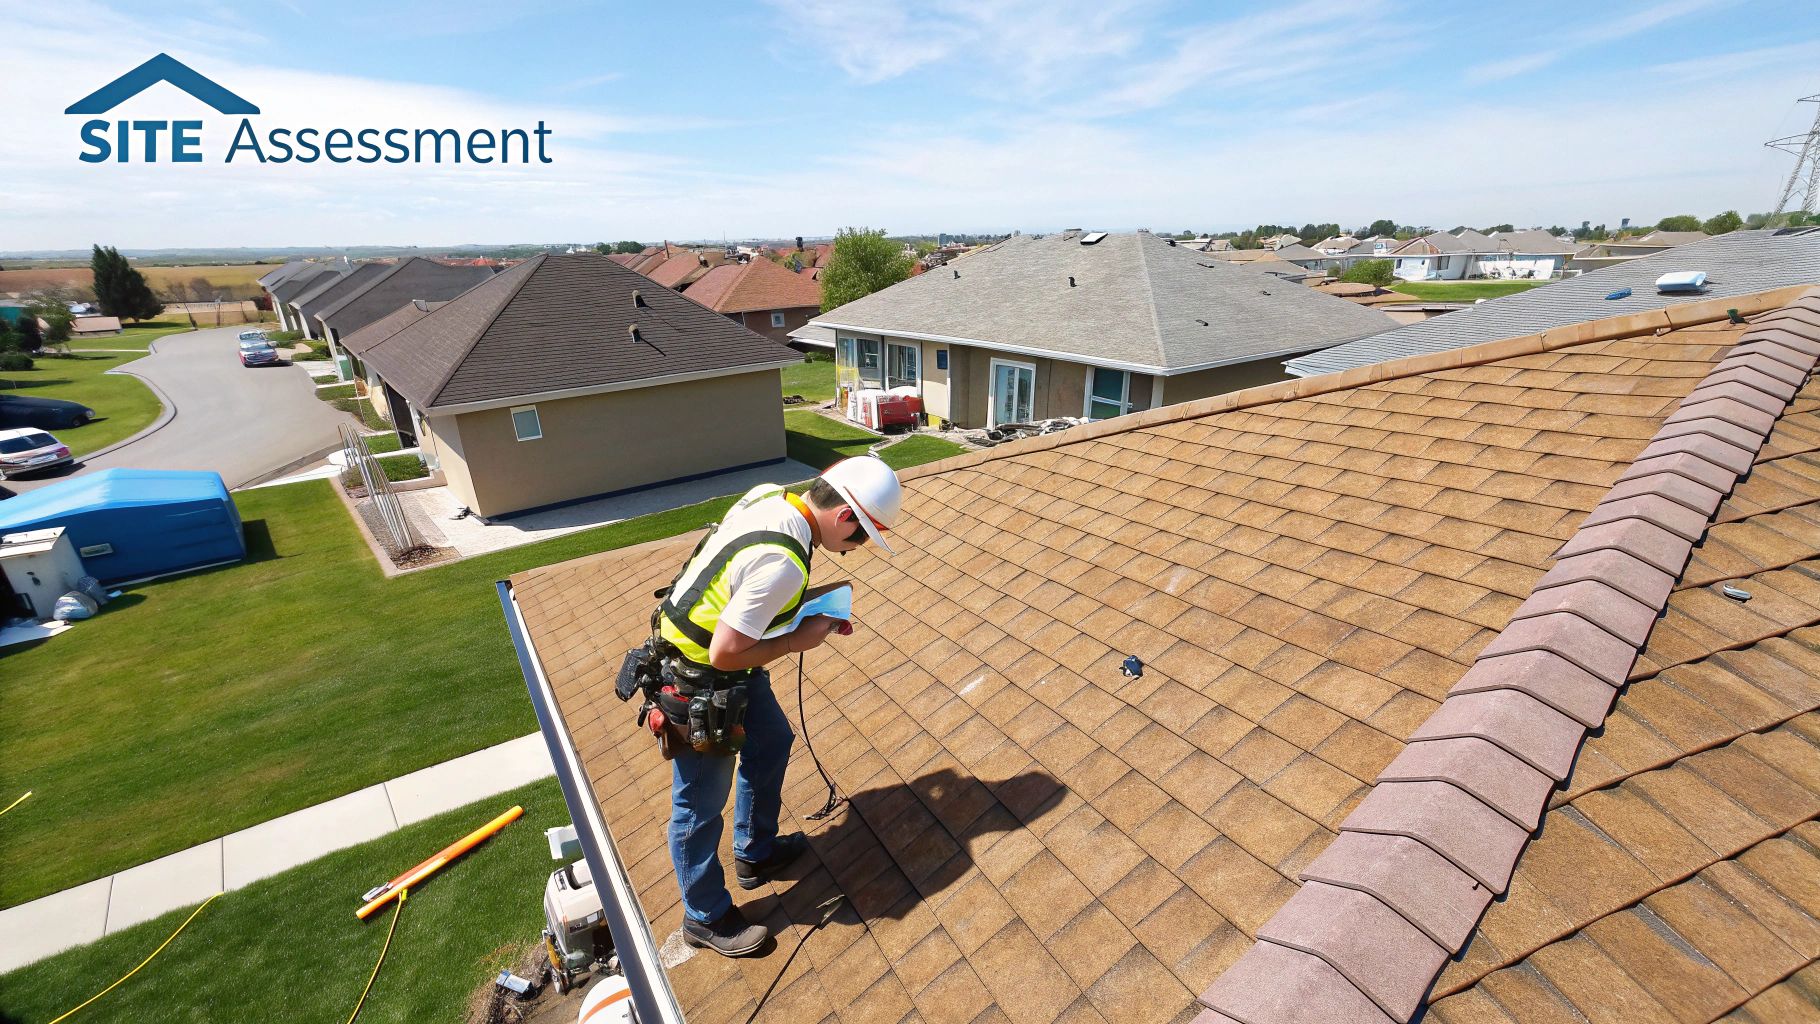
This guide will break down the whole installation process into manageable pieces. We'll start at the very beginning—the consultation and site assessment. This is where a solar pro comes out to see if your home is actually a good fit for solar panels, which is probably the most important checkpoint in the entire project.
Understanding the Key Milestones
Think of the process as a series of major milestones. You can't start one until the previous one is finished, which keeps everything moving forward smoothly.
The chart below illustrates the typical flow of the entire solar panel installation process, highlighting the four major phases from start to finish.
graph TD
    A[Phase 1: Consultation & Assessment] --> B[Phase 2: Design & Permitting]
    B --> C[Phase 3: Hardware Installation]
    C --> D[Phase 4: Inspection & Commissioning]

    subgraph "Phase 1: Consultation & Assessment"
        A1(Initial Consultation)
        A2(Site Visit)
        A3(Energy Bill Analysis)
    end

    subgraph "Phase 2: Design & Permitting"
        B1(System Engineering)
        B2(Equipment Selection)
        B3(Permit Submission)
    end

    subgraph "Phase 3: Hardware Installation"
        C1(Racking & Mounting)
        C2(Panel Installation)
        C3(Electrical Wiring)
    end

    subgraph "Phase 4: Inspection & Commissioning"
        D1(Municipal Inspection)
        D2(Utility Interconnection)
        D3(System Activation - PTO)
    end

    A1 --> A2 --> A3 --> B1
    B1 --> B2 --> B3 --> C1
    C1 --> C2 --> C3 --> D1
    D1 --> D2 --> D3
Here’s a bird’s-eye view of what you can expect:
- Initial Consultation & Site Assessment: This is the discovery phase. Experts will crawl around your attic, measure your roof, check its sun exposure, and look at your past utility bills to figure out exactly what you need.
- System Design & Permitting: With all that data, engineers draft a custom blueprint for your home. At the same time, a mountain of paperwork gets filed with your city or county and the local utility company.
- Hardware Installation: This is the exciting part where the crew shows up. They’ll mount the racking, secure the panels, and wire everything into your home’s main electrical panel.
- Inspection & Commissioning: Before you can power up, a local inspector needs to give it a final look. Then, the utility company grants you the official "Permission to Operate," and you're finally ready to start generating power.
The demand for solar has absolutely exploded. In 2024, the world is expected to install between 554.1 GW and 601.9 GW of new solar systems. That brings the total global capacity to over 2.2 terawatts (TW)—a clear sign of the massive shift toward renewable energy. You can get a broader view by checking out the global PV markets snapshot for 2025.
Setting Realistic Expectations
While the actual installation on your roof might only take a day or two, it's the behind-the-scenes work that really dictates the timeline. Getting permits approved and waiting for the utility company can take weeks, and it all depends on how backed up your local offices are.
A lot of homeowners think installation day is the finish line. The truth is, the real final steps are passing the inspections and getting that official "Permission to Operate" (PTO) from your utility. Until you have that piece of paper, your system has to stay off.
By getting familiar with this roadmap, you’ll be much better prepared for the journey. Every single phase, from that first conversation to the final green light, is there to make sure your system provides clean, reliable energy for the next 25-plus years. This guide will cover every detail you need to know.
Designing a Solar System That Fits Your Home
After the initial site assessment gives the green light, we move from evaluation to creation. This is where the real engineering begins, turning raw data about your home's energy use and unique layout into a precise, efficient solar blueprint.
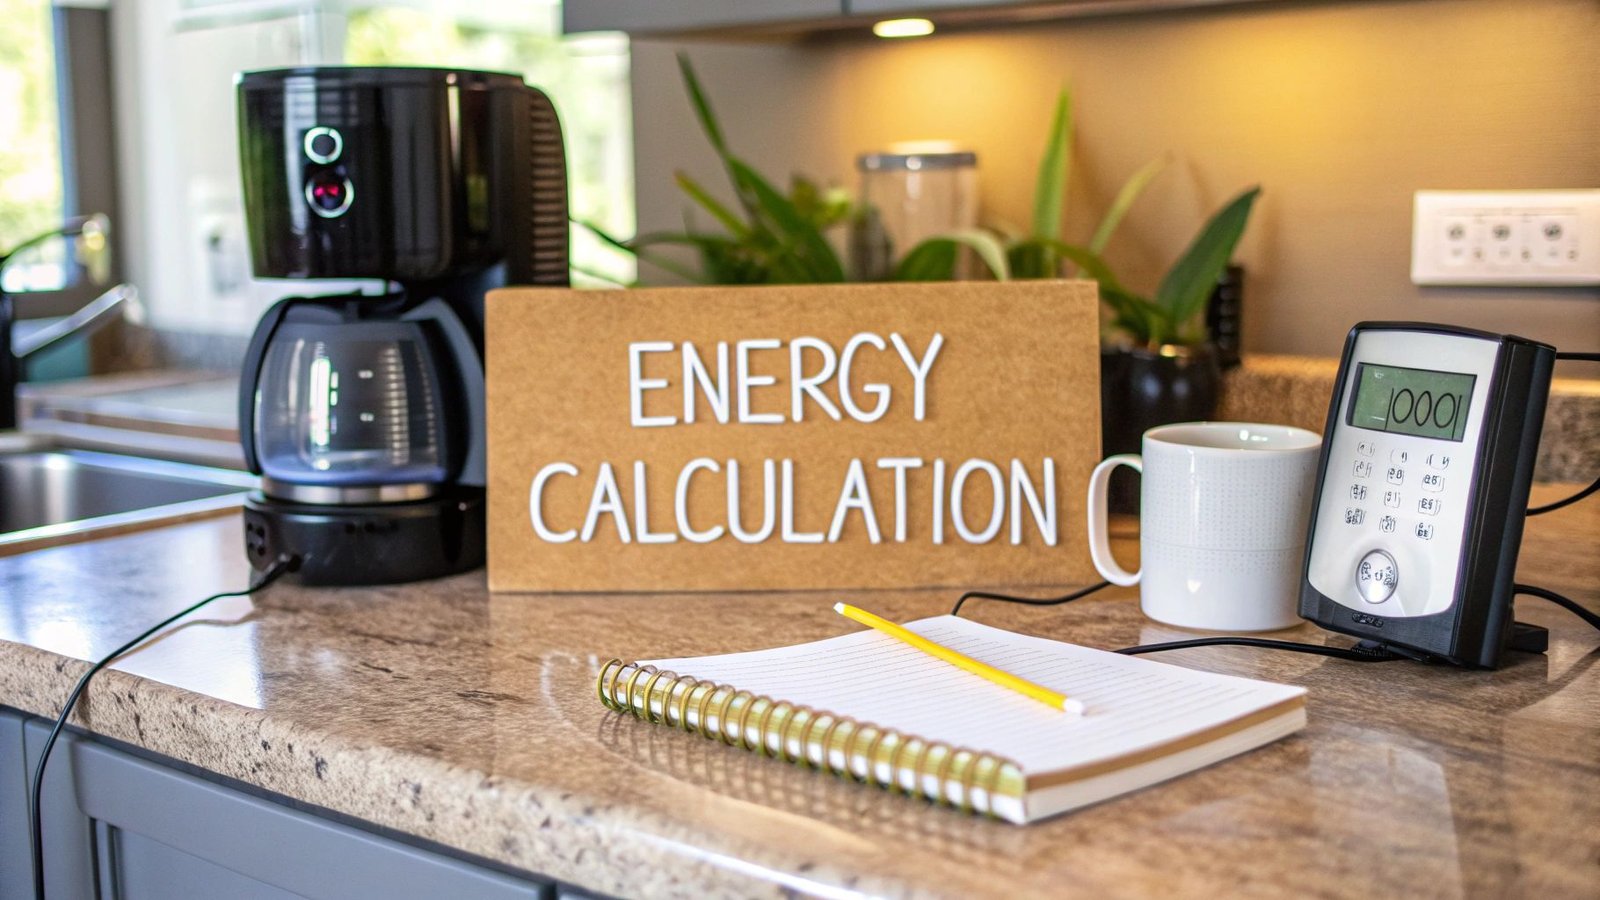
The first piece of the puzzle is understanding how you use energy. We'll take a deep dive into at least 12 months of your utility bills. This isn't just about finding the average; it's about seeing the peaks and valleys of your usage throughout the year. This data is what allows us to "right-size" your system, making sure you get exactly what you need to meet your goals without spending more than you have to.
Picking the Right Gear
With a clear picture of your energy needs, the focus shifts to the hardware. These are the components that will power your home for the next couple of decades, so it's about more than just picking panels. It’s about building a balanced system where everything works together seamlessly.
You’ll start with the solar panels themselves. Most modern panels are incredibly efficient, but there are subtle differences. Some perform better in cloudy weather, while others have a slower degradation rate over their 25-year lifespan. We'll walk you through options that strike the right balance between cost, performance, and how they look on your roof.
Next up is the inverter, which is arguably the most critical decision for day-to-day performance. The inverter is the brain of the whole operation. It takes the Direct Current (DC) power your panels generate and converts it into the Alternating Current (AC) power your home's appliances actually use.
It's easy to get fixated on the brand of the solar panels and completely overlook the inverter. But in reality, the inverter technology can have a much bigger impact on your system's lifetime energy production, especially if your roof has any shading at all.
String Inverters vs. Microinverters: What’s the Difference?
You'll generally encounter two main types of inverter technology: the traditional string inverter and Module-Level Power Electronics (MLPEs), which include microinverters and power optimizers.
A string inverter links a group (or "string") of panels together, processing their combined output. It's a proven, cost-effective choice for homes with wide-open, unshaded roofs. The catch? The entire string's output is dragged down to the level of its weakest-performing panel. So, if a single panel gets shaded by a tree branch for an hour, the production of every other panel in that string drops to match it.
Microinverters and power optimizers, on the other hand, are a game-changer. One is installed on each and every panel, allowing them to operate independently. If one panel is shaded, the rest keep cranking out power at their full potential. This makes them a fantastic fit for more complicated roof layouts or any property with shading from chimneys, vents, or nearby trees.
Here’s a quick breakdown of how they stack up:
| Feature | String Inverter | Microinverters / Power Optimizers |
|---|---|---|
| Best For | Simple, unshaded roofs | Complex roofs or partial shading |
| Upfront Cost | Lower | Higher |
| Shade Performance | Low (one panel affects the whole string) | High (panel-level optimization) |
| Monitoring | System-level view | Detailed, panel-by-panel view |
| Efficiency | Good on perfect, sunny days | Maximizes output in any condition |
Think of it this way: a house with a huge, south-facing roof and no trees around is a perfect candidate for a string inverter. But a home with roof planes facing both east and west, plus a big oak tree that casts a shadow every afternoon? That home would get far more power—and a better return on investment—from a microinverter system. Exploring different solar solutions can help you see which setup is the best match for your specific situation.
Once the components are selected, our engineers get to work using specialized software to create the final design. This is the master blueprint. It maps out the exact placement of every panel for maximum sun, shows the full wiring diagram, and details the location of the inverter and other equipment. This plan is what the installation crew will follow to the letter, and it’s also what we submit to your local city or county to secure the necessary permits.
From Rooftop Hardware to a Fully Wired System
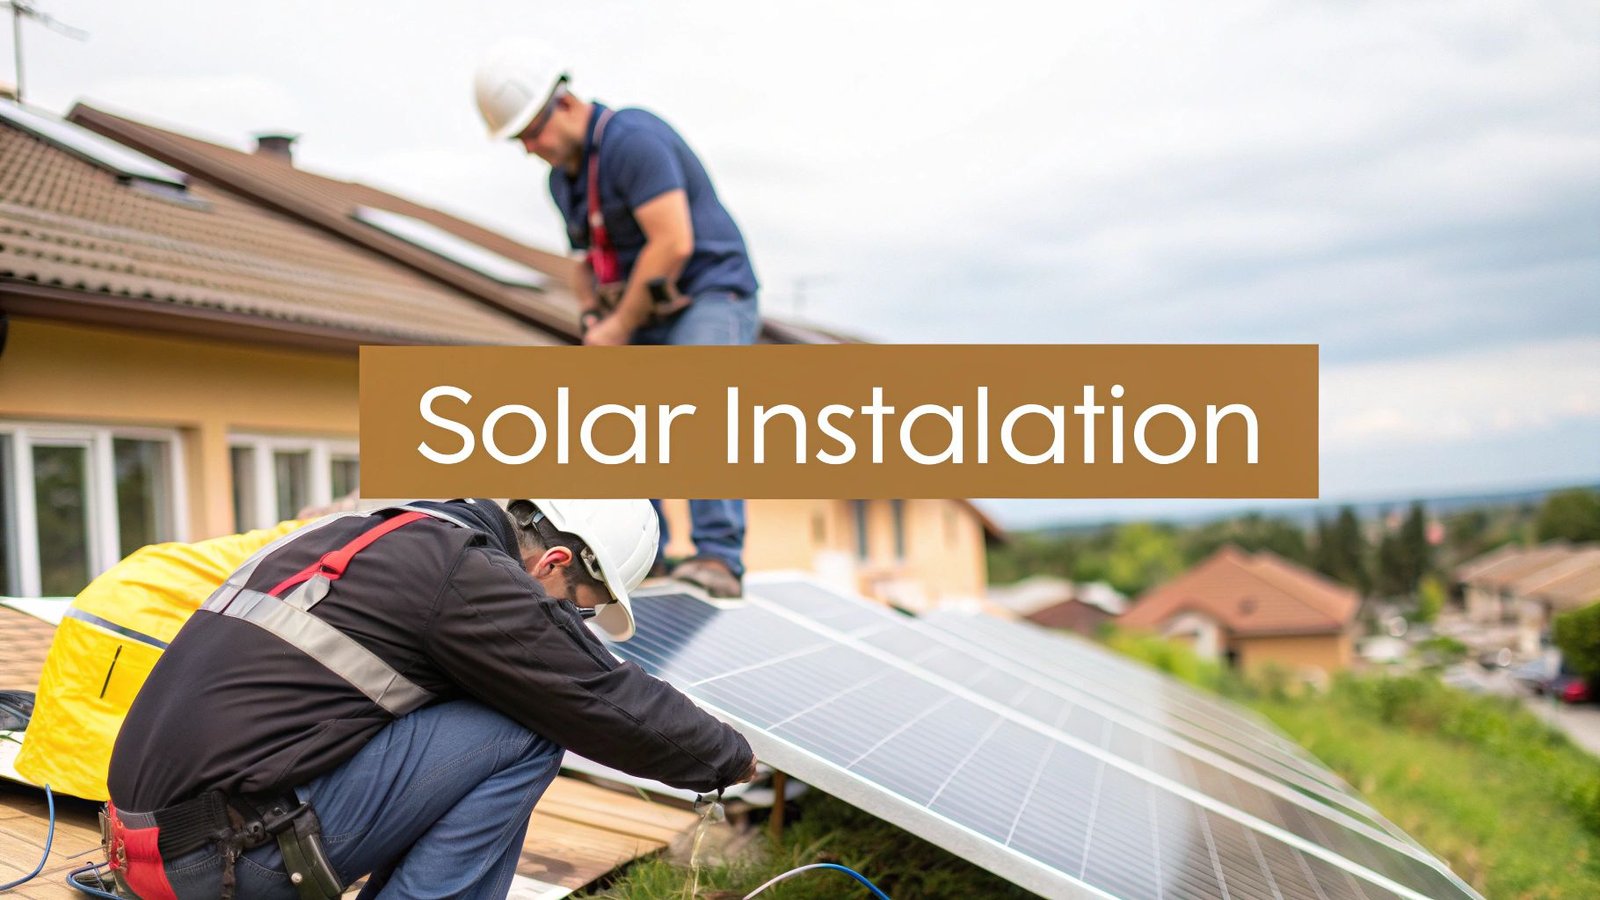
Now for the exciting part. With all the planning done and permits in hand, we get to see your solar system come to life. This is where the physical work begins, and it's what most homeowners picture when they think of "going solar." Over the course of just one to three days, your roof is transformed from a simple structure into a high-tech, clean-energy generator.
First things first: safety. Before a single panel is lifted, the installation crew focuses on creating a secure worksite. This often means setting up scaffolding a day or two before the main event, ensuring the team can work efficiently and safely on your roof. Once the site is prepped, it's time to build the foundation—the mounting system, or what we in the industry call racking.
Getting the Foundation Right
Think of the mounting system as the unsung hero of your entire solar array. It’s a robust framework of metal rails and clamps that we fasten directly to your roof's structural rafters. This framework has two critical jobs: first, to hold your panels rock-steady against everything nature throws at them for decades, and second, to maintain a small air gap for ventilation, which keeps the panels cool and running at peak efficiency.
How we install this framework really depends on what kind of roof you have.
- Asphalt Shingles: On the most common roof type, we use specialized flashings. These are essentially metal plates that slide neatly under the shingles, creating a completely watertight seal around every attachment point.
- Metal Roofs: Standing seam metal roofs are an installer's dream. We can use special clamps that grip right onto the seams, meaning we don't have to make a single penetration in the roof. It's clean and incredibly secure.
- Tile Roofs: This is where the real craftsmanship comes in. Working with tile requires us to carefully remove individual tiles, install the mounts directly onto the roof deck, and then meticulously cut or replace the tiles to fit perfectly around the hardware. It's a delicate process that demands precision.
With the racking perfectly level and locked down, the crew starts laying the panels. Each panel is carefully hoisted, set onto the rails, and secured with specialized clamps. It's a methodical process that quickly brings the visual power of the array to life.
The image below shows the assembly of a ground-mounted racking system. While the location is different, the core principle is the same: a solid, well-engineered foundation is absolutely essential before any panels go on.
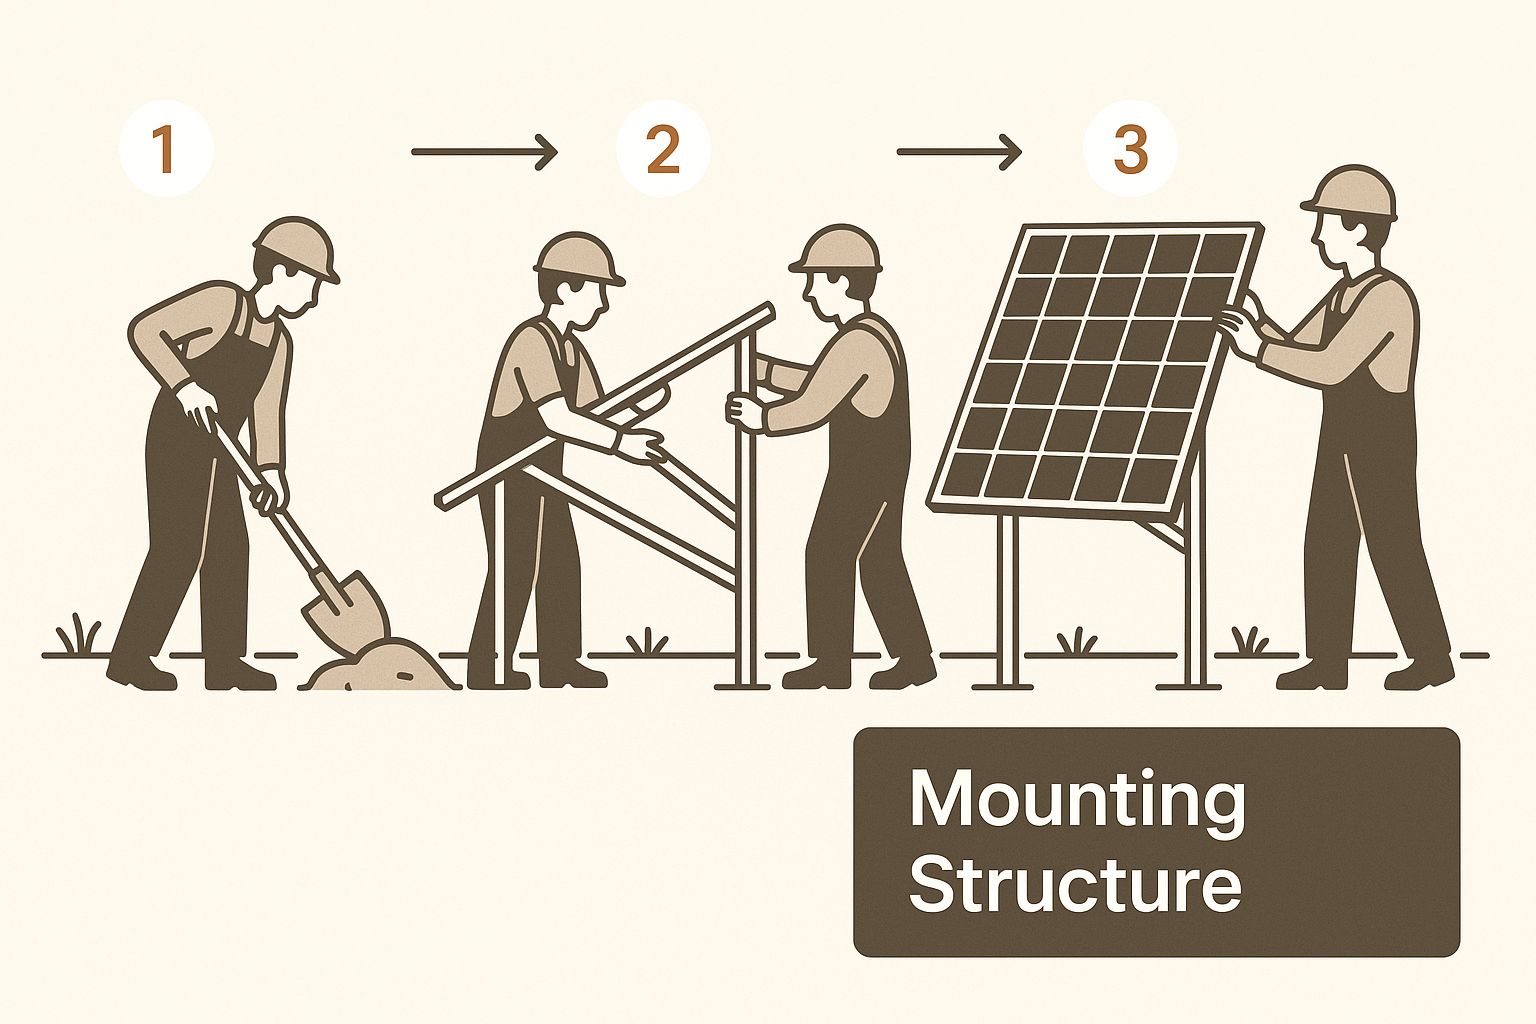
Whether it's on a roof or in a field, the integrity of this structure is non-negotiable for the system's longevity and your peace of mind.
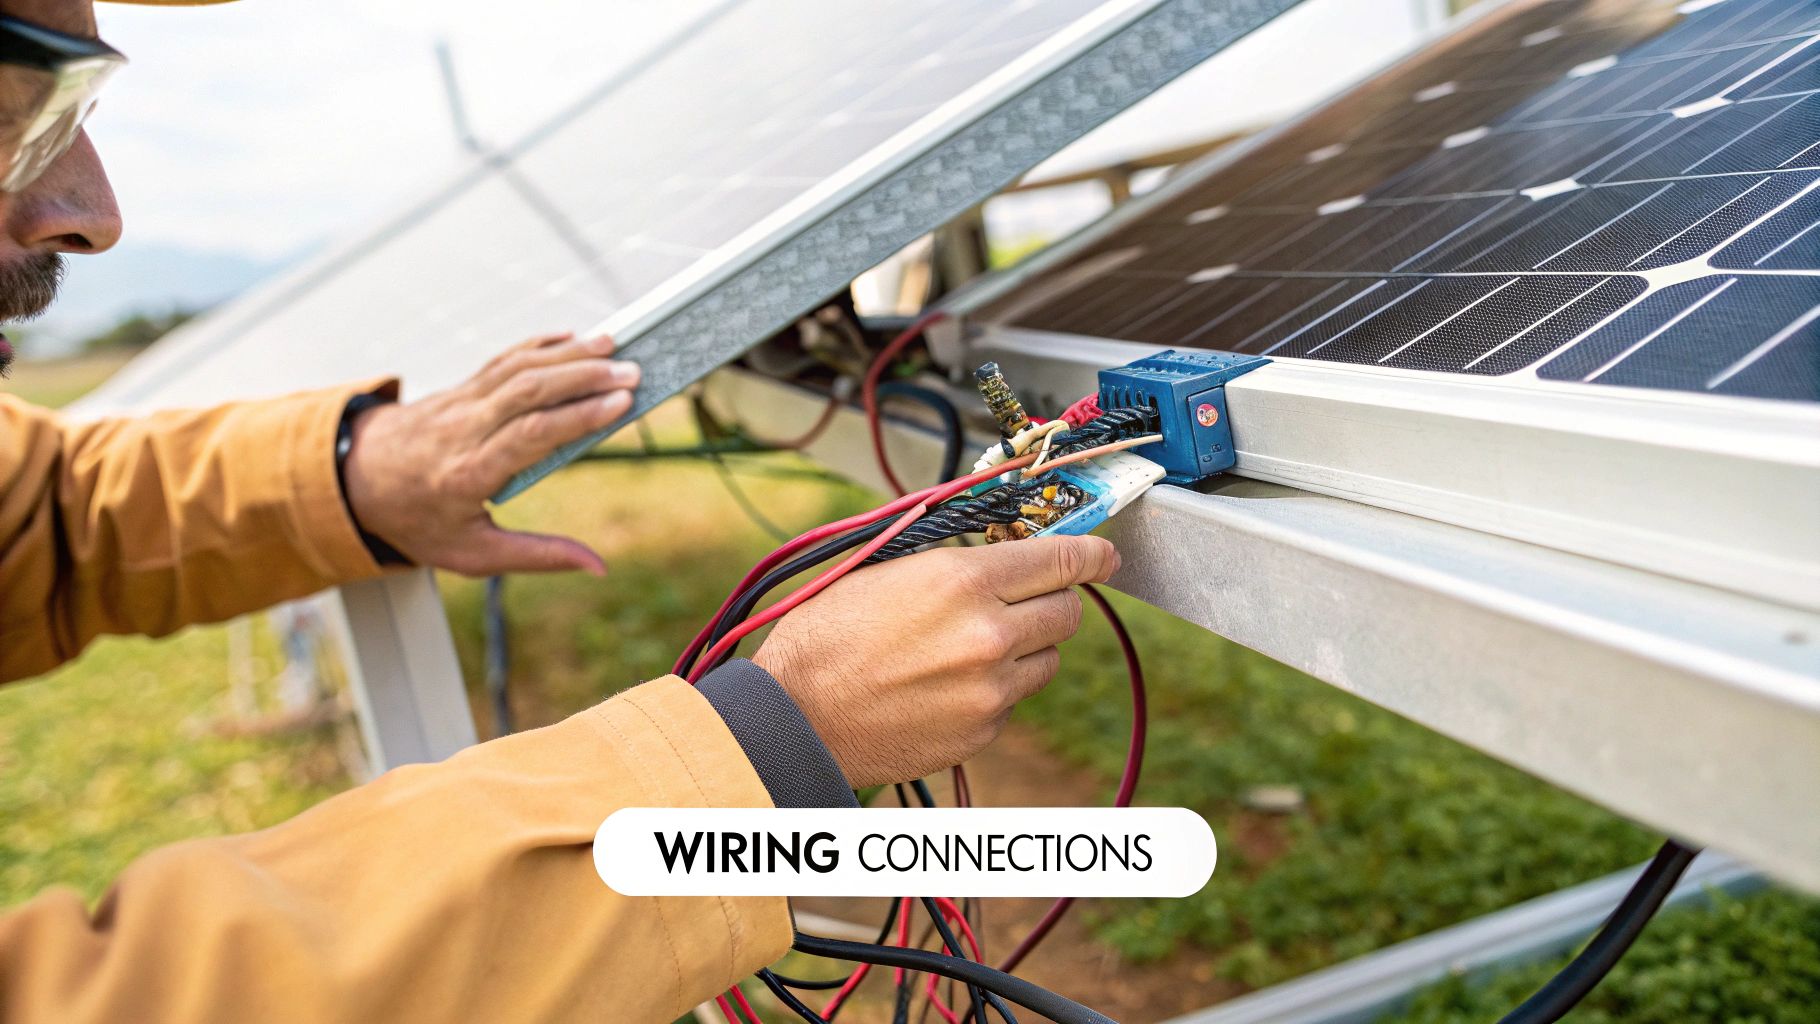
The Art and Science of Electrical Wiring
Once the panels are physically in place, our licensed electricians take over. Their job is to bring the system to life by wiring everything together, making sure every connection is safe, durable, and perfectly up to code.
They start by connecting the panels into groups, often called "strings." The specific configuration depends on whether your system uses a central inverter or microinverters on each panel. All this wiring is then neatly secured to the racking itself, preventing any wear and tear from rubbing against your roof over the years.
A clean wiring job is a hallmark of a quality installation. Experienced installers take pride in running conduit that is as unobtrusive as possible, often painting it to match the home's exterior so it blends in seamlessly.
The main electrical line runs from the roof down to your inverter through a protective pipe called a conduit. This shields the wires from sun, rain, and physical damage. We typically place the inverter in the garage, basement, or on an exterior wall near your main electrical panel.
The final step is the tie-in. For this, the electrician will need to briefly shut off your home’s power—usually for less than an hour—to safely connect the solar system to your main service panel. A new, dedicated circuit breaker is installed, creating the bridge that allows clean energy to flow from your roof into your home and any excess power to be sent back to the grid. You can explore our solar products and equipment to see exactly how these high-quality components come together.
To give you a better sense of how this all fits into the larger picture, here's a look at the typical project timeline from start to finish.
Typical Solar Installation Timeline Breakdown
This table breaks down the estimated time for each phase of the process. While every project is unique, this provides a general roadmap for what to expect.
| Installation Phase | Typical Duration | Key Activities |
|---|---|---|
| Initial Consultation & Site Assessment | 1-3 Days | Energy audit, roof inspection, shading analysis, system sizing. |
| System Design & Proposal | 3-5 Days | Creating engineering plans, selecting equipment, finalizing contract. |
| Permitting & Utility Approval | 2-6 Weeks | Submitting plans to your local jurisdiction and utility company. |
| Equipment Procurement | 1-2 Weeks | Ordering all panels, inverters, racking, and electrical components. |
| Physical Installation | 1-3 Days | Mounting hardware, installing panels, and completing electrical wiring. |
| Final Inspection | 1-2 Weeks | Scheduling and passing the inspection by the city/county inspector. |
| Commissioning (Permission to Operate) | 1-4 Weeks | Utility company grants final approval to turn the system on. |
As you can see, the on-site installation is actually one of the quickest parts of the entire journey. The upfront planning and post-install approvals are what take the most time, but they're essential for a safe and effective system.
Getting the Final Go-Ahead: Inspections and Grid Connection
The panels are on the roof and the wiring is complete. It’s a great feeling, but hold on—you can't flip the switch just yet. The physical work might be done, but a couple of crucial administrative hoops are left to jump through before your system can start producing clean energy.
This last leg of the journey involves getting the green light from two key players: your local city or county inspector and your utility company. It's all about making sure your new solar array is safe, up to code, and ready to play nice with the public power grid.
First Up: Passing the Municipal Inspection
With the tools packed away, the very next step is the municipal inspection. Your solar installer handles the scheduling, but a city or county electrical inspector will visit your home to give the system a thorough once-over. Their job is simple: to confirm that every single component was installed correctly and meets strict safety standards.
Don't expect a quick glance. This is a meticulous review where the inspector checks the work against the approved engineering plans. They're looking to verify everything from the roof attachments to the final wiring connections.
Key Takeaway: The municipal inspection is a non-negotiable safety check for you, your home, and the grid. If it fails, the installer simply has to fix what's flagged and schedule a do-over. It's a built-in quality control measure.
So, what are they actually looking for? While specifics can vary a bit between jurisdictions, the inspector’s checklist almost always covers these critical points:
- Secure Mounting: Are the racks firmly attached to your roof structure? Is all the flashing properly installed to prevent any chance of leaks?
- Correct Wiring: They'll check that all wiring is the right size (gauge), neatly secured, and run through code-compliant conduit.
- Proper Grounding: The inspector will confirm that the panels, racking, and all electrical equipment are properly grounded to eliminate electrical hazards.
- Required Labeling: All necessary safety placards and labels must be clearly visible on disconnects and electrical panels.
Once the inspector is satisfied and gives their official sign-off, your system is deemed safe and compliant. This approval is the key that unlocks the final step: connecting to the grid.
Last Hurdle: The Grid Interconnection Process
With the passed inspection report in hand, your installer sends the final paperwork over to your utility company. This is the formal application for interconnection—the official request to link your solar energy system to the public grid.
Now, a bit of patience is required. The utility's engineering department has to review all the documentation to ensure your system meets their technical requirements for grid stability and safety. Depending on how busy they are, this review can take anywhere from a couple of weeks to over a month.
This waiting period is becoming more common as solar adoption skyrockets. To meet this demand, global solar module manufacturing is exploding, with capacity projected to hit an incredible 1.8 terawatts annually by 2025. This growth, detailed in reports on global solar manufacturing, is what's keeping both installers and utility review queues busy.
Finally, after all their checks are complete, the utility will issue the document you've been waiting for: Permission to Operate (PTO). This is it—the final, official authorization. Once your installer receives the PTO, they can legally flip the switch, and your system will officially start generating power.
Bringing Your Solar System to Life: Activation and Monitoring
https://www.youtube.com/embed/YwNfsYsos1w
After all the planning, paperwork, and installation work, the moment you’ve been waiting for has finally arrived. Once the utility company gives the official green light—what we call Permission to Operate (PTO)—your installer will come out one last time to commission the system and, quite literally, flip the switch.
This isn't just a quick formality. The technician on site will carefully power up the entire system, running through a series of final checks to make sure every single component is working together perfectly. They'll confirm that the inverter is correctly converting DC electricity from the panels into the AC electricity your home uses, and that your house is now safely powered by the sun.
You're Now Running Your Own Power Plant
With the system officially online, your relationship with energy fundamentally changes. You're no longer just a consumer; you're a producer. This is where the real fun begins. Modern solar installations come with powerful monitoring software, giving you a front-row seat to see exactly how your home generates and uses electricity.
Top-tier manufacturers like Enphase and SolarEdge offer fantastic, easy-to-use apps and web dashboards. During that final commissioning visit, your installer should walk you through getting this software set up on your phone and computer.
Getting comfortable with your monitoring platform is probably the most empowering part of going solar. It takes the abstract idea of "energy" and turns it into real, tangible data, showing you exactly how your investment is paying off, minute by minute.
This platform essentially becomes your system's command center. You can see how much power your panels are cranking out right now, keep an eye on your home's total energy usage, and even watch the excess power flow back to the grid in real-time.
Making Sense of Your Solar Data
At first, the charts and graphs might look a bit intimidating, but they’re designed to be pretty intuitive once you know what you’re looking at. The data tells a fascinating story about your home's energy habits and the overall health of your system.
Here are the key numbers you'll get to know:
- Production: This is the total juice your panels are generating, measured in kilowatt-hours (kWh). You’ll see it ramp up in the morning, hit its peak around noon on a sunny day, and then taper off in the evening.
- Consumption: This shows how much electricity your home is actually using. You’ll start to notice patterns and quickly identify which appliances are the real energy hogs (looking at you, air conditioner).
- Net Energy: This is simply the difference between what you’re producing and what you’re consuming. When production is higher than consumption, you'll see that you're exporting power to the grid, which is how you earn credits.
This kind of visibility is a game-changer. You might see a huge, unexpected spike in your consumption and trace it back to an old, inefficient appliance. This insight helps you make smarter decisions, like running the dishwasher or laundry during the middle of the day when you're generating plenty of free solar power.
The chart below gives you a good idea of what a typical day's energy flow looks like in a monitoring app.
Seeing it laid out like this makes it crystal clear when your production is exceeding your usage—the prime time for earning those valuable utility credits. It all starts with a high-quality installation and continues with you being an engaged, informed system owner. That's why finding a partner with a long-term commitment to their customers is so important; you can often get a sense of this by reading about the team and mission behind Radiant Energy. When you understand your system's data, you can spot potential issues early and truly appreciate how a passing cloud or a good panel cleaning can impact your daily energy harvest.
Common Questions About the Solar Installation Process
Even with a full roadmap of the installation process, it's completely normal to have some questions pop up. Going solar is a big decision and a major investment in your home, so you should feel 100% comfortable with every part of the plan.
Let’s dig into some of the most common things homeowners ask us.
How Long Does the Whole Process Really Take?
This is the big one, and the answer isn't as simple as you might think. The actual, physical work on your property is remarkably quick. Most residential installations are wrapped up in just one to three days. Seriously. Your roof can go from bare to fully operational in a weekend.
But the full journey—from signing on the dotted line to flipping the switch—is a different story. You should realistically plan for about two to four months. The hold-ups are almost always bureaucratic. The longest waits are typically for your local building department to issue permits and, later, for the utility company to grant Permission to Operate (PTO). The wrenches and drills are the easy part; the paperwork is what takes time.
The following chart breaks down the average timeline, showing how much time is dedicated to administrative tasks versus on-site labor.
gantt
    title Solar Installation Process Timeline (Average 2-4 Months)
    dateFormat  YYYY-MM-DD
    axisFormat %b %d

    section Planning & Paperwork
    Consultation & Design :done, a1, 2024-08-01, 7d
    Permitting & Utility Docs :done, a2, after a1, 30d

    section On-Site Work
    Equipment Delivery :done, b1, after a2, 7d
    Installation :crit, b2, after b1, 3d

    section Final Approvals
    Municipal Inspection :done, c1, after b2, 14d
    Utility PTO Approval :crit, c2, after c1, 21d

    section System Go-Live
    Activation :done, d1, after c2, 1d
What if My Roof Is Old or Needs Repairs?
A good installer won't even think about putting a brand-new solar array on a roof that's on its last legs. The very first thing we look at during the site assessment is the health of your roof. If it's old, showing wear, or getting close to the end of its typical 20- to 25-year lifespan, the recommendation will be clear: replace the roof first.
Why is this so critical? Think about it. Let's say you install solar panels and five years later, you need a new roof. You'd have to pay a crew to come out, take down the entire system, and then reinstall everything once the new roof is on—not to mention getting it all re-inspected. It’s an expensive, frustrating, and totally avoidable problem. Some solar companies (including us) can even bundle roofing services to get it all done seamlessly.
Do I Need to Be Home During the Installation?
Not for most of it. The crew will be outside on the roof doing their thing, so you can go about your day as usual.
However, there are a couple of key moments when you'll definitely need to be around:
- The Electrical Connection: When the electricians are ready to tie the solar system into your home's main electrical panel, they'll need to get inside. This usually involves a very brief power outage, typically less than an hour.
- Turning It All On: You’ll want to be there for the final commissioning. This is when the lead installer walks you through your new system, shows you how the monitoring app works, and answers any last-minute questions.
Your installation partner should give you a clear schedule ahead of time, so you'll know exactly when you need to block off your calendar.
How Will Solar Panels Affect My Home Insurance?
This is a step people sometimes forget, but it's crucial. A solar panel system adds significant value to your home, so you absolutely have to let your homeowner's insurance company know about it.
You’ll almost certainly need to increase your dwelling coverage to reflect the value of the solar array. This might bump up your annual premium a bit, but ignoring this step is a huge gamble. If a nasty hailstorm rolls through and damages your uninsured panels, your claim could be denied outright.
Treat it just like you would a major home addition. It's a valuable new asset that needs to be protected. One quick call to your insurance agent is all it takes to make sure your investment is covered from day one.
Ready to start your own solar journey? The team at Radiant Energy is here to guide you through every step, from the initial consultation to flipping the switch on your new system. Explore our high-quality solar energy solutions and take the first step toward energy independence today at https://radiantenergysolar.com.