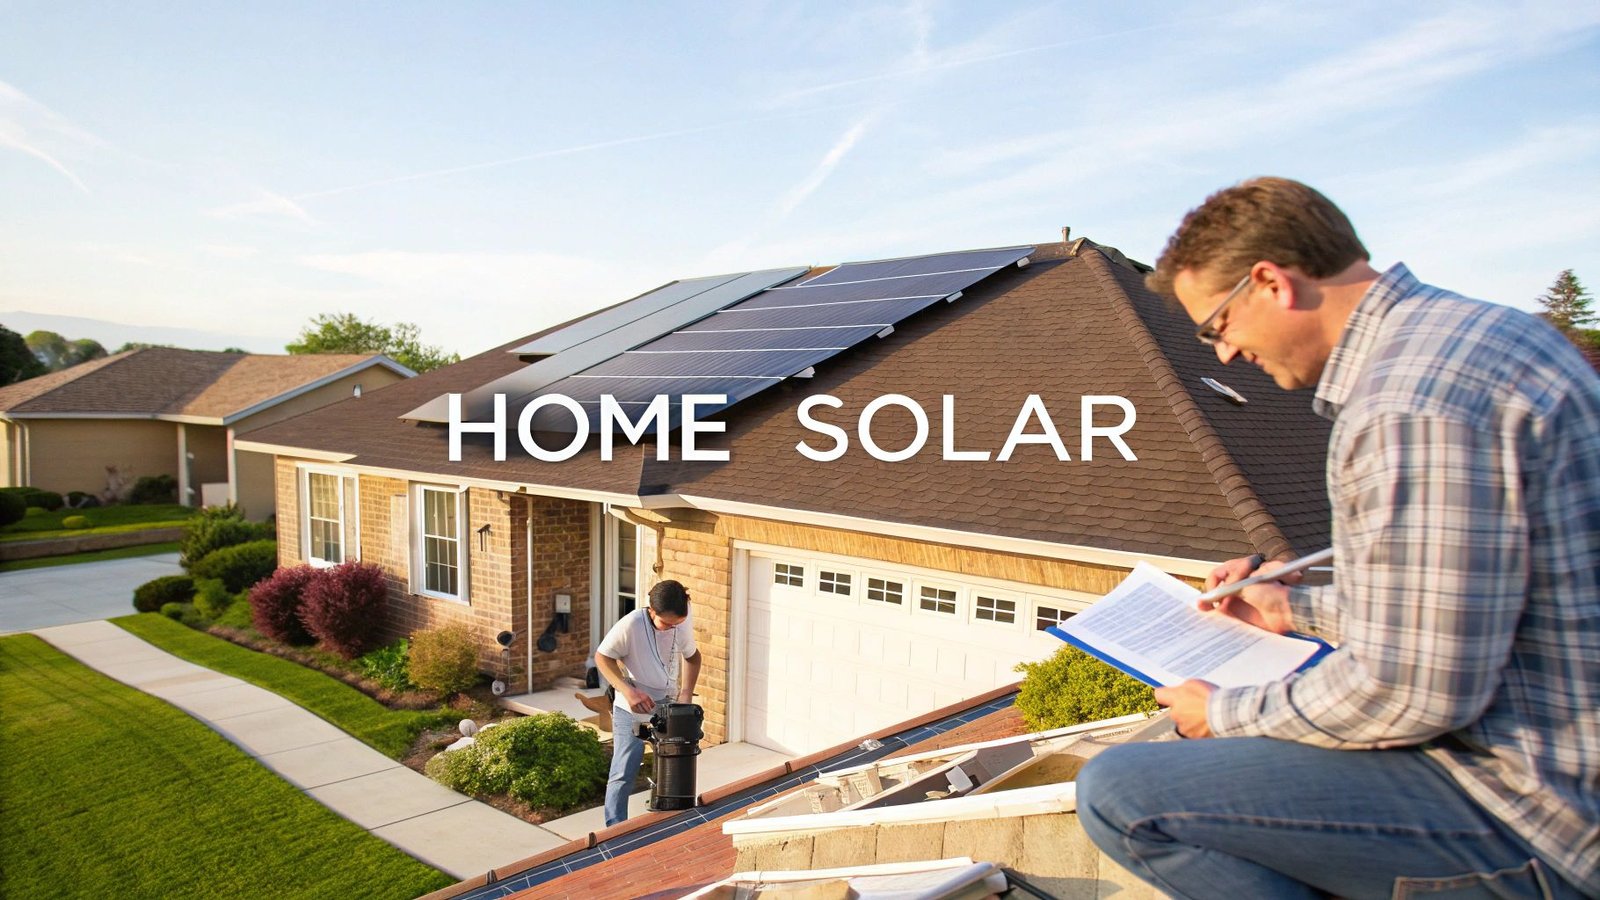
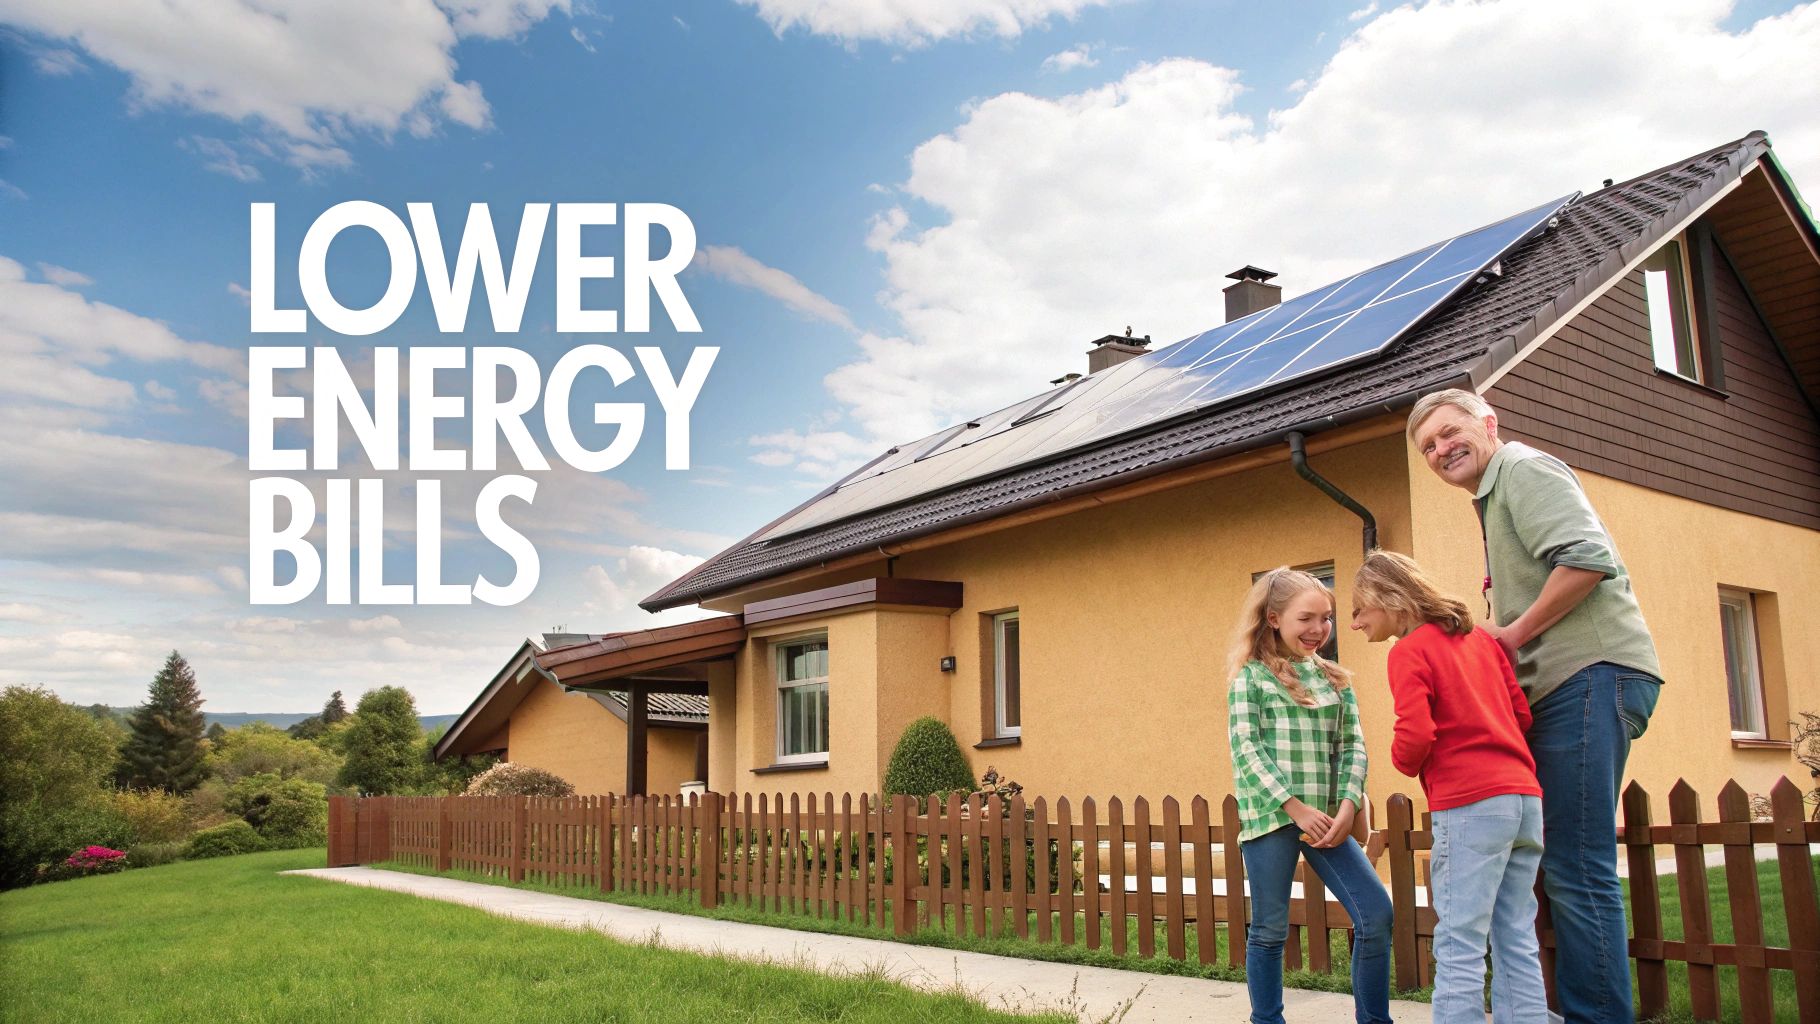
Going solar means adding photovoltaic (PV) panels to your property, usually the roof, to turn sunlight directly into electricity for your home. It’s a serious upgrade, but one that can slash—or even wipe out—your monthly power bill by letting you generate your own clean energy. The whole process boils down to a few key phases: figuring out if your home is a good fit, picking the right gear and a solid installer, and then managing the actual installation and grid connection.
Is a Solar Power Home Installation a Smart Move for You?
Deciding to go solar is a big financial and logistical step, not just an environmental one. Before you even start calling installers for quotes, it's smart to do a quick reality check on your own property and lifestyle. This first pass will tell you if a solar power home installation is genuinely a good investment for your unique situation.
The market has been a bit of a mixed bag recently. While residential solar installations in the U.S. saw a 13% year-over-year dip in the first quarter of 2025, hitting 1,106 MWdc, that quarter still landed as the fourth-best on record. This slight downturn hints at some economic caution from homeowners, but the overall appetite for residential solar is definitely still there. You can dig into these market insights over at SEIA.org to get the bigger picture.
Before you get too far down the rabbit hole of quotes and equipment, run through this quick checklist. It will give you a solid idea of your home's solar potential from the get-go.
Initial Solar Viability Checklist
| Assessment Factor | What to Look For | Why It Matters |
|---|---|---|
| Roof Direction & Angle | A south-facing roof is the gold standard (in the Northern Hemisphere). East and west are also viable. | This maximizes the direct sunlight your panels receive throughout the day, directly impacting energy production. |
| Shade | Check for shadows from trees, chimneys, or other buildings, especially between 10 AM and 4 PM. | Even a small amount of consistent shade can significantly reduce a panel's output, affecting the entire system. |
| Roof Condition | Is your roof newer than 15 years old? Is it in good structural shape? | Solar panels last 25+ years. You don't want to pay to remove them just to replace an old roof in a few years. |
| Energy Bills | Your average monthly kilowatt-hour (kWh) usage over the past year. | This is the target. A solar system is sized to meet your specific energy needs, so you need to know what they are. |
| HOA & Local Rules | Any neighborhood covenants or local ordinances that restrict solar installations. | Some HOAs have aesthetic rules that can complicate an installation. It's better to know these upfront. |
This checklist isn't meant to be exhaustive, but if you get green lights on these key points, you're likely a great candidate for solar and can move forward with confidence.
Gauging Your Home's Solar Potential
The first real step is to take a hard look at your house. Is it actually set up to capture the sun's energy effectively? Every home is different, and the physical setup plays a massive role in how much power you'll generate. A solar power home installation is a powerful part of a broader energy efficient home design, but it all starts with the canvas you're working with—your home.
Here are the big things to check:
-
Roof Direction: In the Northern Hemisphere, south-facing roofs are the clear winner, as they get the most direct sunlight all day long. Don't worry if your roof faces east or west, though—those orientations can still produce plenty of power, just slightly less than an ideal southern exposure.
-
Shade Coverage: Walk around your property during the middle of the day. Do you see big shadows from trees, a neighbor's two-story house, or even your own chimney falling across your roof? Shading is a real performance killer, especially during those peak sun hours from about 10 AM to 4 PM.
-
Roof Condition and Age: This one is crucial. Solar panels come with warranties for 25 years or more. If your roof is already pushing 15-20 years old, you'll almost certainly want to replace it before the panels go on. Having to remove and reinstall a solar array just to re-shingle your roof is a very expensive headache you want to avoid.
Key Takeaway: Your home’s physical characteristics are the bedrock of a good solar project. A sunny, south-facing roof in great shape with little to no shade is the ideal scenario for getting the most bang for your buck.
Understanding Your Energy Consumption
Alright, next up: your power bills. Your historic energy usage is the single most important piece of information for designing a system that will actually meet your family's needs. Pull out your last 12 months of electricity bills and find your average monthly kilowatt-hour (kWh) usage. That number is your energy baseline.
This chart shows what a typical family's electricity usage might look like over a year, with predictable peaks that a solar system needs to handle.
Monthly Electricity Usage Example (kWh)
This data is about more than just totals; it's about patterns. Do your bills skyrocket in the summer when the AC is blasting? Are you charging an electric vehicle at night? Knowing the answers helps an installer size your system to offset 100% of your usage, which is the key to unlocking the financial savings you’re after.
Choosing the Right Solar Gear and Installer
Alright, you've done your homework and confirmed that your home is a great fit for solar. Now comes the most important part of the entire process—picking the hardware that will power your life for the next 25+ years and, just as crucially, the professional crew you’ll trust to put it all together.
This isn’t like buying a new refrigerator. The specific components you choose and the skill of the installers will directly define your system's performance, how long it lasts, and ultimately, your return on investment. Getting this stage right is everything.
Demystifying Solar Panel Technology
The panels are the visible stars of the show, but there’s more to them than meets the eye. For homes, you're almost always going to be looking at two main types of technology.
-
Monocrystalline Panels: You'll recognize these by their sleek, uniform black look. They're made from a single, pure silicon crystal, which makes them highly efficient. That means they crank out more power in a smaller footprint. If your roof space is tight or you live where sunshine isn't a constant guarantee, the extra power from monocrystalline is often worth the higher price tag.
-
Polycrystalline Panels: With their distinctive blue, almost marbled appearance, these panels are made by melting multiple silicon fragments together. It's a less complex process, making them a more budget-friendly choice. The trade-off is slightly lower efficiency, so you’ll need a bit more roof space to generate the same amount of electricity.
The chart below shows a direct comparison of the key attributes of each panel type.
Solar Panel Technology Comparison
| Feature | Monocrystalline Panels | Polycrystalline Panels |
|---|---|---|
| Efficiency | Higher (18-23%) | Lower (15-20%) |
| Cost | More Expensive | More Affordable |
| Appearance | Uniform Black | Blue, Marbled |
| Space Needed | Less | More |
| Ideal For | Limited roof space, maximum power output | Larger roofs, budget-conscious projects |
The choice between panel types really boils down to a balance of your budget, available roof space, and what you want it to look like. While monocrystalline panels are the efficiency kings, modern polycrystalline panels are still a fantastic value. To really get into the weeds, take a look at our detailed guide on how to choose solar panels.
Understanding Inverters: The Brain of Your System
If the panels are the heart of your solar system, the inverter is the brain. This is the critical piece of hardware that takes the direct current (DC) electricity your panels produce and converts it into the alternating current (AC) that your home's appliances and electronics can actually use.
You've got a few different options here:
| Inverter Type | How It Works | Best For |
|---|---|---|
| String Inverter | A single, central inverter is connected to a "string" of panels. | Homes with simple, south-facing roofs that get full sun all day. |
| Microinverters | A small, individual inverter is installed on the back of every single panel. | Homes with complex roofs, different angles, or partial shading from trees or a chimney. |
| Power Optimizers | A hybrid approach. Optimizers are attached to each panel to maximize output, but they all feed into a central string inverter. | A great middle-ground option that boosts performance on moderately complex roofs. |
For residential projects, microinverters have become incredibly popular, and for good reason. If a bit of shade hits one panel, it doesn't drag down the performance of all the others. This is a huge advantage over a string inverter, where the entire string's output can be limited by its weakest-performing panel.
Vetting Your Solar Installer
I can't stress this enough: choosing the right installer is arguably more important than picking a specific panel brand. A flawless installation from a seasoned crew using good-quality equipment will always outperform a sloppy job done with top-of-the-line gear.
Your vetting process needs to be thorough. Don't just collect quotes—interview the companies. A good starting point is to look for installers with a solid local reputation and at least 5+ years of experience.
Here are the non-negotiable questions you should be asking every potential installer:
- Are you NABCEP certified? The North American Board of Certified Energy Practitioners (NABCEP) is the gold standard certification in the solar industry. Consider it a must-have.
- Do you use your own crew or subcontractors? Companies with in-house installation teams typically have better quality control and are more accountable if something goes wrong.
- What warranties do you offer? You should get separate warranties for the panels, the inverter, and the installer’s workmanship. A solid workmanship warranty should be for 10 years or more.
- Can you provide local references? A confident installer will have no problem connecting you with happy customers in your neighborhood.
When you're comparing quotes, look past the bottom-line price. Scrutinize the specific equipment being proposed, the warranty terms, and the estimated annual production. A cheaper quote might mean lower-quality parts or a weak warranty that could cost you far more in the long run.
A great installer can also advise on other ways to use solar on your property, like setting up robust solar powered security camera systems.
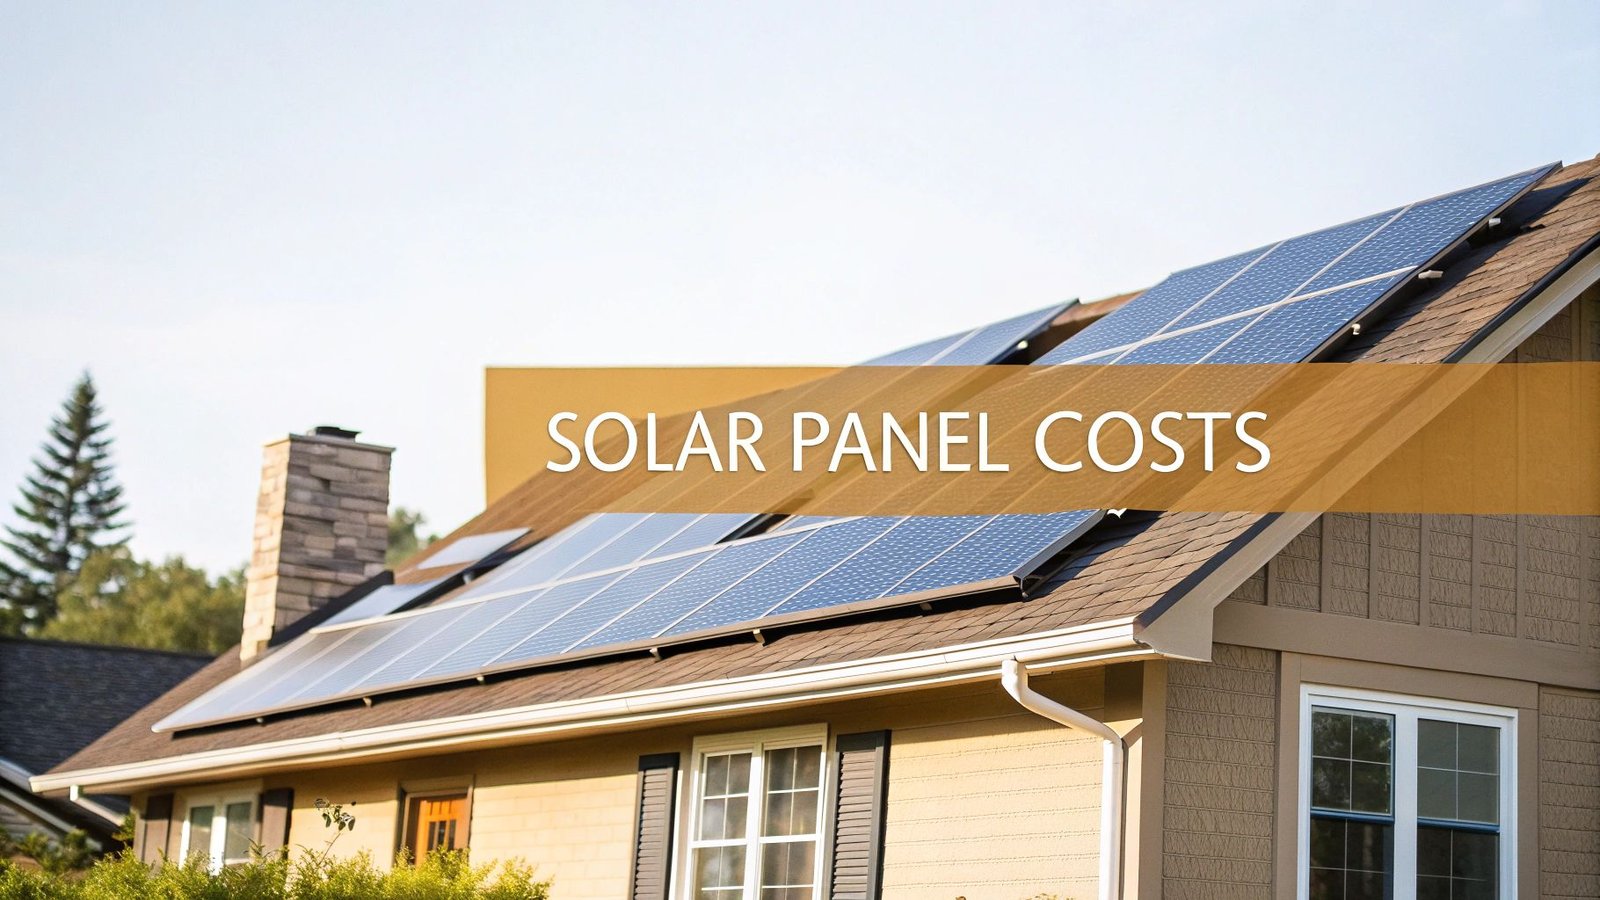
Navigating Solar Costs, Permits, and Incentives
Let's talk about the money side of going solar. It often feels like the most intimidating part of the whole process, but it’s actually where you can find some incredible savings. Getting a handle on financing, incentives, and the local permitting process is the key to creating a realistic budget with no nasty surprises down the road.
The average solar power home installation in the U.S. typically runs between $18,000 and $20,000 before any credits. I know, that’s a big number. But there are several ways to tackle that cost and make it work for you, ultimately maximizing what you get back in the long run.
Comparing Your Financing Options
One of the first big decisions you'll make is how to pay for the system. You’ve got a few main paths—cash, a loan, or a lease/PPA—and each one has its own set of pros and cons depending on your financial situation. Getting a clear picture of the full solar panel system installation cost is the first step to figuring out which route is best for your family.
To help you weigh the options, here’s a chart comparing the most common financing routes for a home solar project.
Solar Financing Options Compared
This chart breaks down the financial implications of each method, helping you decide which fits your budget and long-term goals.
| Financing Method | Upfront Cost | Long-Term Savings | Ownership |
|---|---|---|---|
| Cash Purchase | High | Maximum | You own it outright and claim all tax credits. |
| Solar Loan | Low to None | High (after the loan is paid off) | You own it and claim all tax credits. |
| Solar Lease/PPA | None | Moderate | The solar company owns it; you don't get the tax credits. |
As you can see, paying with cash gives you the quickest payback and the most savings because you skip interest entirely. But for most people, a solar loan is the sweet spot. It allows you to own your system with little to no money down while still qualifying for all the best tax benefits.
Then there are leases and Power Purchase Agreements (PPAs). These get you solar with zero upfront cost, which is appealing. The catch is that you don't own the system; you just pay a fixed monthly rate for the power. It's a convenient on-ramp, but it offers the lowest long-term financial reward and can sometimes make it trickier to sell your home.
Unlocking Solar Incentives and Rebates
This is where the real magic happens. Incentives are what make a solar power home installation such a smart financial move. These programs, available at the federal, state, and even local levels, can dramatically slash your net cost.
The big one you don't want to miss is the federal Residential Clean Energy Credit.
This federal tax credit lets you deduct a massive 30% of your system’s total cost right off your federal taxes. For a $20,000 system, that’s a $6,000 credit in your pocket—a direct, dollar-for-dollar reduction of what you owe.
This visual shows how the federal tax credit can significantly reduce the total cost of a typical solar installation.
Impact of Federal Tax Credit on Solar Cost
- Total System Cost: $20,000
- Federal Tax Credit (30%): -$6,000
- Net Cost After Credit: $14,000
And the savings can stack up from there:
- State Tax Credits: Many states tack on their own credits on top of the federal one.
- Local Rebates: Your city or utility company might offer cash rebates just for installing panels.
- Net Metering: This is a huge benefit. It’s a policy that lets you sell any extra power your system produces back to the grid for credits on your utility bill.
Your installer should be an expert in all the local incentives and will typically handle the bulk of the paperwork for you.
Demystifying the Permitting Process
Before a single panel goes on your roof, your project needs a green light from both your local government and your utility company. It’s all behind-the-scenes work, but it’s critical for making sure your system is safe, up to code, and properly connected to the grid.
Thankfully, this is another area your solar installer manages completely. They’ll put together all the necessary documents, from system designs to electrical diagrams, and submit them for approval.
The timeline for permits can range from a few weeks to a couple of months—it really depends on where you live. Once all the paperwork is approved and the installation is finished, there’s a final inspection. After that, your utility gives you what’s called "Permission to Operate" (PTO). That's the moment you can finally flip the switch and start producing your own clean energy.
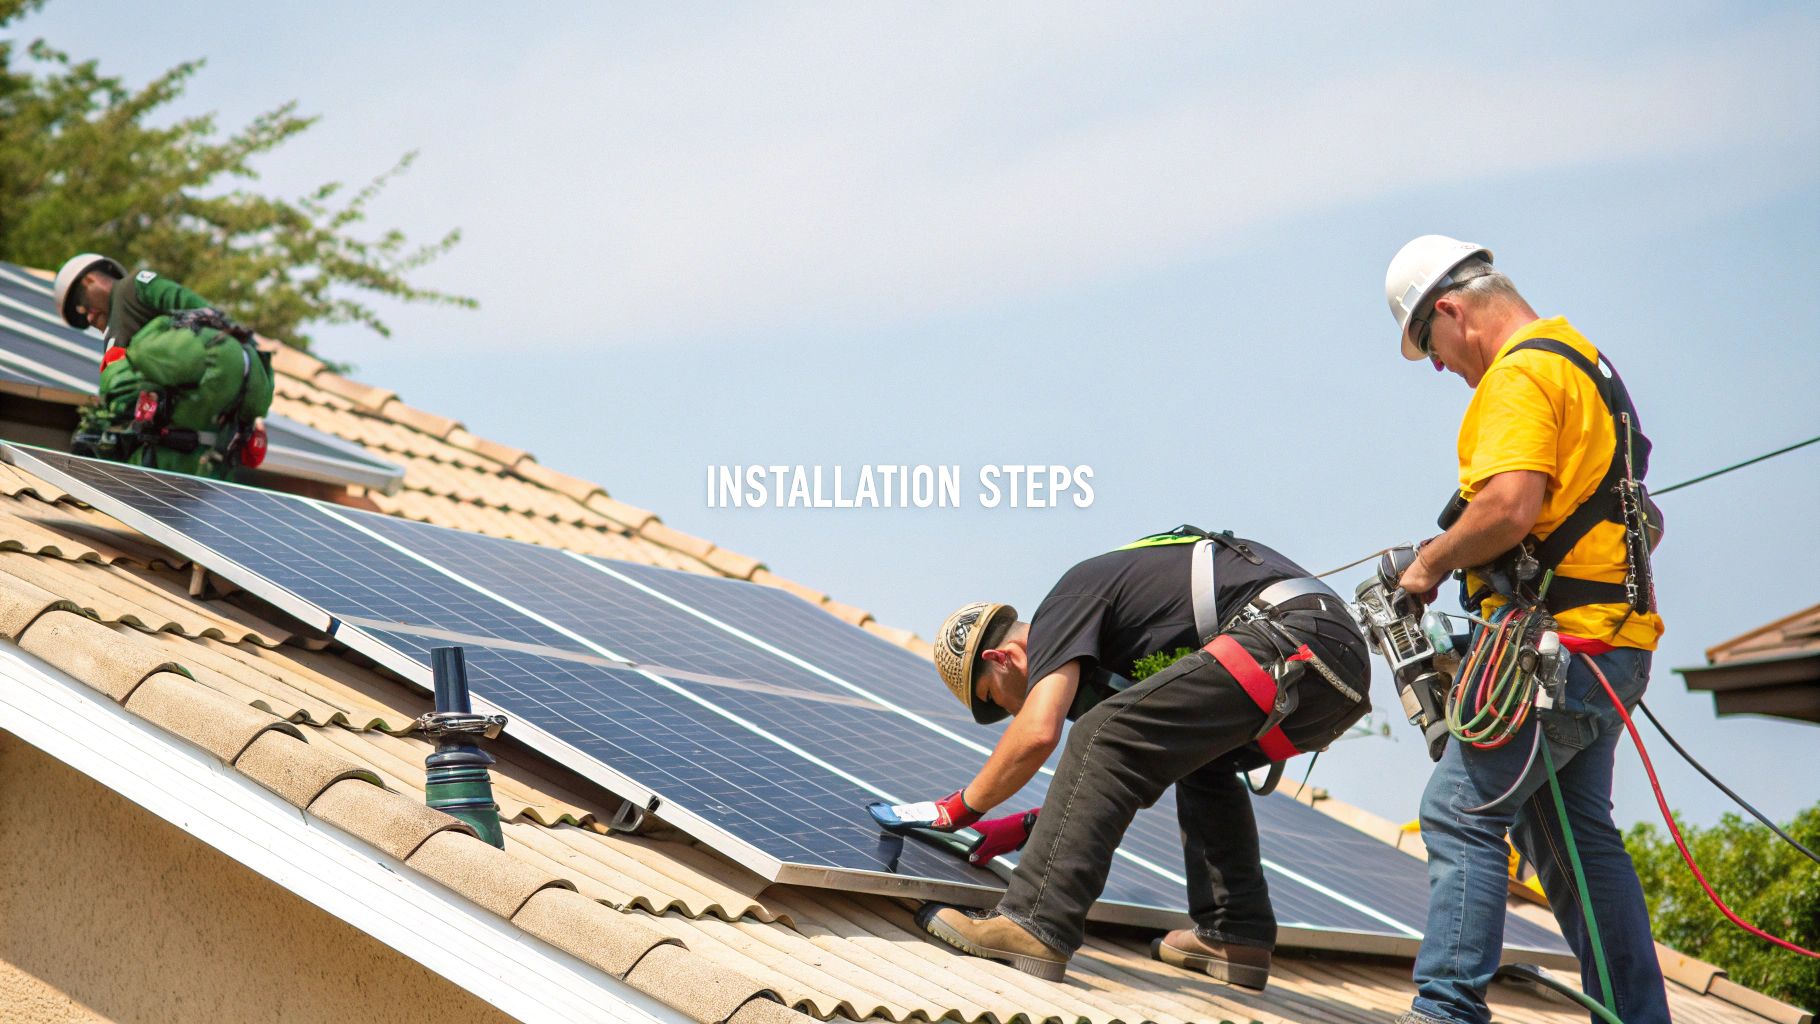
What to Expect on Installation Day
After all the planning, paperwork, and waiting for permits, the big day finally arrives. This is where your investment turns into a tangible, power-producing asset on your roof. You might be surprised to learn that for most homes, the entire on-site solar power home installation is wrapped up in just one to three days.
A professional crew runs a tight ship, working efficiently to get the job done with as little disruption to your life as possible. While every project is a little different depending on the system's size and the complexity of your roof, the process follows a pretty standard, well-organized flow.
Morning Arrival and Site Prep
The installation crew typically arrives first thing in the morning. Their number one priority is safety and preparation. You'll see them setting up ladders, safety lines, and making sure the work area around your house is clear and secure for everyone.
They'll also do a final check, comparing the approved design plans with your actual roof to confirm the panel layout. This is a critical step to ensure every panel is perfectly positioned for maximum sun exposure and structural stability. Expect some construction noise, but a good team will always keep the site as tidy as they can.
Building the Foundation: Racking Installation
The first major task is installing the racking system. Think of this as the skeleton that will hold your solar panels securely to the roof for decades. How this is done depends entirely on what kind of roof you have.
- Asphalt Shingles: The crew will locate the roof rafters and use heavy-duty lag bolts to attach the mounts. They’ll slide a special piece of flashing under the shingles for each attachment point, creating a permanent, waterproof seal.
- Standing-Seam Metal: This is usually the easiest. Installers use special non-penetrating clamps that grip onto the raised seams of the metal, which means they don't have to drill a single hole in your roof.
- Tile Roofs: This requires the most care. The team will carefully remove specific tiles, attach the mounts directly to the roof deck underneath, and then skillfully cut or replace the tiles to fit perfectly around the mounts for a seamless, watertight finish.
Panels Up, Wires In
Once the racking is in place, it's time for the main event: mounting the solar panels. The crew carries them up, places them on the racks, and fastens them down with specialized clamps. As they go, they also connect the wiring for each panel, creating the array.
While this is happening on the roof, an electrician is usually busy on the ground. They’ll be mounting the inverter (the brains of the operation that converts DC power to usable AC power) and running the conduit that connects everything together. The final electrical step is tying the inverter into your home's main electrical panel.
While your personal solar project is moving full steam ahead, the global industry is seeing a shift. After a massive 33% growth in 2024, new forecasts predict a more modest 10% rise in global solar capacity for 2025. You can read more about these worldwide trends over at PV-Tech.
The infographic below highlights how the critical decisions you made earlier in the process directly impact the equipment being installed today.
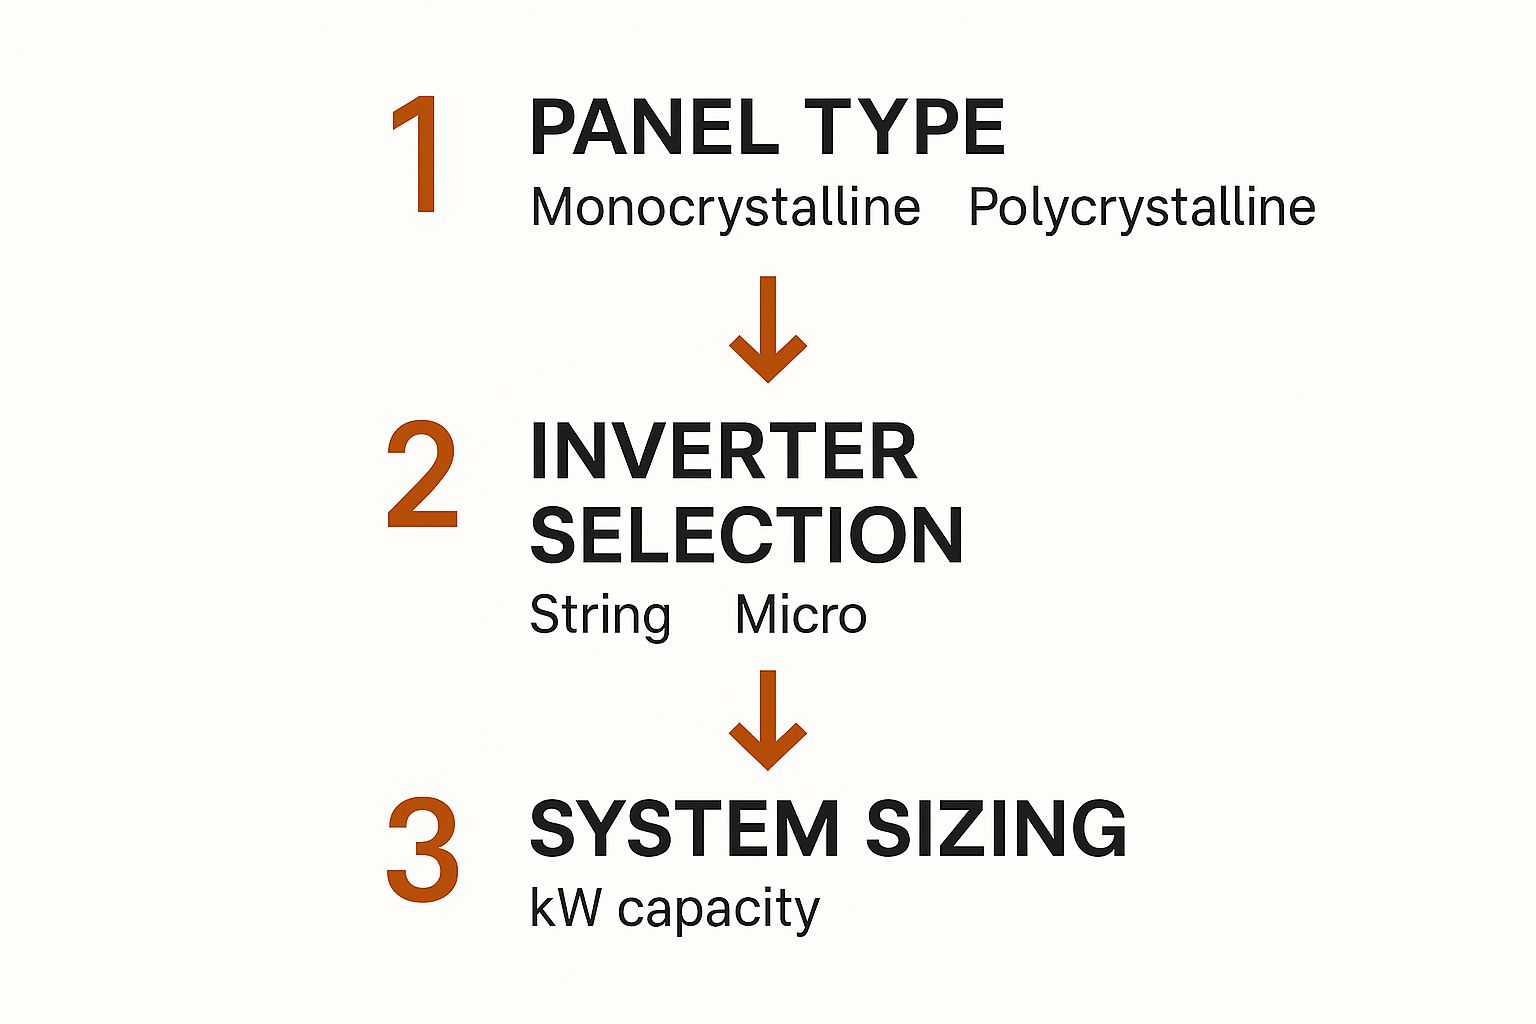
This just goes to show that your choice of panels, inverter, and system size are the foundational pieces that set the stage for a successful installation day.
To give you a clearer picture, here's what a typical installation day might look like.
Typical Solar Installation Day Timeline
| Time of Day | Activity | Homeowner Notes |
|---|---|---|
| 8:00 AM | Crew Arrives & Site Prep | Initial introductions and safety setup. |
| 9:00 AM | Racking Installation | This is often the noisiest part of the day. |
| 12:00 PM | Lunch Break | A good time to ask the site lead any questions. |
| 1:00 PM | Panel Mounting & Wiring | The system really starts to take shape now. |
| 3:00 PM | Inverter & Electrical Work | An electrician will need access to your main panel. |
| 5:00 PM | Final Checks & Cleanup | The crew will pack up tools and clean the work area. |
This schedule is just a general guide, but it covers the key milestones of the main installation day.
The Final Hurdles: Inspection and Commissioning
Once the crew has packed up and your property is clean, the system still isn't ready to be turned on. Your installer will handle coordinating the last two steps.
First, a local building inspector needs to sign off on the work, ensuring it’s all up to code and matches the permit. Then, your utility company will send someone out to install a new meter and grant the official "Permission to Operate" (PTO).
Receiving PTO is the green light you’ve been waiting for. You can finally flip the switch and start generating your own clean energy. This last step concludes the installation journey, beginning decades of savings and energy independence. You can dive deeper into these final stages in your guide to the solar panel installation process.
Keeping Your Solar System Humming: Monitoring and Maintenance
The installation crew has packed up and driven away, but your solar journey is just getting started. This is where the real fun begins—watching your own personal power plant crank out clean energy. Your focus now shifts to making sure that system runs at peak performance for its entire 25+ year lifespan.
Thankfully, modern solar systems make this incredibly easy. Most come with a slick monitoring app for your smartphone, giving you a direct window into your home's energy world. All that complex data gets crunched into simple, easy-to-read charts, putting you firmly in the driver's seat.
Your Energy Dashboard: Making Sense of the Numbers
Think of the monitoring app as the command center for your roof. It's designed to give you both real-time feedback and long-term insights, so you can see exactly how your investment is performing. No more guesswork; the proof is right there in your hand.
Most apps give you the power to:
- See Live Production: Ever wonder what your panels are doing right now? You can watch your energy generation spike on a clear, sunny day or see how it shifts when a cloud passes over.
- Dig into Historical Data: Curious about last month's performance? You can easily pull up production data by the day, month, or even year. This is the best way to spot trends and confirm your system is hitting its targets.
- Track Your Home's Usage: The app doesn't just show what you make; it shows what you use. Seeing when your home consumes the most power can unlock some serious savings. You might start running the dishwasher at noon instead of 9 PM to use your own solar power.
- Watch the Grid Give-and-Take: You can see exactly how much excess energy you've exported to the grid. This is key for understanding the net metering credits that will show up on your utility bill.
By keeping an eye on this data, you'll start to see a daily rhythm. You'll notice that big surge of production in the middle of the day, which is the perfect time to charge an EV or pre-cool the house before the evening peak.
A Hands-Off Approach to Maintenance
Here's one of the best parts about going solar: the maintenance is minimal. Solar panels are built tough, with no moving parts, designed to endure decades of sun, rain, and snow. A little bit of attention, however, can go a long way.
For most homeowners, keeping things in shape is refreshingly simple:
- An Occasional Rinse: If you're in a dusty area with infrequent rain, a layer of grime can accumulate on your panels. In most cases, a quick spray with a regular garden hose from the ground is all it takes to clear it off.
- Professional Check-ups: While not mandatory, it's not a bad idea to have a solar pro give your system a once-over every few years. They can inspect the wiring, check the connections, and make sure the mounting hardware is still rock-solid.
My Two Cents: Don't get up on the roof with a pressure washer or harsh soaps. You could damage the anti-reflective coating on the panels. Honestly, if you get regular rainfall, nature will likely do all the cleaning you'll ever need.
Understanding the Warranties That Protect You
Your investment is backed by several powerful warranties that cover everything from the hardware to the installation itself. Your installer should give you a folder with all the official documents, but they typically break down into three main types.
| Warranty Type | What It Covers | Typical Length |
|---|---|---|
| Panel Performance | Guarantees your panels will still produce a high percentage of their original power (usually 80-90%) near the end of their life. | 25-30 Years |
| Equipment/Product | Covers physical defects or failures in the panels, inverter, and other hardware. | 10-25 Years |
| Workmanship | Protects against any issues that stem from the installation job itself, like a roof leak or loose wiring. | 10+ Years |
Getting familiar with these warranties provides real peace of mind. Pay close attention to the workmanship warranty, as it's a direct reflection of how much an installer stands behind the quality of their own work. It's your protection against any installation hiccups down the road.
Common Questions About Solar Power Home Installation
https://www.youtube.com/embed/8CVJdbrW6T8
Even after walking through the entire process, it's completely normal to have a few more questions pop up. A solar power home installation is a big investment in your home's future, and you should feel 100% confident before moving forward.
Let's dive into some of the most common questions we hear from homeowners just like you. Think of this as the final check-in before you start your journey toward energy independence.
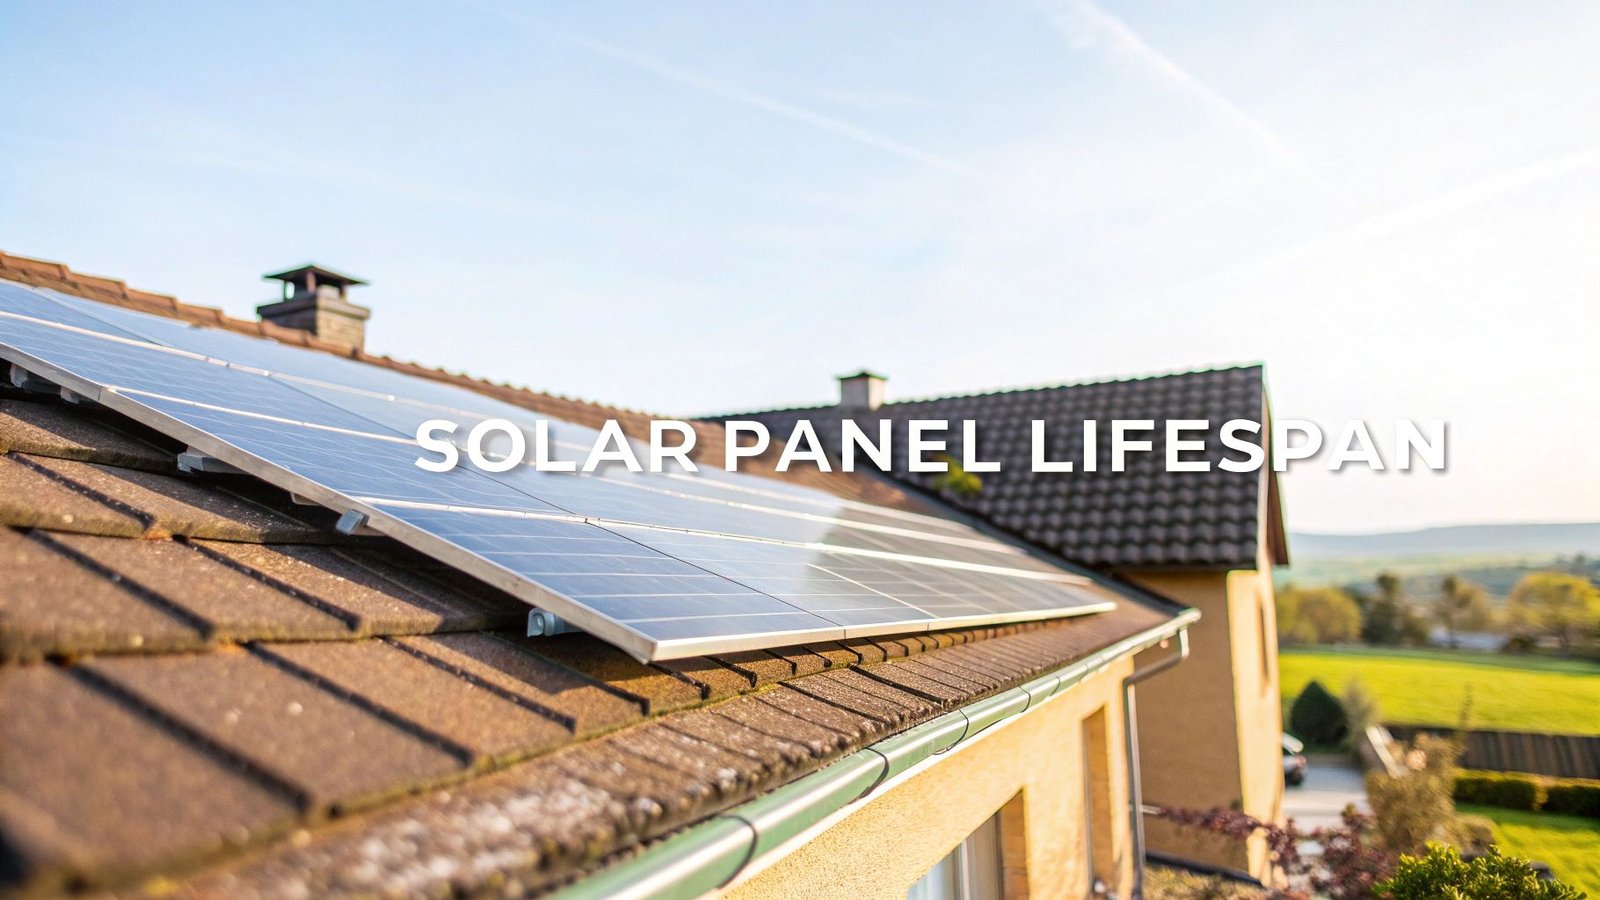
How Long Do Home Solar Panel Systems Last?
This is a great question, and the answer is one of the best things about going solar. High-quality solar panels are incredibly durable. Most top-tier manufacturers offer a performance warranty that lasts 25 to 30 years.
That warranty isn't just saying the panels will work—it's a guarantee that after a quarter-century of rain, sun, and snow, they will still produce at least 80-90% of their original power. They are true workhorses. This chart visualizes the expected degradation over time.
Typical Solar Panel Performance Warranty
- Year 1: Guaranteed production of at least 98%
- Year 10: Guaranteed production of at least 90%
- Year 25: Guaranteed production of at least 85%
The inverter, the device that converts the DC power from your panels into the AC power your home uses, typically has a shorter lifespan. You can expect a 10 to 15-year warranty on most standard inverters. However, many of the newer microinverter systems now come with 25-year warranties, putting them on par with the panels themselves. With proper installation, your system is a long-term asset.
What Happens During a Power Outage if I Have Solar Panels?
This is a big one, and it's where a lot of confusion comes in. If your solar system is tied to the grid without a battery, it will automatically shut down during a power outage.
This isn't a design flaw; it's a critical safety feature. It's legally required to prevent your system from sending electricity back onto the grid while utility crews are trying to repair the lines.
So, how do you keep the lights on? You need a solar battery.
By adding a battery, you can store the excess solar energy your panels generate during the day. When the grid goes down, your system automatically disconnects from it and draws power from your battery instead. You effectively create your own personal microgrid, keeping your essential appliances running without a hitch.
Does Installing Solar Panels Increase My Home's Value?
Absolutely. Multiple studies have shown that owning your solar panel system adds real, measurable value to your property. Research from Zillow found that, on average, homes with solar panels sell for 4.1% more than similar homes without them.
Potential buyers see an owned system as a huge perk. It's an upgrade that immediately starts saving them money on one of their biggest monthly expenses.
The exact amount of value added will depend on a few things:
- Location: Higher electricity rates in your area mean the solar system provides more value.
- System Specs: The size and age of your solar energy system matter.
- Ownership: This is key. An owned system adds significant value, while a leased system can sometimes complicate a home sale.
Ultimately, solar makes your home more modern, efficient, and appealing to today's buyers.
How Many Solar Panels Will I Actually Need?
There's no one-size-fits-all answer here. The right number of panels is completely customized to your home and your energy habits.
To figure this out, an installer will start by looking at your annual electricity usage. Pulling your last 12 months of utility bills gives a clear picture of how much power your family consumes.
Next, they'll perform a detailed assessment of your roof—its size, the direction it faces (south-facing is ideal), and any potential shading from trees or other buildings. Finally, they'll talk to you about your goals. Are you trying to offset 100% of your electricity bill, or just a portion?
All this data gets plugged into specialized design software to map out a solar power home installation plan. This detailed approach ensures your system is sized perfectly to meet your needs and deliver the financial returns you expect, without over- or under-building.
Ready to start your own solar journey? The team at Radiant Energy specializes in designing and installing high-quality solar energy solutions for homes and businesses. We handle every step, from custom design and permitting to flawless installation and monitoring, ensuring you get a reliable system built to last. Take the first step toward energy independence and contact us for a free consultation at https://radiantenergysolar.com.