It’s easy to glance up at your solar panels and think they're doing just fine, even with a little dust on them. But that seemingly harmless layer of grime is quietly putting a dimmer on your system's output, and it's costing you money.
Why Grime Is Quietly Costing You Money
Every speck of dust, film of pollen, or stubborn bird dropping blocks a tiny bit of sunlight from ever reaching the photovoltaic cells. It might not look like much, but those tiny obstructions add up across your entire array.
Think of it like this: a clean panel can absorb maximum sunlight, but a dirty one reflects some of that energy away. In many parts of the U.S., studies have shown that soiled panels can lead to energy losses of around 7% annually. In really dusty or polluted areas, I've seen homeowners lose up to 25% of their production. That's not just a number on a spreadsheet; it’s a real hit to your wallet.
The Real-World Financial Impact
Let's break down what that means. If your system is running at 20% less efficiency, you're essentially losing one-fifth of your potential savings every single month. That slowdown stretches out the payback period for your entire solar investment, making it take longer to break even.
A proactive solar panel cleaning strategy isn't just about looks. It's a core part of getting the best financial performance out of your system and making sure your investment pays off like it's supposed to.
This reality leaves every solar owner with a choice: get up there and clean them yourself to save a few bucks, or call in a professional who has the right tools and safety gear. The chart below shows how even a small amount of buildup can accumulate into a significant loss over time.
| Soiling Level | Annual Energy Loss | Potential 5-Year Financial Impact (on a 7kW system) |
|---|---|---|
| Light | 5% | ~$350 |
| Moderado | 10% | ~$700 |
| Heavy | 20% | ~$1,400 |
Note: Financial impact is an estimate and varies based on system size, local electricity rates, and soiling conditions.
This data really brings home a crucial point. For most people, a simple cleaning session easily pays for itself in restored energy production. Just like you wouldn't skip an oil change on your car, you can't neglect your panels. The same logic applies to all of your home's exterior surfaces; you can learn more about the importance of exterior surface cleaning for maintaining both performance and longevity.
Protecting Your Long-Term Investment
Beyond the immediate hit to your savings, letting grime sit on your panels can cause bigger problems down the road. Stubborn debris, especially baked-on bird droppings, can create "hot spots." This is where individual cells overheat and wear out much faster than the rest of the panel.
This not only shortens the life of the panel but can also create performance issues that might even void your warranty. To learn more about keeping your system running like a well-oiled machine, take a look at our other articles on optimización de paneles solares. The rest of this guide will walk you through the hands-on steps to get your panels back to peak performance.
Building Your Essential Cleaning Toolkit
Before you even think about hosing down your panels, let's talk about gear. Getting your toolkit right is absolutely critical. Using the wrong equipment isn't just inefficient; it can permanently damage your system and even void your warranty. The whole point is to assemble a kit that keeps both you and your panels safe.
Think about it like this: you wouldn't take a steel wool pad to your car's paint job. Your solar panels deserve the same care. They have delicate anti-reflective coatings and glass surfaces that are surprisingly easy to scratch. Those tiny micro-scratches might not look like much at first, but they add up, reducing the light hitting the solar cells and slowly but surely chipping away at your system's output.
Core Cleaning Supplies
Your go-to tool is going to be a cepillo de cerdas suaves, ideally one on an extendable pole. This is your primary weapon against the grime. It needs to be gentle enough not to scratch the glass but firm enough to knock loose dirt, pollen, and the occasional stubborn bird dropping.
Next, you'll need a basic garden hose with a good spray nozzle. I see a lot of homeowners tempted to fire up their pressure washer, but that's a huge mistake. The high-pressure stream can easily force water past the panel’s seals, leading to moisture getting inside and causing all sorts of electrical headaches. A gentle, steady shower from a hose is all you need to rinse away the dirt you've scrubbed loose.
To finish the job properly, a high-quality, non-abrasive squeegee is a must. If you just let water air-dry on the panels, especially if you have hard water, you'll trade a layer of dirt for a layer of mineral spots. A good squeegee gets rid of that risk and leaves the surface perfectly clear.
What About Water and Soap?
The type of water you use actually makes a difference. Your standard tap water is often loaded with minerals like calcium and magnesium. When this "hard water" evaporates, it leaves behind a chalky film—limescale—that can block sunlight just like dirt.
That's why deionized or filtered water is the gold standard, at least for a final rinse. If that’s not practical, just be extra thorough with your squeegee to prevent that mineral buildup.
When it comes to cleaning solutions, simple is best. Most solar panel manufacturers specifically advise against using harsh detergents or even standard dish soap. These can leave behind a sticky film that just attracts more dust. Honestly, a bucket of clean water is usually all you need.
A common misconception is that you need aggressive scrubbing and strong soaps to get solar panels clean. The truth is, a gentle approach with a soft brush and clean water is not only safer but far more effective for protecting the sensitive surfaces of your panels.
Don't Forget Your Safety Gear
This part is non-negotiable, especially when you're working up on a roof. Your safety has to be the top priority.
- Sturdy Ladder: Make sure your ladder is in good shape and set up on solid, level ground. For safe roof access, it should extend at least three feet above the roofline.
- Calzado antideslizante: Roofs can be incredibly slick, even when they look dry. A good pair of shoes with excellent grip is essential to prevent a fall.
- Arnés de seguridad: If your roof has any kind of noticeable pitch, a safety harness is a must-have. It’s a small investment that can prevent a life-altering accident.
- Gloves: A decent pair of work gloves will protect your hands from scrapes and give you a better grip on your tools.
Putting this kit together means you’re ready to clean your panels safely and effectively. Understanding why each tool matters is the first step in protecting your solar investment for years to come. To get a better sense of the surfaces you're working with, you can learn more about the componentes de un panel solar en nuestra guía detallada.
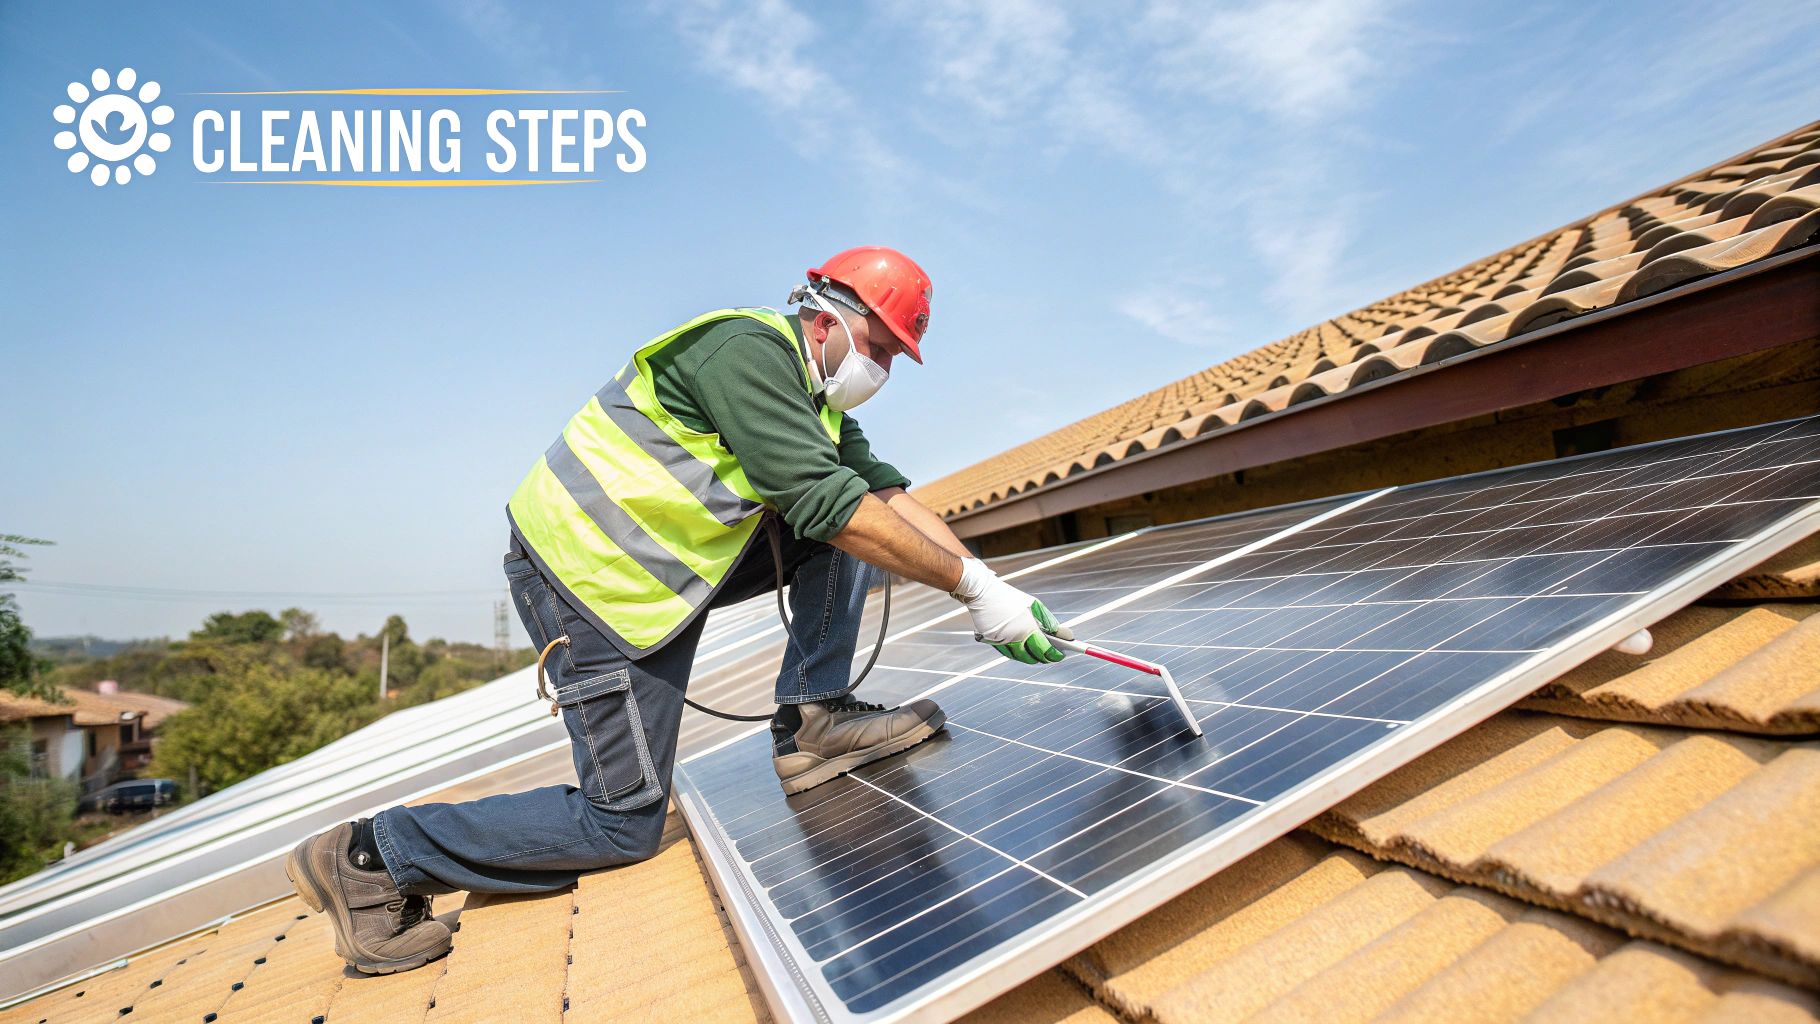
Your Guide to Safe and Effective DIY Cleaning
Now that you have your tools, it’s time to get down to the actual cleaning. This is more than just a quick spray-down; it’s a careful process that will safely restore your system’s performance. The right technique not only boosts your power output but also protects the delicate surfaces of your panels from any accidental damage.
Timing is everything. The best time to clean your panels is on a cool, overcast morning or in the early evening. This is a classic rookie mistake, but cleaning in the midday sun will cause the water to evaporate almost instantly, leaving behind ugly mineral streaks. More importantly, hitting a scorching hot panel with cold water can create choque térmico—a rapid temperature change that, in rare cases, can even cause micro-cracks in the glass.
Prioritizing Safety Before You Start
Before a single drop of water touches anything, your first move is to shut down your entire solar system. Water and electricity are a dangerous mix, period. Just follow your manufacturer's shutdown procedure, which almost always involves turning off both the AC and DC disconnects. This isn't optional; it's a critical safety step to eliminate any risk of electrical shock.
Once the system is powered down and you’ve confirmed the panels are cool to the touch, you’re ready for the hands-on part. For a really deep dive into the process and gear, check out this comprehensive DIY guide on how to clean solar panels.
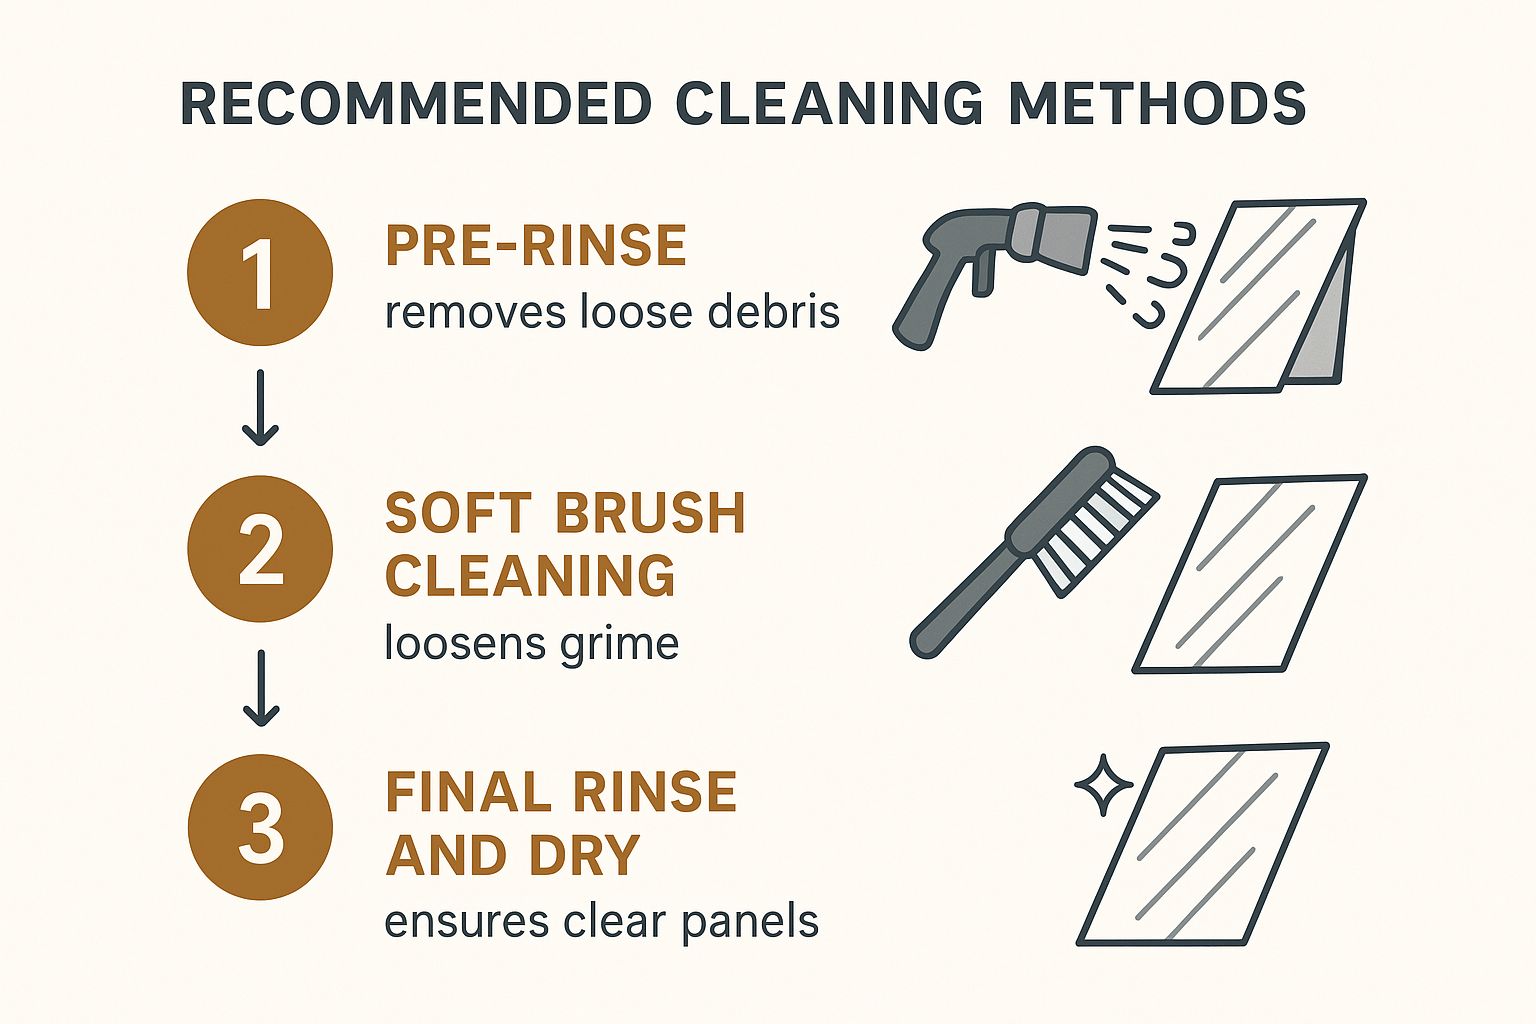
The Pre-Rinse: A Gentle First Pass
Kick things off with a good rinse using your garden hose. The idea here is to gently wash away all the loose stuff sitting on the surface—think dust, pollen, and light dirt. You're basically prepping the canvas.
This initial rinse is crucial because it prevents you from grinding those abrasive little particles into the glass when you start scrubbing. You should never, ever use a high-pressure nozzle or a pressure washer. The force is way too much and can damage the panel seals, which will likely void your warranty. All you need is a gentle, rain-like shower.
The Gentle Scrub: Removing Stubborn Grime
With the loose debris gone, it's time to deal with the more stubborn grime. Dip your soft-bristle brush into your bucket of clean water. Remember, harsh detergents are a bad idea—they aren't necessary and often leave behind a film that actually attracts more dust. Pure water is your best friend here.
Using your extension pole, start scrubbing the panels with methodical, overlapping strokes. Let the soft bristles do the work; there's no need to muscle it with a lot of pressure. I’ve found that the lower edges of the panels are where dirt and gunk love to collect, so give them a little extra attention.
Crucial Tip: Never, under any circumstances, should you walk or kneel directly on your solar panels. They’re built tough, but concentrated weight can cause invisible micro-cracks in the solar cells. You won't see the damage, but you'll feel it in your system's performance. Always work from your ladder or the roof itself.
For those really tough spots like baked-on bird droppings or tree sap, resist the urge to scrape. Just soak a cloth or sponge and let it sit on the area for a few minutes. This softens the residue right up, and it should come off easily with your brush. Patience will save you from scratching the glass.
The entire solar panel cleaning market is growing for a reason—it’s projected to hit $2.98 billion by 2035. That growth is driven by property owners trying to combat efficiency losses that can reach as high as 25% from soiling alone. It really shows how much proper cleaning matters.
Achieving a Streak-Free Finish
After you’ve scrubbed the entire array, grab the hose for the final rinse. Work from the top down, making sure you wash away all the loosened grime and any soap residue.
Now for the step that truly makes a difference: drying with a squeegee. If you let the panels air-dry, especially in places with hard water, you'll be left with mineral spots that block sunlight. A high-quality, soft rubber squeegee is your secret weapon for a flawless finish.
Here’s the pro technique:
- Start High: Place your squeegee at the top edge of a panel.
- Overlap Your Strokes: Pull it straight down in one smooth motion. For the next stroke, overlap the previous one by about an inch to avoid leaving any lines.
- Manténgalo limpio: After every single pass, wipe the squeegee blade with a clean, lint-free microfiber cloth. This stops you from dragging dirt onto the next section.
To make this easier to follow, here's a quick checklist to guide you through the process.
DIY Solar Panel Cleaning Checklist
| Phase | Action Item | Key Consideration |
|---|---|---|
| Preparation | Shut down the entire solar system. | Follow the manufacturer's AC/DC disconnect procedure. |
| Preparation | Check panel temperature. | Ensure panels are cool to the touch to avoid thermal shock. |
| Preparation | Gather all tools and fill the bucket. | Have your hose, soft brush, squeegee, and bucket ready to go. |
| Limpieza | Perform the initial pre-rinse. | Use a gentle spray to remove loose dust and debris. No pressure washers. |
| Limpieza | Gently scrub with a soft-bristle brush. | Use clean water and overlapping strokes. No harsh chemicals. |
| Limpieza | Address stubborn spots carefully. | Soften with a wet cloth; do not scrape or apply excess force. |
| Finishing | Complete the final rinse. | Thoroughly wash away all loosened grime from top to bottom. |
| Finishing | Squeegee panels for a streak-free finish. | Overlap strokes by one inch and wipe the blade after each pass. |
| Completion | Conduct a final visual inspection. | Check for missed spots or streaks from the ground. |
| Completion | Power the system back on. | Wait until panels are completely dry (at least one hour). |
This step-by-step approach ensures you don't miss anything and get the best possible results every time.
After you've squeegeed every panel, give them one last look from the ground to make sure you didn't miss any spots. Let the panels and all their connections air-dry completely for at least an hour before you follow the startup procedure to power everything back on. Now your system is clean, safe, and ready to produce maximum power.
How Often Should You Clean Your Solar Panels?
Figuring out the right cleaning schedule for your solar panels isn't about picking a random date on the calendar. It’s all about understanding your specific environment. There’s simply no one-size-fits-all rule here. What works for a home on a rainy coast is completely different from what’s needed for a house in a dusty, dry region.
The real goal is to create a smart cleaning plan so you’re only doing the work when it’s truly necessary, which saves you both time and effort.
So, what makes panels get dirty? Your local climate is the biggest factor, by far. If you're in an arid area with frequent dust storms, you’ll be cleaning a lot more often than someone who benefits from regular, panel-washing rainfall.
You also need to look at your immediate surroundings. Do you live near a busy highway, an industrial zone, or an active farm? These places kick up pollutants and fine particles that settle on your panels, creating a stubborn film that a simple rain shower won't touch. Even the angle of your roof plays a part—steeper panels shed debris more easily, while flatter ones tend to collect grime.
Creating Your Custom Cleaning Schedule
Let's dial in a starting point. For most homeowners, a good cleaning every six to twelve months is a solid baseline. But again, this can change dramatically depending on where you live.
The goal isn't just to clean your panels, but to clean them when it matters. By learning to read the signs from both your environment and your system's data, you can move from a fixed schedule to a performance-based one.
There's a reason the market for dedicated solar cleaning gear is booming. The demand for specialized equipment is projected to hit around $142.9 million by 2025, a trend driven by owners who know that keeping their arrays clean is key to peak efficiency. This growth, highlighted in recent market analyses, shows a growing understanding that proactive maintenance is crucial. You can find more details on the solar cleaning equipment market on Market Report Analytics.
To help you get started, here’s a simple framework based on your home's environment.
| Your Environment | Frecuencia de limpieza recomendada | Key Factors to Watch |
|---|---|---|
| Low-Impact Area (Suburban, frequent rain, low pollution) | Annually (1 time per year) | Light pollen buildup in spring, occasional dust. |
| Moderate-Impact Area (Near highways, farms, or moderate dust) | Bi-Annually (2 times per year) | Visible traffic film, agricultural dust, bird droppings. |
| High-Impact Area (Desert climate, industrial zones, heavy pollen) | Quarterly (4 times per year) | Thick layers of dust, heavy soiling, noticeable grime. |
This table is a great starting point, but the real secret to getting it right is learning to trust your eyes and your data.
Moving Beyond Guesswork with Visual Checks
The most straightforward way to know if your panels need cleaning? Just look at them.
From a safe spot on the ground, can you see a visible layer of dirt, streaks, or a smattering of bird droppings? If the grime is obvious, you're already losing energy production.
Try to do a quick visual check once a month. It only takes a minute and is the best early warning system you have. Don’t wait for the dirt to become a thick, caked-on mess—even a light, even film of dust can be surprisingly effective at blocking sunlight.
Using Data to Guide Your Decisions
For a more precise, data-backed approach, it’s time to check your solar monitoring system. Your system's app or web portal tracks energy output in real-time, giving you some powerful information to work with.
The first step is to get familiar with what your system typically produces on clear, sunny days during different seasons.
If you start seeing a gradual but steady decline in output over several weeks—despite good weather—soiling is the most likely culprit. A sudden, unexplained drop of 5-15% is a huge red flag that your panels are overdue for a wash. By comparing your current output to historical data from the same time last year, you can easily spot performance dips.
This data-driven method ensures you’re cleaning based on real-world need, not just a guess, and getting the most from your investment.
Knowing When to Call in the Pros
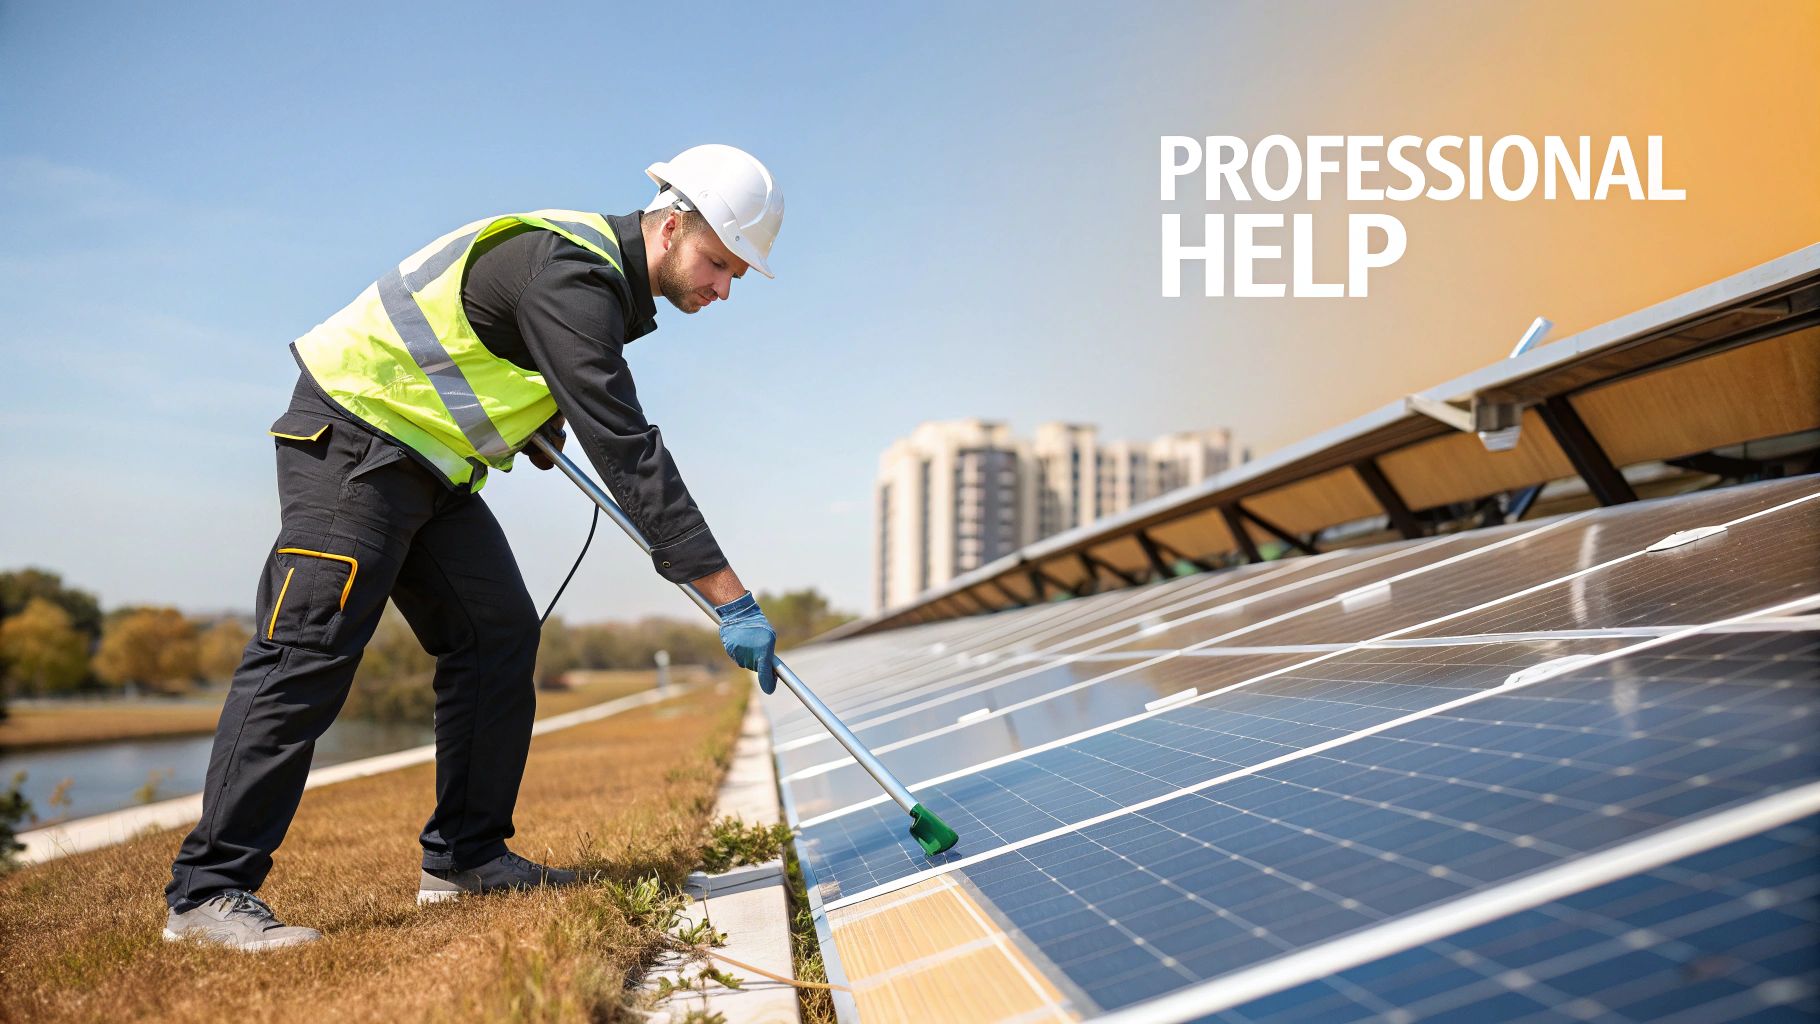
While tackling solar panel cleaning yourself can be satisfying, it’s definitely not a one-size-fits-all job. Knowing when to step back and call a professional is just as important as knowing how to do the cleaning. Sometimes, the risks simply outweigh the savings, and hiring an expert is the smartest move you can make.
It really boils down to a personal risk assessment. If you've got a single-story home with a low-pitched roof and easy access, going the DIY route is often a fantastic option. But the moment you add a second story, a steep roof, or slippery surfaces like metal or tile, the whole equation changes. A fall from that height is serious business.
When Is It Time to Call a Professional?
There are a few scenarios that should be immediate red flags, signaling it's time to hire a pro. These are situations where the potential for injury or damage to your system is just too high for the average homeowner.
Take a good, honest look at your setup. If any of these sound familiar, it’s best to leave it to someone with the right training and equipment:
- Multi-Story Homes: The higher you go, the higher the risk. Working on a second or third-story roof requires experience and safety gear that most of us don't have lying around in the garage.
- Steep or Slippery Roofs: Any roof with a steep pitch (think anything over a 6/12 angle) is hazardous territory. Metal and tile roofs can also be incredibly slick, even when they're completely dry.
- Hard-to-Reach Panels: Are your panels tucked away in an awkward spot, like over a sunroom or on a tricky roofline? Trying to clean these from a ladder is often ineffective and unsafe. Professionals have specialized poles and equipment to handle these jobs safely.
A professional service isn't just about getting clean panels. It’s about the peace of mind you get from avoiding a dangerous fall or accidentally damaging your expensive system. Their expertise and insurance are your safety net.
Sometimes, the problem isn't getting to the panels, but what's on them. If you're dealing with stubborn grime like lichen, moss, or heavy mineral buildup from hard water, a simple soft brush and hose just won't cut it. Professionals use specialized, panel-safe cleaning solutions and tools to tackle these issues without damaging the sensitive anti-reflective coating.
DIY vs Professional Cleaning: When to Choose Each
Deciding between DIY and hiring a professional can be tricky. This table breaks down the key factors to help you make the right call for your specific situation.
| Factor | DIY Cleaning Is Suitable | Professional Service Is Recommended |
|---|---|---|
| Roof Access | Single-story home, low-pitch roof, panels are easily reached from the ground or a short ladder. | Multi-story home, steep-pitch roof (>6/12), or complex rooflines requiring specialized access equipment. |
| Safety Concerns | You are physically able, confident at heights, and have basic safety gear (non-slip shoes, spotter). | You have any physical limitations, are uncomfortable with heights, or the roof surface is slippery (metal, tile). |
| Type of Debris | Light dust, pollen, loose leaves, and bird droppings that can be removed with water and a soft brush. | Stubborn grime like baked-on dirt, lichen, moss, heavy mineral deposits, or construction debris. |
| Time & Equipment | You have a few hours to spare and own a quality soft-bristle brush, a hose with a spray nozzle, and a squeegee. | You lack the time or the proper equipment (e.g., water-fed pole systems, de-ionized water filters). |
| System Complexity | A small, straightforward array on a simple roof structure. | Large or complex solar arrays, or panels that are difficult to access without causing damage. |
Ultimately, the best choice depends on your comfort level, the specifics of your home, and the condition of your panels.
How to Find and Vet a Reputable Pro
Once you've decided to hire out, the next step is finding the right person for the job. You want someone who knows what they're doing, because an inexperienced cleaner could do more harm than good.
The demand for solar panel cleaning is booming. According to market analysis from Future Market Insights, the industry is expected to grow from around USD 1.05 billion in 2025 to nearly USD 2.99 billion by 2035. With so many new companies popping up, it's more important than ever to do your homework.
To protect your investment, make sure you ask any potential company a few key questions:
- Are you insured? Always ask for proof of both liability and worker's compensation insurance. This protects you if a worker gets hurt on your property or if your system is accidentally damaged.
- What's your experience? You want a company that specializes in solar panels, not a general window cleaner who might not understand the nuances of working with solar arrays.
- What equipment and solutions do you use? A pro should be using filtered or deionized water to prevent mineral spots and only manufacturer-approved, non-abrasive cleaning agents.
- What are your safety protocols? A reputable company will have a clear safety plan, especially for working on steep roofs where harnesses and other fall protection are essential.
Taking a little time to vet your options ensures your panels get the expert care they deserve. And if you think your system might need more than just a cleaning, our guide on comprehensive https://radiantenergysolar.com/solar-panel-servicing/ can walk you through what to expect from full maintenance.
Got Questions About Cleaning Your Solar Panels?
Even after you've got a plan, a few questions are bound to pop up. I get these all the time from homeowners, so let's tackle the most common ones head-on. Getting these details right will help you clean with total confidence.
Can I Just Use Water From My Garden Hose?
Technically, yes, but tap water isn't always your best friend here, especially for the final rinse. If you live in an area with hard water, you're setting yourself up for a new problem: limescale. That chalky white film left behind after the water dries can block sunlight just as much as the dirt you just washed off.
For a truly spotless, streak-free finish, deionized or distilled water is what the pros use because it leaves absolutely nothing behind. If your garden hose is your only option, make your squeegee work count. You have to get every last drop of that mineral-heavy water off the glass before it air-dries and leaves spots.
It really boils down to your water's mineral content. Using hard tap water without drying it perfectly means you've just traded one kind of obstruction (dirt) for another (mineral spots), undoing all your hard work.
Doesn't Rain Clean My Panels for Me?
A good rainstorm can rinse off a bit of loose dust, which is better than nothing, but it’s definitely not a substitute for a real cleaning. Rainwater isn't perfectly pure; it picks up airborne dust and pollutants on its way down. When it evaporates, guess where that gunk stays? Yep, right on your panels.
More importantly, rain just doesn't have the muscle. It can't scrub off stubborn grime like bird droppings, sticky tree sap, or that oily film that settles on panels near busy roads. Think about your car's windshield—a quick downpour might clear some dust, but it takes a hands-on wash to get it truly clean.
This chart really puts the difference into perspective.
As you can see, rain gives you a small bump, but only a proper cleaning gets your panels back to peak performance.
Could I Accidentally Void My Warranty by Cleaning the Panels?
You absolutely can, and it's a costly mistake to make. Most solar panel warranties are fine with you performing gentle, routine cleaning using the right stuff. Where you get into trouble is when you use methods the manufacturer considers improper maintenance.
Be warned: using any of the following is a fast track to voiding your warranty.
- High-pressure washers: The force can drive water past the panel's protective seals and straight into the wiring.
- Abrasive cleaners or harsh chemicals: These can easily scratch the anti-reflective coating on the glass, permanently damaging the panel.
- Walking or kneeling on the panels: This is a huge one. Your weight can cause micro-cracks in the solar cells that are invisible to the naked eye but kill your system's output.
Before you do anything, dig out your warranty documents or look up the manufacturer’s guidelines online. When in doubt, the safest bet is always low-pressure water, a soft-bristle brush, and a good squeegee. That simple approach will keep you on the right side of virtually every warranty out there and protect your investment for the long haul.
Keeping your solar panels in top shape is the best way to make sure you’re getting every last watt you paid for. If you have more questions or need a hand with installation and maintenance, the team at Energía radiante is ready to help. You can check out all our solar solutions at https://radiantenergysolar.com.