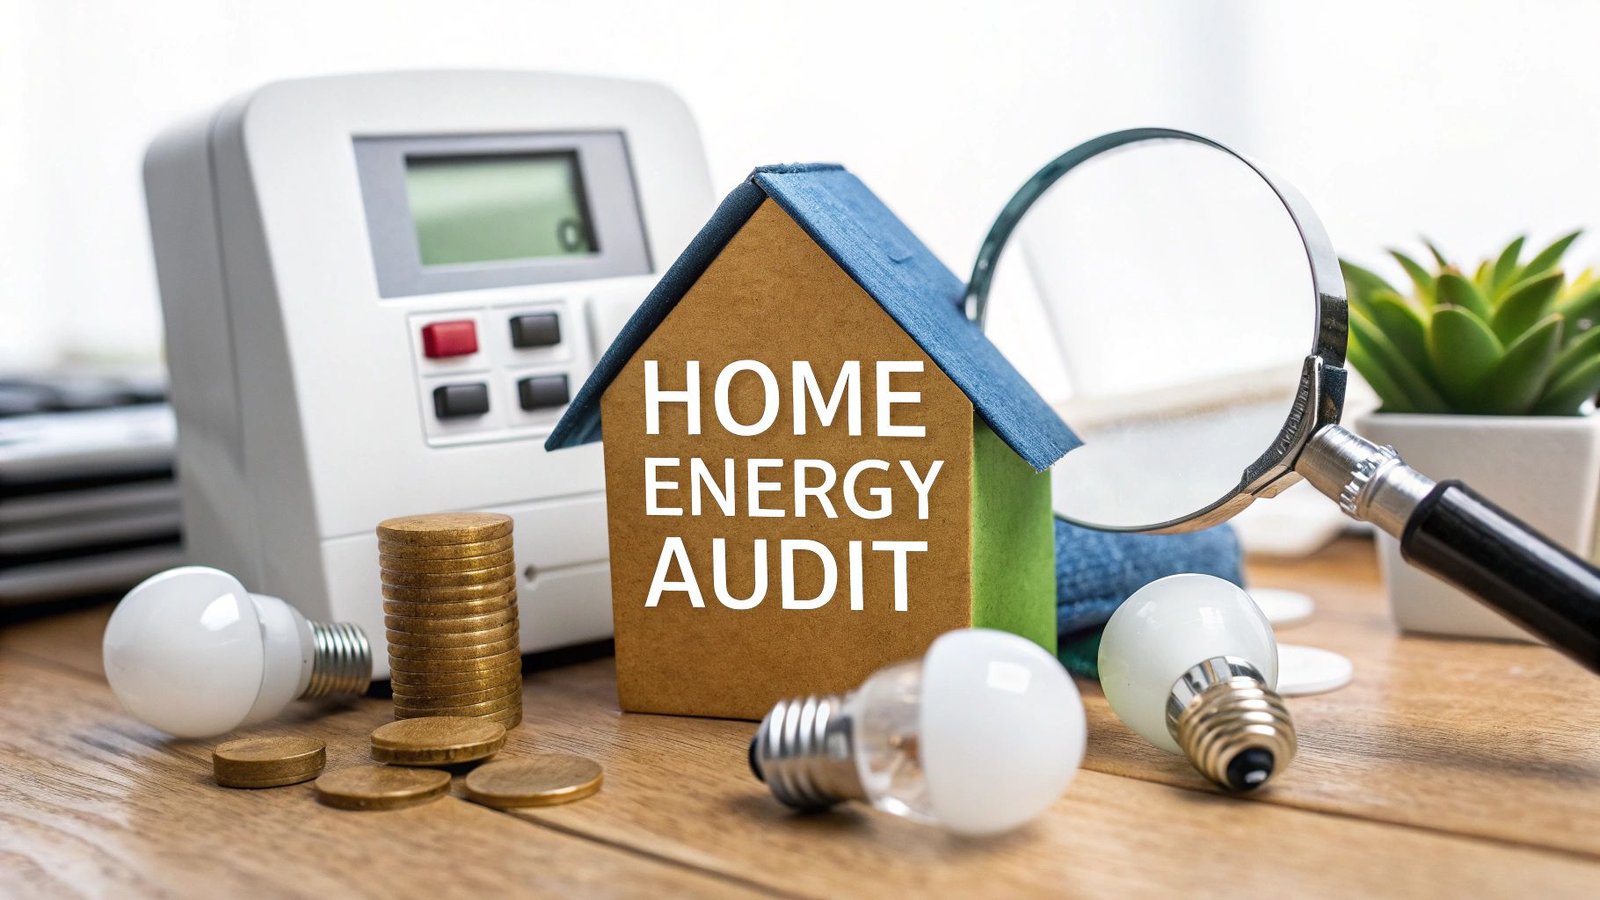
Rising energy costs can feel like an unstoppable drain on your finances, but what if you held the map to plug those leaks? A thorough home energy audit is the single most powerful tool for identifying where your money is going and how to get it back. It’s more than just saving a few dollars; it is about enhancing comfort, increasing your home's value, and reducing your environmental footprint.
This definitive home energy audit checklist breaks down the process into 10 manageable, high-impact steps. We will move beyond generic advice, providing actionable data, specific targets, and expert tips to transform your home into a model of efficiency. You will learn precisely where your home is losing energy, from inadequate insulation in the attic to phantom power draws from idle electronics.
Prepare to discover exactly where your energy is escaping and learn the most cost-effective ways to stop it. This guide provides a clear, step-by-step path to lower utility bills and a more comfortable living environment. To understand where your money goes, consider the typical energy breakdown in a U.S. home:
1. Insulation Assessment
A crucial first step in any comprehensive home energy audit checklist is evaluating your home’s insulation. Proper insulation acts as a thermal barrier, slowing the movement of heat to keep your home warmer in the winter and cooler in the summer. Inadequate or improperly installed insulation is a primary source of energy waste, forcing your HVAC system to work overtime to maintain a comfortable temperature.
This assessment involves checking the insulation levels, or R-values, in key areas like the attic, walls, floors, and crawl spaces against recommended standards for your climate zone. Since heat rises, the attic is the most critical area to inspect.
Por qué es importante
Effective insulation significantly reduces heating and cooling costs, which can account for over 50% of your home's energy consumption. For example, retrofit programs in California and New England have demonstrated energy savings of 12-18% from insulation upgrades alone. Furthermore, ENERGY STAR certified homes typically require R-38 or higher attic insulation, showcasing its importance in high-efficiency building standards.
How to Assess Your Insulation
Follow these actionable steps to evaluate your home's thermal barrier:
- Measure Attic Depth: Carefully access your attic and use a ruler to measure the depth of the insulation. A quick visual inspection can reveal if it's below the top of your floor joists, which is a clear sign it's insufficient.
- Identify Gaps and Cold Spots: Use a thermal camera (many can be rented or borrowed) to scan walls and ceilings. It will visually pinpoint "cold spots" where insulation is missing, compressed, or ineffective.
- Check for Moisture: Look for damp, compressed, or moldy insulation. Wet insulation loses its R-value and indicates potential moisture problems that must be addressed before adding more.
Información clave: Always air seal before you insulate. Sealing cracks and gaps in your attic floor, around light fixtures, and plumbing vents prevents air leakage, which can otherwise compromise the performance of new insulation.
Recommended R-Values by Climate Zone
Your home's location dictates its required insulation levels. The U.S. is divided into climate zones, each with different R-value recommendations from the Department of Energy.
Chart data sourced from the Department of Energy.
This assessment is foundational; without adequate insulation, other energy efficiency upgrades will have a limited impact. Prioritizing this step ensures you are tackling one of the biggest sources of energy loss first.
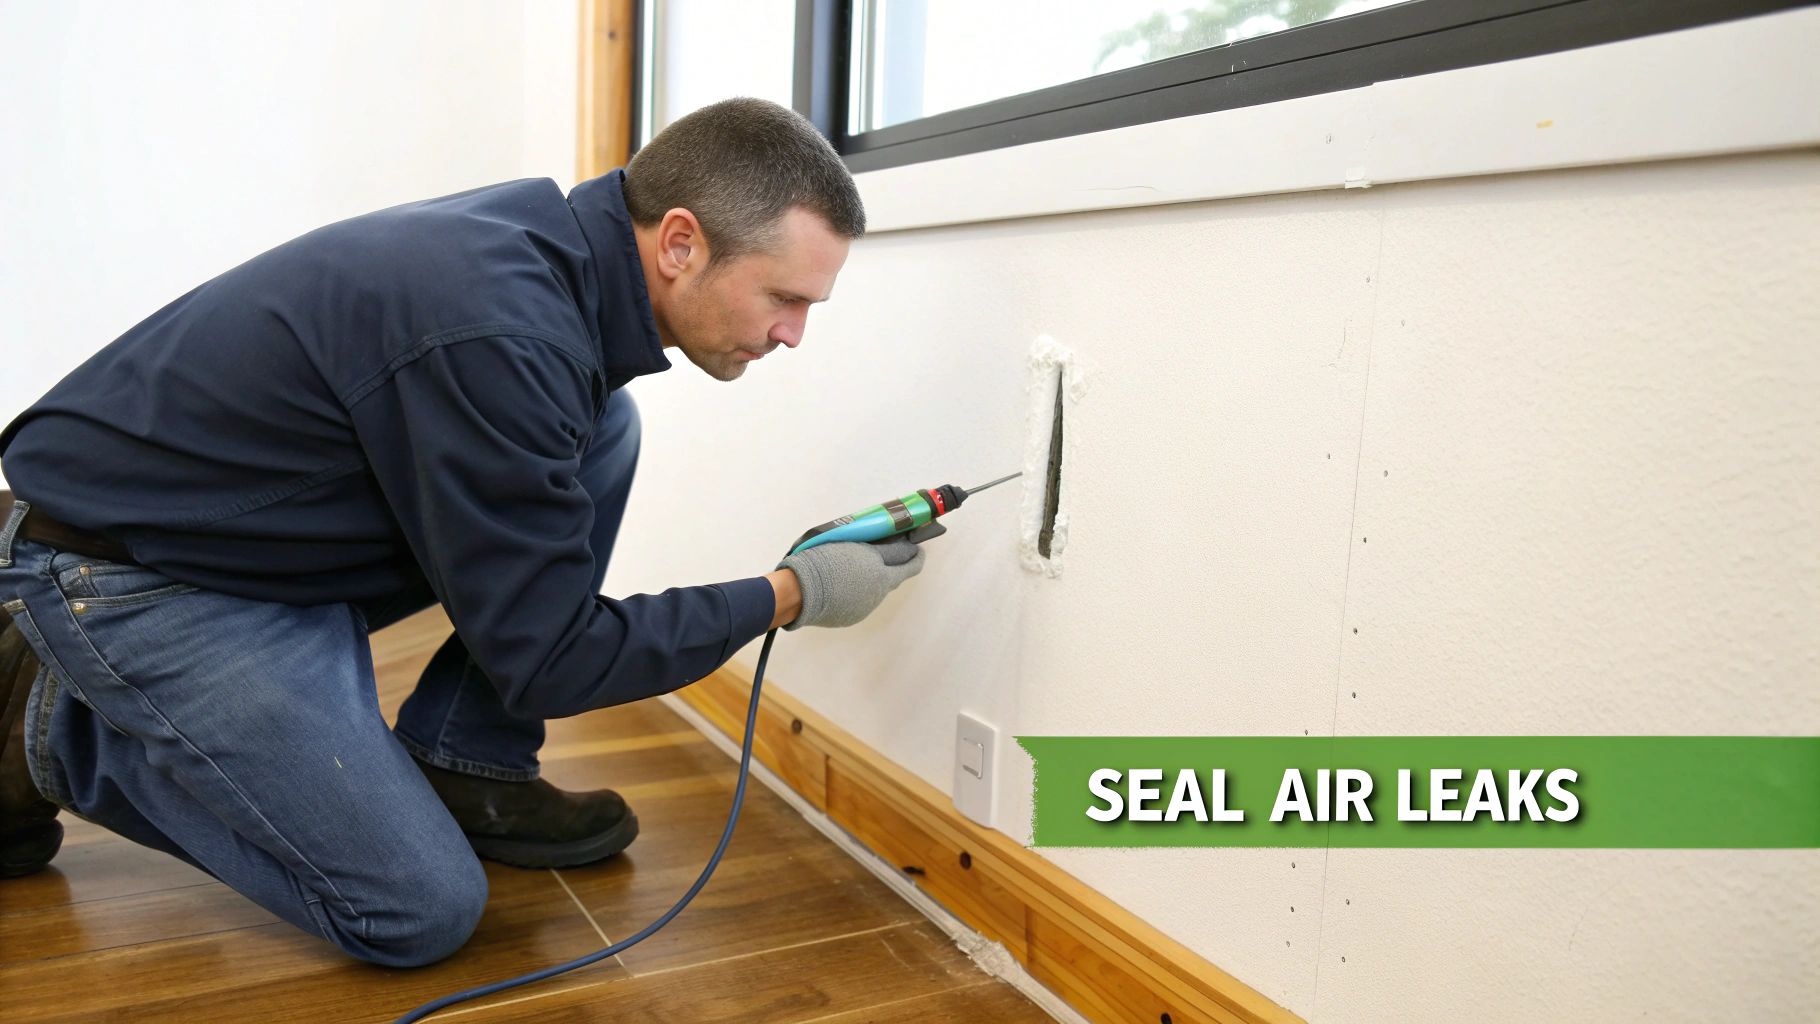
2. Air Sealing and Infiltration Testing
A critical component of any home energy audit checklist is identifying and sealing unintended air leaks in your home's building envelope. Air infiltration, or the movement of outside air into a building, can account for 25-40% of heating and cooling energy loss in a typical home. These leaks occur through gaps and cracks in windows, doors, electrical outlets, foundation sills, and attic penetrations.
This process involves a thorough inspection to locate these drafts and seal them using appropriate materials. A professional audit often uses a blower door test to depressurize the home, making leaks easier to find and measure, providing a clear benchmark for improvement.
Por qué es importante
Properly air sealing your home significantly reduces energy bills, improves indoor comfort by eliminating drafts, and enhances indoor air quality by preventing pollutants from entering. The Department of Energy’s Weatherization Assistance Program, which heavily focuses on air sealing, achieves average energy savings of 21% for participants. Similarly, New York State audit programs show that air sealing alone can save homeowners $200-$400 annually.
How to Address Air Leaks
Follow these actionable steps to find and seal leaks in your building envelope:
- Perform a Blower Door Test: Hire a professional to conduct a blower door test. This establishes a baseline air exchange rate (measured in ACH50) and helps pinpoint the largest leaks.
- Use a Thermal Camera: A thermal camera can visually identify air leakage patterns around windows, doors, and outlets, showing you exactly where cold air is infiltrating.
- Seal Gaps Systematically: Use the right materials for the job. Apply caulk for small, stationary gaps (less than 1/4 inch), use weatherstripping for moving parts like doors and windows, and apply spray foam for larger penetrations around pipes and wiring.
- Check All Penetrations: Pay close attention to areas where utilities enter your home, such as plumbing pipes, electrical wiring, HVAC ducts, and chimney flues, as these are common sources of major leaks.
Información clave: Prioritize sealing the largest and highest/lowest leaks first. Gaps in the attic floor and foundation have the greatest impact on energy loss due to the "stack effect," where warm air rises and escapes through the top while cool air is pulled in at the bottom.
Visualizing Air Sealing Impact
A blower door test provides a home's air changes per hour (ACH) reading, which quantifies its leakiness. Reducing this number is the primary goal of air sealing.
Video courtesy of The Department of Energy.
Addressing air infiltration is a foundational step in improving energy efficiency. Without it, the effectiveness of insulation and high-efficiency HVAC systems is compromised, making this a top priority in your home energy audit.
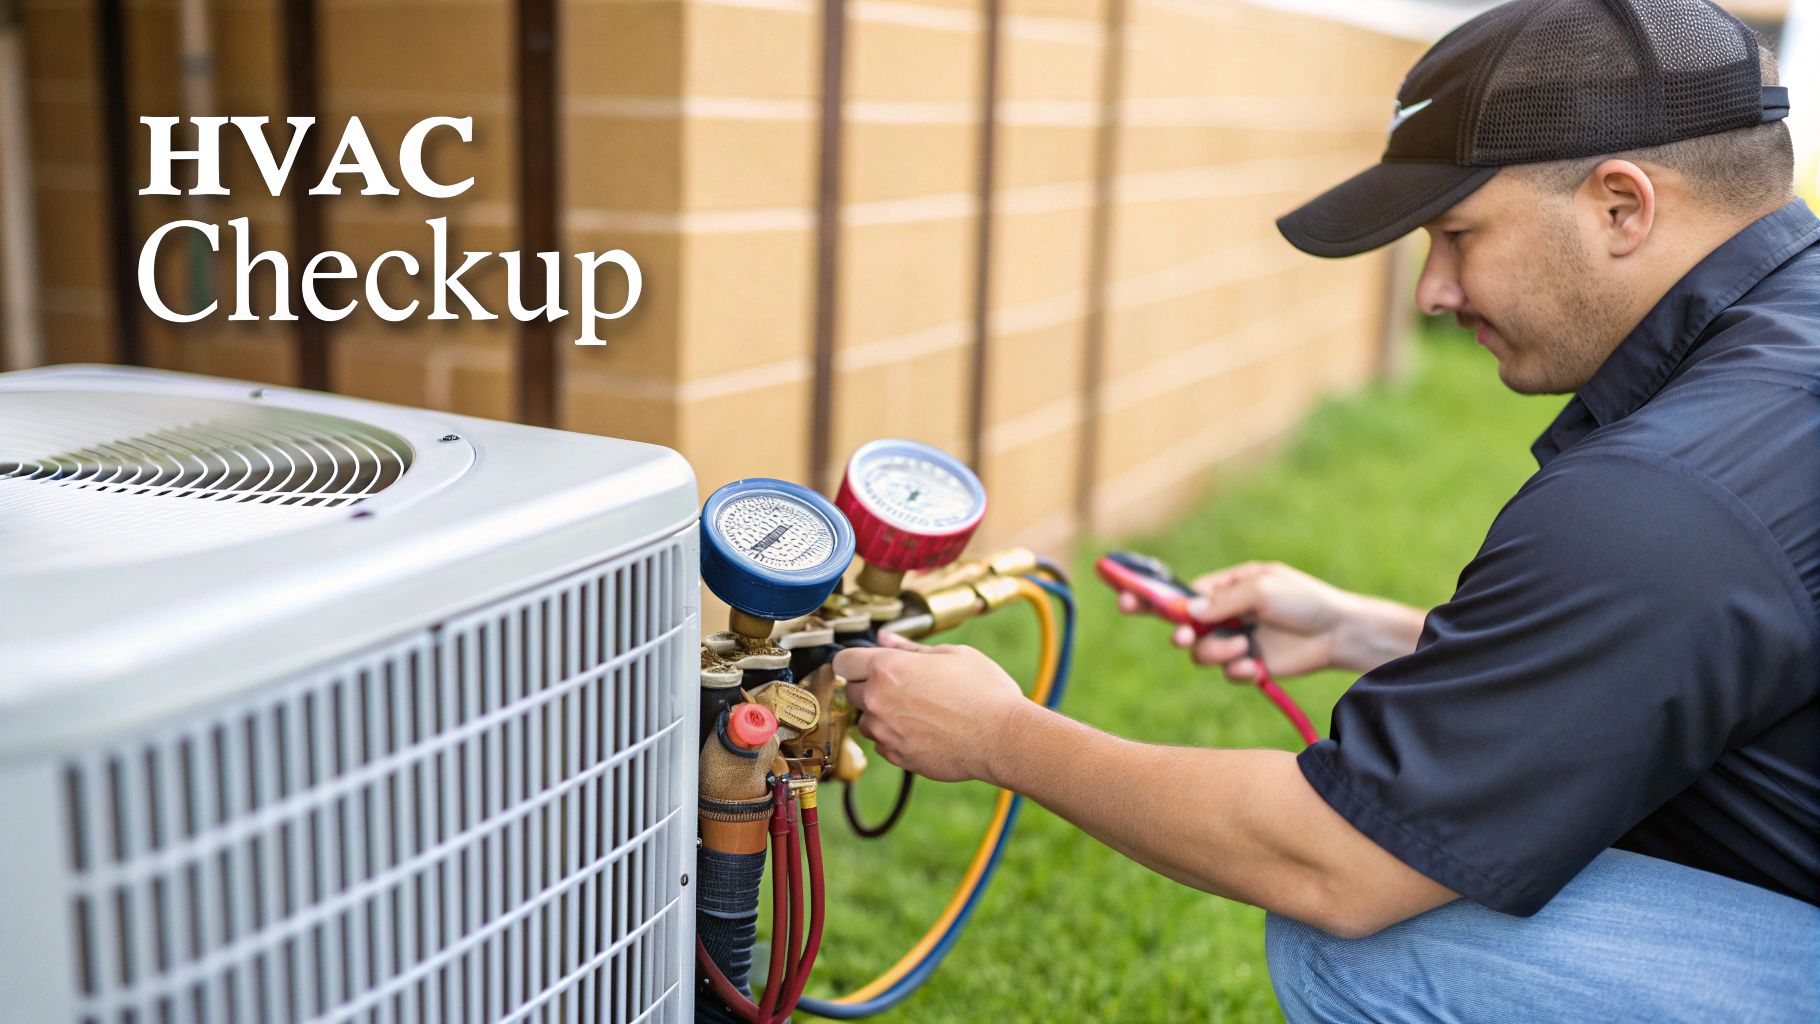
3. HVAC System Inspection and Efficiency Rating
A central component of any effective home energy audit checklist is a thorough evaluation of your heating, ventilation, and air conditioning (HVAC) system. Since your HVAC system can account for 40-50% of your home's total energy consumption, its efficiency, age, and maintenance condition are critical factors in your overall energy usage. An inefficient or poorly maintained system acts as a major energy drain, increasing utility bills and environmental impact.
This inspection involves assessing the system's performance ratings, such as the Seasonal Energy Efficiency Ratio (SEER) for cooling and the Annual Fuel Utilization Efficiency (AFUE) for heating, to determine if it meets modern standards.
Por qué es importante
Upgrading an outdated HVAC system can yield significant savings. ENERGY STAR certified systems, which often feature a SEER rating of 16+ and an AFUE of 95%+, can reduce energy costs by up to 20%. Newer technologies like ductless mini-split heat pumps can achieve SEER ratings of 25 or higher, offering exceptional efficiency for both heating and cooling. Identifying performance issues early prevents costly breakdowns and ensures your system isn't wasting energy.
How to Assess Your HVAC System
Follow these actionable steps to evaluate your system’s performance:
- Check Efficiency Ratings: Locate the SEER and AFUE ratings on the unit's manufacturer label. Compare these numbers to current ENERGY STAR standards to gauge its baseline efficiency.
- Review Maintenance Records: Check for a history of annual professional service. Regular tune-ups are essential for maintaining peak performance and preventing efficiency loss over time.
- Inspect Filters and Ducts: A dirty air filter restricts airflow, forcing the system to work harder. Check the filter monthly and replace it at least every 1-3 months. Visually inspect accessible ductwork for leaks or damage.
Información clave: Before replacing an old unit, insist on a professional load calculation (Manual J). This ensures the new system is correctly sized for your home’s specific needs, preventing the energy waste and reduced comfort associated with oversized or undersized equipment.
Once your HVAC system has been thoroughly inspected, explore these tips to improve HVAC efficiency and directly translate findings into lower energy bills. Addressing your HVAC system is a high-impact step in any home energy audit.
4. Water Heating System Evaluation
A significant portion of your utility bill comes from heating water, so this step is a critical part of any home energy audit checklist. Water heating can account for 15-25% of a typical home's energy consumption, second only to heating and cooling. Evaluating your system's efficiency, age, and condition can reveal substantial opportunities for savings.
This assessment involves checking your water heater's fuel type (gas, electric, propane), its age, and its efficiency rating, which is typically listed as an Energy Factor (EF) or Uniform Energy Factor (UEF). The higher the number, the more efficient the unit.
Por qué es importante
An inefficient or oversized water heater wastes energy daily, leading to unnecessarily high utility bills. For instance, ENERGY STAR certified heat pump water heaters can reduce water heating costs by over 50%, saving a typical family hundreds of dollars per year. Similarly, upgrading an old, standard tank water heater to a high-efficiency tankless model can yield energy savings of 24-34%.
How to Assess Your Water Heater
Follow these actionable steps to evaluate your water heating system:
- Check the Label: Locate the EnergyGuide label on your water heater. It will list the EF or UEF rating and estimated annual operating cost. For tank models, a good target is an EF of 0.67 or higher; for tankless, aim for 0.82 or higher.
- Determine Its Age: Find the manufacturer's label, which usually includes the serial number. The first few characters often indicate the month and year of manufacture. If your unit is over 10 years old, it's likely far less efficient than modern models and may be nearing the end of its lifespan.
- Feel the Tank: Carefully touch the outside of the tank. If it feels warm, it's losing heat to the surrounding area, a phenomenon known as standby heat loss.
Información clave: Lowering your water heater's thermostat from the factory-set 140°F to 120°F can save 3-5% on your water heating costs for every 10°F reduction. This simple adjustment also reduces the risk of scalding.
Recommended Actions for Efficiency
Based on your assessment, consider these upgrades and maintenance tasks to cut down on energy waste:
- Insulate the Tank and Pipes: If you have an older tank, wrap it in an R-8 insulation blanket (a simple DIY project costing around $30). Also, insulate the first six feet of the hot and cold water pipes connected to the heater.
- Drain Sediment Annually: Mineral sediment can build up at the bottom of the tank, reducing efficiency and shortening the unit's life. Draining a gallon of water from the tank each year helps clear this buildup.
- Install Low-Flow Fixtures: Reduce your hot water consumption by installing low-flow showerheads and faucet aerators. This can cut your hot water use by 25-60% without sacrificing performance.
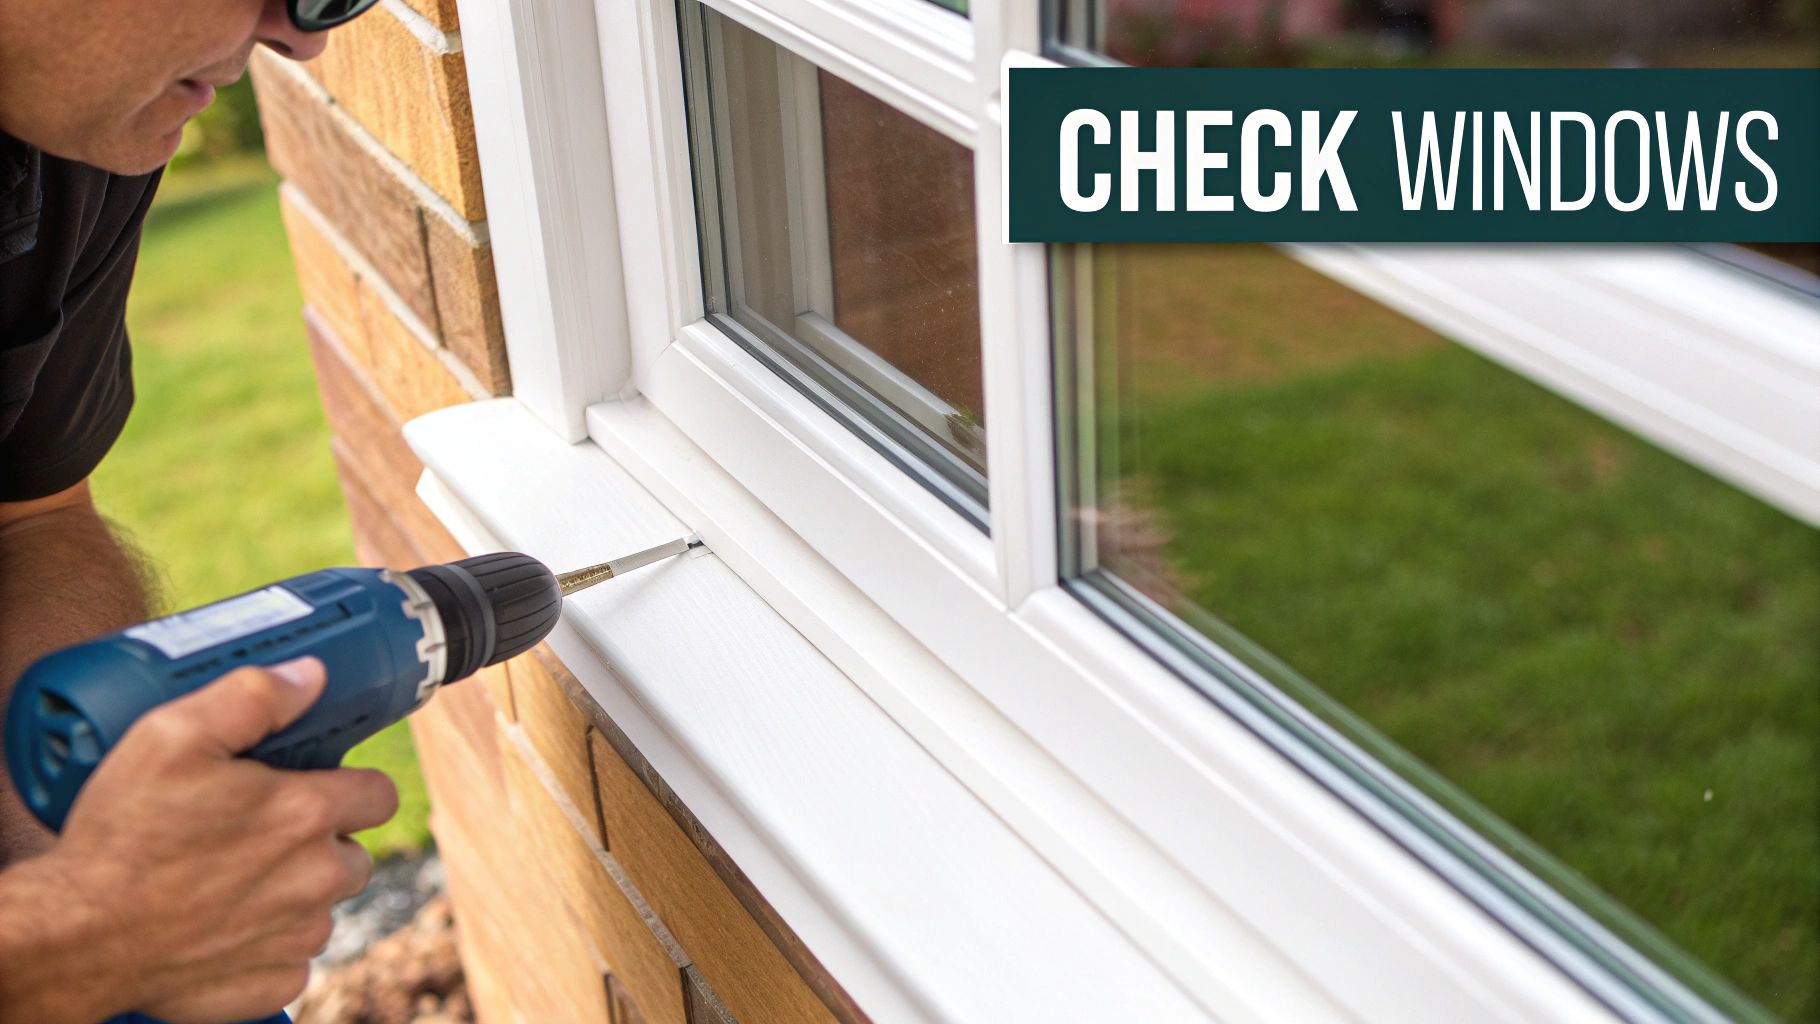
5. Window and Door Condition Assessment
Next on your home energy audit checklist is a thorough evaluation of your windows and doors. These openings are significant points of heat transfer and air leakage, often accounting for 15-25% of a home's heating and cooling energy loss. Assessing their condition involves checking for drafts, evaluating the frame and glass type, and understanding their energy performance ratings.
Old, single-pane, or poorly sealed windows and doors force your HVAC system to compensate for constant energy loss, making them a key target for efficiency upgrades. Even modern units can underperform if not sealed correctly.
Por qué es importante
Upgrading windows and doors offers substantial energy savings and improved comfort. ENERGY STAR certified windows can save homeowners an average of $101–$583 a year when replacing single-pane windows. The key metrics are U-factor (how well a window insulates) and Solar Heat Gain Coefficient (SHGC). For example, Passive House standards require an ultra-low U-factor of 0.15 or lower, often achieved with triple-pane glass and insulated frames, showcasing the potential for high-performance fenestration.
How to Assess Your Windows and Doors
Use these actionable steps to identify performance issues with your windows and doors:
- Perform a Draft Test: On a windy day, hold a lit incense stick or a thin piece of tissue paper around window and door frames. If the smoke or paper flutters, you have an air leak that needs sealing.
- Inspect Seals and Frames: Visually check the weatherstripping and caulk around all units. Look for cracking, peeling, or gaps. Check window frames for signs of rot or damage, especially on older wood units.
- Identify Window Type: Look for a label from the National Fenestration Rating Council (NFRC) on the glass or frame to find the U-factor and SHGC. If there is no label, you likely have older, less efficient units. When evaluating window condition, pay close attention to the type of glass used. You can find more information on Low-E glass and its importance, as these coatings can reduce energy transfer by 40-70%.
Información clave: Seal before you replace. Applying new caulk and weatherstripping is a low-cost, high-impact first step that can resolve many air leakage issues, potentially delaying the need for a full window replacement.
Window Performance Ratings by Climate Zone
The ideal window performance ratings depend heavily on your climate. Colder regions prioritize retaining heat (low U-factor), while hotter regions focus on blocking solar heat (low SHGC).
Chart data sourced from ENERGY STAR recommendations.
Addressing inefficient windows and doors is essential for a complete home energy audit, as their performance directly impacts both your energy bills and your daily comfort.
6. Building Envelope, Attic Ventilation and Moisture Management
A key component of a home energy audit checklist involves evaluating the building envelope for proper ventilation and moisture control, particularly in the attic. A well-ventilated attic and dry building envelope prevent mold, rot, and structural damage, which can compromise insulation effectiveness and indoor air quality. This assessment ensures that air can circulate properly to remove excess heat and moisture while preventing water intrusion from outside.
This process examines attic vents, foundation drainage, and potential moisture sources. Poor ventilation and moisture management can lead to severe issues like ice dams in colder climates, which are often caused by heat escaping into the attic and melting snow on the roof.
Por qué es importante
Effective ventilation and moisture control are critical for both energy efficiency and the long-term durability of your home. Building science research shows that attic moisture from improperly vented bathroom or kitchen fans is a common and preventable cause of mold. Similarly, most basement moisture issues stem from poor exterior grading and drainage. Proper management prevents costly repairs and protects the R-value of your insulation, which can be ruined by dampness.
How to Assess Ventilation and Moisture
Follow these actionable steps to evaluate your home's moisture and ventilation systems:
- Inspect Attic Vents: Check that soffit, ridge, and gable vents are present and unobstructed. Insulation should not block airflow from soffit vents. Building codes often require a ventilation ratio of at least 1 square foot of net free vent area for every 150 square feet of attic floor space.
- Check for Moisture Signs: Look for water stains, mold, or mildew on the underside of the roof sheathing, rafters, and insulation. Check basements and crawl spaces for dampness, efflorescence (a white, powdery substance on concrete), or musty odors.
- Verify Exhaust Venting: Ensure that all fans from bathrooms, kitchens, and laundry rooms vent directly outside, not into the attic or crawl space. This is a common construction shortcut that introduces significant moisture.
Información clave: Proper exterior water management is your first line of defense. Ensure gutters are clean and downspouts direct water at least six feet away from the foundation. The ground around your home should slope away to prevent water from pooling against the foundation.
Common Issues and Solutions
Addressing ventilation and moisture problems is crucial for a healthy, efficient home. Below are some common scenarios and their fixes.
Chart data sourced from Building Science Corporation and ASHRAE guidelines.
By managing air and moisture flow, you protect your home’s structure and the effectiveness of all other energy efficiency upgrades you make.
7. Basement and Foundation Inspection
An often-overlooked area in a home energy audit checklist is the foundation, including basements and crawl spaces. These subterranean spaces are significant sources of energy loss, accounting for up to 15% of a home's total heat loss, and are primary points for moisture intrusion. A thorough inspection here involves checking for air leaks, evaluating insulation levels, and assessing moisture control systems.
This part of the audit focuses on the building's thermal and moisture barrier at its lowest level. The ground maintains a relatively constant temperature, which can sap heat from your home in the winter and create condensation issues in the summer if the foundation is not properly sealed and insulated.
Por qué es importante
Properly insulating and air sealing your basement or crawl space not only improves comfort and reduces energy bills but also prevents serious moisture problems like mold, rot, and pest infestations. For example, insulating rim joists, the perimeter of the floor framing, is a low-cost upgrade that can reduce total heating costs by 5-8% alone. Encapsulating a crawl space with a vapor barrier and dehumidifier can cut energy loss from that area by up to 20%.
How to Assess Your Foundation
Follow these actionable steps to evaluate your home's lower level:
- Inspect Rim Joists: Feel for drafts or use an incense stick to check for air movement along the top of the foundation wall where the house framing rests. These are major air leakage points.
- Check for Cracks and Moisture: Visually inspect foundation walls for cracks, efflorescence (a white, chalky powder), or damp spots, which indicate water intrusion.
- Evaluate Existing Insulation: Look for insulation along the basement walls or in the crawl space ceiling. If it is damp, compressed, or falling down, it is ineffective and needs to be replaced.
Información clave: Prioritize sealing the rim joists (also known as band joists). This single action provides a high return on investment by stopping a major source of air infiltration before you spend more on extensive wall insulation.
Recommended Foundation Insulation and Sealing Methods
The best approach depends on whether you have a basement or a crawl space and your specific climate.
Diagram illustrating common foundation insulation techniques.
Addressing these foundational issues ensures that your home is sealed and protected from the ground up, making all other energy efficiency measures more effective.
8. Lighting System and Control Evaluation
A frequently overlooked yet impactful part of a home energy audit checklist is the evaluation of your lighting system. Lighting typically accounts for 10-15% of a home's total electricity consumption, and upgrading inefficient bulbs and controls offers a fast and cost-effective way to reduce energy waste. An audit of your lighting involves identifying outdated technology and implementing smarter, more efficient solutions.
This assessment focuses on two key areas: the efficiency of the light bulbs themselves and the effectiveness of the control systems, such as switches, dimmers, and sensors. The goal is to illuminate your home using significantly less energy.
Por qué es importante
Upgrading to modern lighting can yield substantial savings. ENERGY STAR certified LED bulbs, for example, use up to 90% less energy and last 25 times longer than traditional incandescent bulbs. Smart controls like occupancy sensors can further reduce lighting energy use by 30-50% in applicable areas. These small changes, when applied across an entire home, add up to significant reductions on your utility bills and a smaller carbon footprint.
How to Assess Your Lighting
Follow these actionable steps to evaluate your home's lighting efficiency:
- Inventory Your Bulbs: Walk through your home and create a list of all light bulbs. Note their type (incandescent, CFL, LED), wattage, and location. Pay special attention to the most frequently used fixtures, like those in kitchens and living rooms.
- Identify Upgrade Priorities: Focus on replacing high-wattage incandescent bulbs first, especially 60-watt and 100-watt equivalents, as they offer the quickest return on investment.
- Evaluate Control Opportunities: Identify areas where lights are often left on unnecessarily, such as hallways, closets, garages, and bathrooms. These are prime locations for installing motion sensors or timers.
Información clave: Match the light to the mission. Use task lighting (like under-cabinet lights or desk lamps) to illuminate specific areas, allowing you to lower the brightness of general ambient lighting and save energy without sacrificing visibility.
Recommended Lighting Upgrades
Choosing the right technology is crucial for maximizing savings and improving your home's ambiance. Focus on certified products and smart solutions for the best results.
Chart data based on average electricity rates and usage.
Implementing these changes is one of the simplest home energy efficiency tips. For more ideas on how to reduce your home's consumption, you can learn more about lighting and other efficiency strategies. By systematically upgrading your lighting, you complete a vital step in your comprehensive energy audit.
9. Appliance Efficiency Assessment
A significant part of any thorough home energy audit checklist involves evaluating your major household appliances. Appliances like your refrigerator, dishwasher, washer, and dryer can account for 13% or more of your home's total energy consumption. Assessing their age, condition, and efficiency rating is key to identifying major opportunities for savings.
Older, inefficient appliances are often energy vampires, consuming far more electricity than modern units without providing any extra performance. This assessment helps you prioritize which appliances to upgrade for the quickest and most significant return on investment.
Por qué es importante
Upgrading to ENERGY STAR certified appliances can reduce their energy use by 10-50% compared to standard models. For example, a refrigerator from the 1990s can use over 1,500 kWh per year, while a new ENERGY STAR model might use only 400-500 kWh. This translates directly into lower utility bills and a reduced carbon footprint, making it a powerful step in your efficiency journey.
How to Assess Your Appliances
Follow these actionable steps to evaluate your home's major energy consumers:
- Check the Age and Labels: Find the manufacturer's label (often inside the door or on the back) to determine the appliance's age. Look for the bright yellow EnergyGuide label, which provides an estimate of its annual energy consumption and operating cost.
- Identify ENERGY STAR Certification: Check for the blue ENERGY STAR logo. If your major appliances are over 10 years old and lack this certification, they are prime candidates for an upgrade.
- Evaluate Performance and Condition: Listen for unusual noises, check for failing seals on refrigerator doors, and note if your dryer requires multiple cycles. Poor performance often signals declining efficiency.
Información clave: Don't just focus on replacement. Simple maintenance, like cleaning refrigerator coils quarterly and clearing dryer vents, can improve efficiency and extend the life of your existing appliances.
Energy Savings Comparison: Standard vs. Efficient
The efficiency gains from modern appliances are substantial. Heat pump dryers, for instance, use 50-70% less energy than conventional electric models by recycling heat. This chart illustrates the potential savings for common upgrades.
Chart data sourced from ENERGY STAR and Department of Energy reports.
Understanding the consumption of each device is critical. You can learn more about how to calculate energy consumption on radiantenergysolar.com to pinpoint your biggest energy users.
10. Plug Loads and Phantom Energy Assessment
An often-overlooked part of a home energy audit checklist is the assessment of plug loads, also known as "phantom" or "vampire" energy. This refers to the electricity consumed by electronics and appliances even when they are turned off or in standby mode. These devices continuously draw power to maintain settings, display clocks, or be ready for remote activation.
This assessment involves identifying and measuring the energy usage of devices plugged into your home's outlets. While each device may only draw a small amount of power, their combined, constant consumption can account for a significant portion of your electricity bill, often representing low-cost savings opportunities.
Por qué es importante
Plug loads can account for 10-15% of your total residential electricity use. According to Lawrence Berkeley National Laboratory, the average American home has over 40 products constantly drawing power, which can add up to 50-100 watts of continuous energy use. This phantom load can cost a household an extra $100 or more per year for electricity that isn't even being actively used.
How to Assess Your Plug Loads
Follow these actionable steps to identify and manage your home's phantom energy consumption:
- Use a Watt Meter: Purchase an inexpensive watt meter (typically $15-$30) to measure the real-time power draw of individual devices. Test appliances like televisions, cable boxes, and computer setups in both active and standby modes to pinpoint the biggest offenders.
- Create Device Groups: Identify clusters of electronics, like your entertainment center or home office, that can be managed together. These areas are prime candidates for smart power strips.
- Perform a Nightly Shutdown: Establish a routine to completely power down non-essential electronics before bed. Unplug chargers and turn off power strips to prevent overnight energy waste.
Información clave: Start by targeting devices that are known for high standby power consumption. DVRs and cable boxes, for example, can consume 20-40 watts continuously just waiting for a signal, making them a top priority for management.
Common Phantom Load Culprits
Identifying which devices are the biggest energy vampires is the first step toward reducing waste. Here are some of the most common sources of phantom loads in a typical home.
Chart data represents typical standby power consumption ranges.
By systematically identifying and managing these silent energy users, you can achieve noticeable savings. For a deeper dive into tracking your household's electricity usage, you can learn more about energy usage monitoring on radiantenergysolar.com.
10-Point Home Energy Audit Comparison
| Measure | Implementation Complexity 🔄 | Resource Requirements & Cost ⚡ | Expected Outcomes / Impact 📊 | Effectiveness / Quality ⭐ | Ideal Use Cases & Tips 💡 |
|---|---|---|---|---|---|
| Insulation Assessment | Moderate — attic/wall access, visual/thermal checks | Moderate: tools (thermal camera optional); upgrade $1,500–$3,500 whole-house | ~15–20% energy savings; long-lasting (30+ yrs) | ⭐⭐⭐⭐ | Prioritize attic; air-seal before adding insulation; check depth with ruler |
| Air Sealing & Infiltration Testing | Moderate–High — blower door + targeted sealing | Low–Moderate: testing $500–$2,000; sealing $500–$1,500 | Immediate comfort; typical 20%+ savings; ROI 200–400% | ⭐⭐⭐⭐⭐ | Start with blower door; seal large gaps first; maintain ventilation to avoid moisture |
| HVAC Inspection & Efficiency Rating | High — load calculations, refrigerant & airflow testing | High: replacement $5,000–$12,000; maintenance $300–$500 | 20–40% savings with modern systems; rebates often available | ⭐⭐⭐⭐ | Do Manual J sizing; consider heat pumps; change filters and schedule annual tune-ups |
| Water Heating Evaluation | Moderate — inspect EF/UEF, tank and piping | Low–High: insulation $30–$100; heat pump $2,000–$4,000; solar $4,000–$8,000 | Tank insulation small savings (4–9%); heat pump/solar large reductions (50%+) | ⭐⭐⭐ | Set temp to 120°F; insulate tank/pipes; consider heat pump or tankless where suitable |
| Window & Door Assessment | Moderate — visual, U-factor/SHGC review; replacement complex | Moderate–High: sealing/upgrades $100–$300/window; replacement $300–$1,000+/window | ENERGY STAR windows reduce transfer 20–30%; triple-pane much higher | ⭐⭐⭐ | Seal/weatherstrip first; replace worst windows; choose SHGC by climate |
| Building Envelope, Attic Ventilation & Moisture | High — ventilation, moisture diagnostics, structural review | Moderate–Very High: ventilation $500–$2,000; repairs $2,000–$10,000+ | Prevents mold/rot; extends roof life 15–20 yrs; can lower cooling 10–15% | ⭐⭐⭐⭐ | Clear soffit vents; seal leaks before insulating; ensure proper grading and vapor barriers |
| Basement & Foundation Inspection | Moderate–High — moisture and structural checks | Low–High: insulation $200–$800; moisture control $1,000–$3,000; repairs $2,000–$10,000+ | Reduces 10–15% energy loss in lower areas; prevents moisture and mold | ⭐⭐⭐ | Prioritize rim-joist sealing/insulation; install vapor barrier and proper drainage |
| Lighting System & Controls Evaluation | Low — inventory and control review | Low–Moderate: LED upgrade $200–$500; smart systems $1,000–$3,000 | LEDs use 75–80% less energy; payback 1–2 years; controls save 30–50% in some cases | ⭐⭐⭐⭐ | Replace common bulbs first with ENERGY STAR LEDs; use motion sensors and dimmers |
| Appliance Efficiency Assessment | Low–Moderate — age and ENERGY STAR review | Moderate: replacement $400–$2,000+ per appliance; optimization minimal cost | ENERGY STAR appliances save 10–50% depending on device; rebates may apply | ⭐⭐⭐ | Replace oldest/most-used units first; consult EnergyGuide and maintain coils/filters |
| Plug Loads & Phantom Energy Assessment | Low — plug inventory and metering | Very low: watt meters $15–$50; power strips $10–$300 | Typical household phantom cost $50–$100/yr; quick low-cost savings | ⭐⭐⭐ | Use switched/smart power strips; unplug chargers; monitor with a watt meter for high users |
From Checklist to Action: Powering Your Sustainable Future
You have navigated the comprehensive home energy audit checklist, moving from the depths of your basement to the peak of your attic. You are no longer just a homeowner; you are an informed energy manager, equipped with a detailed understanding of where your home consumes, and more importantly, where it wastes, precious energy. This knowledge is the foundational blueprint for a more efficient, comfortable, and cost-effective living environment.
The journey from audit to action, however, requires a strategic approach. It's easy to feel overwhelmed by the list of potential upgrades, from insulation top-ups to new HVAC systems. The key is to prioritize effectively, creating a phased plan that delivers both immediate wins and long-term value.
Creating Your Energy Efficiency Roadmap
Think of your audit results as a roadmap. Not all roads need to be traveled at once. Start by identifying the "low-hanging fruit" – the simple, low-cost fixes that offer a high return on investment.
- Quick Wins (Low Cost, High Impact): Focus on air sealing gaps around windows, doors, and utility penetrations. Address phantom loads by using smart power strips. These actions require minimal investment but can immediately trim 5-10% off your energy bills.
- Mid-Term Goals (Moderate Investment): Plan for projects like adding insulation to your attic or upgrading to high-efficiency LED lighting. These improvements offer significant comfort and savings enhancements and often have payback periods of just a few years.
- Long-Term Investments (Strategic Upgrades): Larger-ticket items like replacing an aging furnace, upgrading to ENERGY STAR certified windows, or installing a high-efficiency water heater fall into this category. Use your home energy audit checklist findings to budget and plan for these replacements when the time is right, ensuring you choose the most efficient models available.
This tiered approach transforms a long checklist into a manageable, multi-stage project. It allows you to see immediate progress while methodically working toward a home that operates at peak performance.
Beyond Efficiency: The Ultimate Step to Energy Independence
Maximizing your home's efficiency is a powerful achievement, but it represents one side of the energy equation. After you have minimized your home's energy consumption, the ultimate step is to take control of your energy production. By pairing the efficiency gains from your audit with a clean, renewable energy source, you can dramatically reduce or even eliminate your reliance on the utility grid.
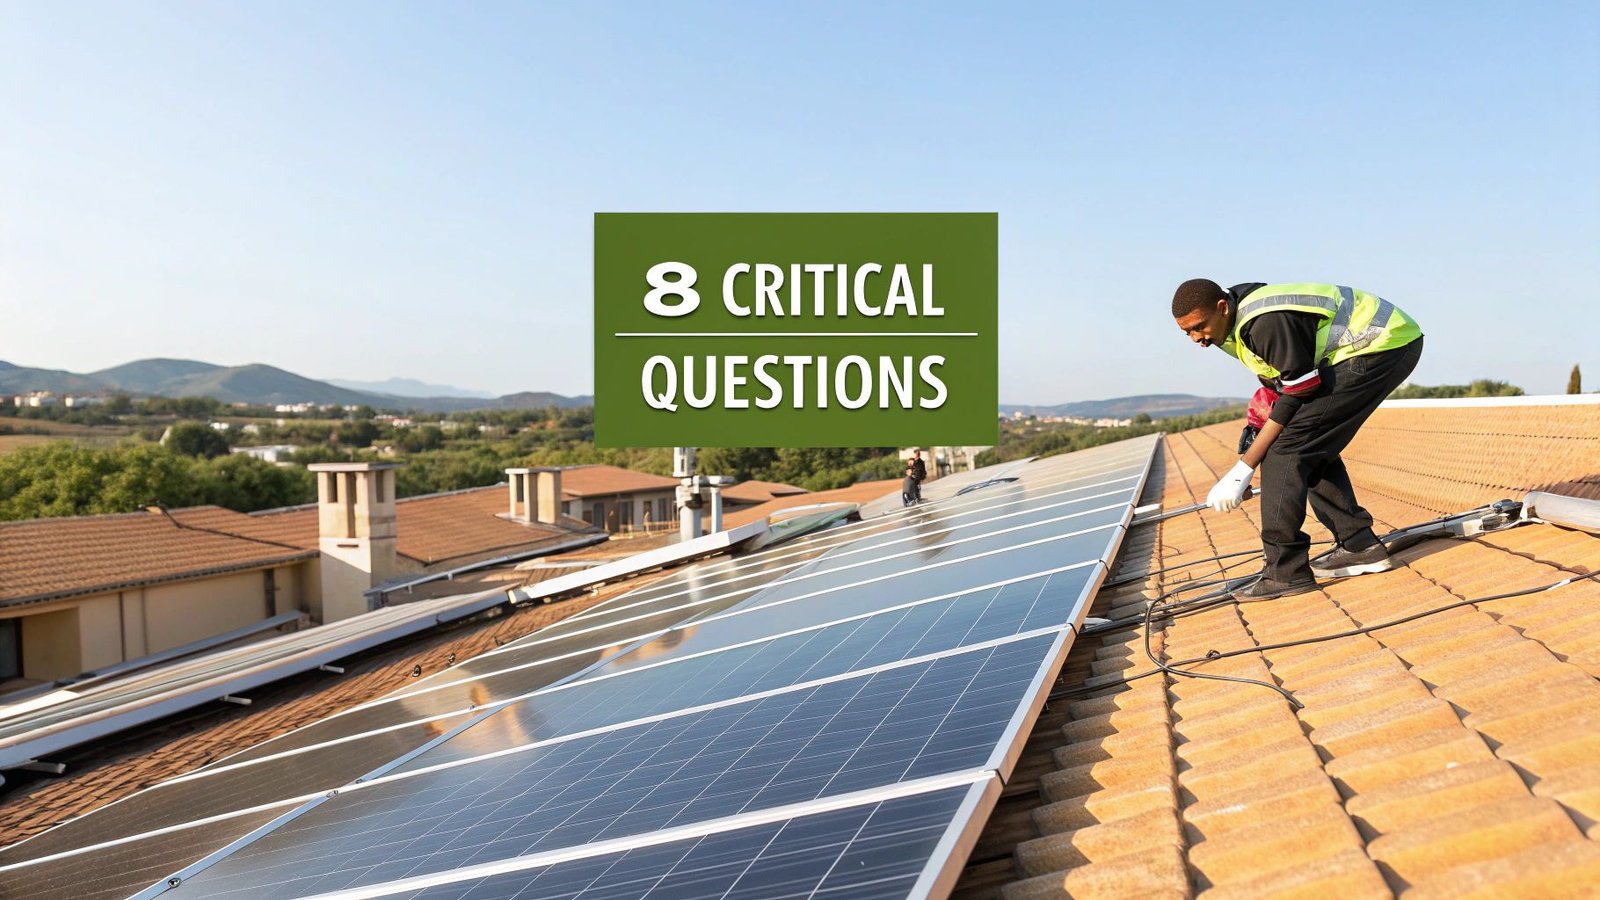
This is where solar energy becomes a game-changer. Once your home is sealed and optimized, a correctly sized solar panel system can cover a much larger percentage of your energy needs. You’re not just saving money on a lower bill; you are investing in a resilient, sustainable future, insulating your household from volatile energy prices and contributing to a healthier community. The combination of a thorough audit and a tailored solar solution is the most powerful strategy for long-term energy security and financial savings.
Ready to take the final step from energy efficiency to energy independence? The experts at Energía radiante specialize in designing and installing high-performance solar solutions that perfectly complement the improvements you've made from your home energy audit checklist. Visit Energía radiante to get a free consultation and discover how you can power your newly efficient home with clean, reliable solar power.