With energy costs on the rise, homeowners are increasingly searching for effective ways to reduce consumption and save money. The good news is that significant savings are within reach through smart, strategic upgrades and habit changes. This guide moves beyond generic advice to provide a detailed roundup of eight high-impact home energy efficiency tips. We will explore practical, actionable strategies, from simple, low-cost adjustments to significant upgrades that offer substantial long-term returns.
Each tip is broken down with specific implementation details, potential savings, and expert insights to empower you to make informed decisions. We'll even visualize key data with charts and graphs to make complex information easy to digest. While this article focuses on specific upgrades and maintenance tasks, a comprehensive strategy involves both technology and behavior. For a holistic approach to saving, explore additional strategies on how to reduce energy consumption in your home.
This list provides a clear roadmap for anyone looking to lower their utility bills, whether you're a new homeowner, part of an HOA, or a developer focused on building efficient properties. Prepare to transform your home into a model of efficiency and unlock hundreds, or even thousands, of dollars in annual savings.
1. Upgrade to LED Lighting
One of the simplest yet most impactful home energy efficiency tips is to replace your home's outdated light bulbs. If you still have traditional incandescent or even CFL bulbs, switching to Light Emitting Diodes (LEDs) offers a significant and immediate reduction in your electricity consumption. Unlike incandescent bulbs that lose most of their energy as heat, LEDs convert nearly all of their energy directly into light, making them a remarkably efficient technology.
This upgrade is not just a marginal improvement; it's a fundamental shift in energy use for lighting. Large-scale projects demonstrate its power: the City of Los Angeles saved an estimated $9 million annually by converting its streetlights to LED. On a residential scale, this translates to tangible cost reductions and a smaller carbon footprint for your household. The initial cost of LED bulbs is quickly offset by their longevity and minimal energy draw, making it a wise financial and environmental investment.
Key Benefits of LED Lighting
The following infographic highlights the compelling statistics behind making the switch to LED lighting in your home.
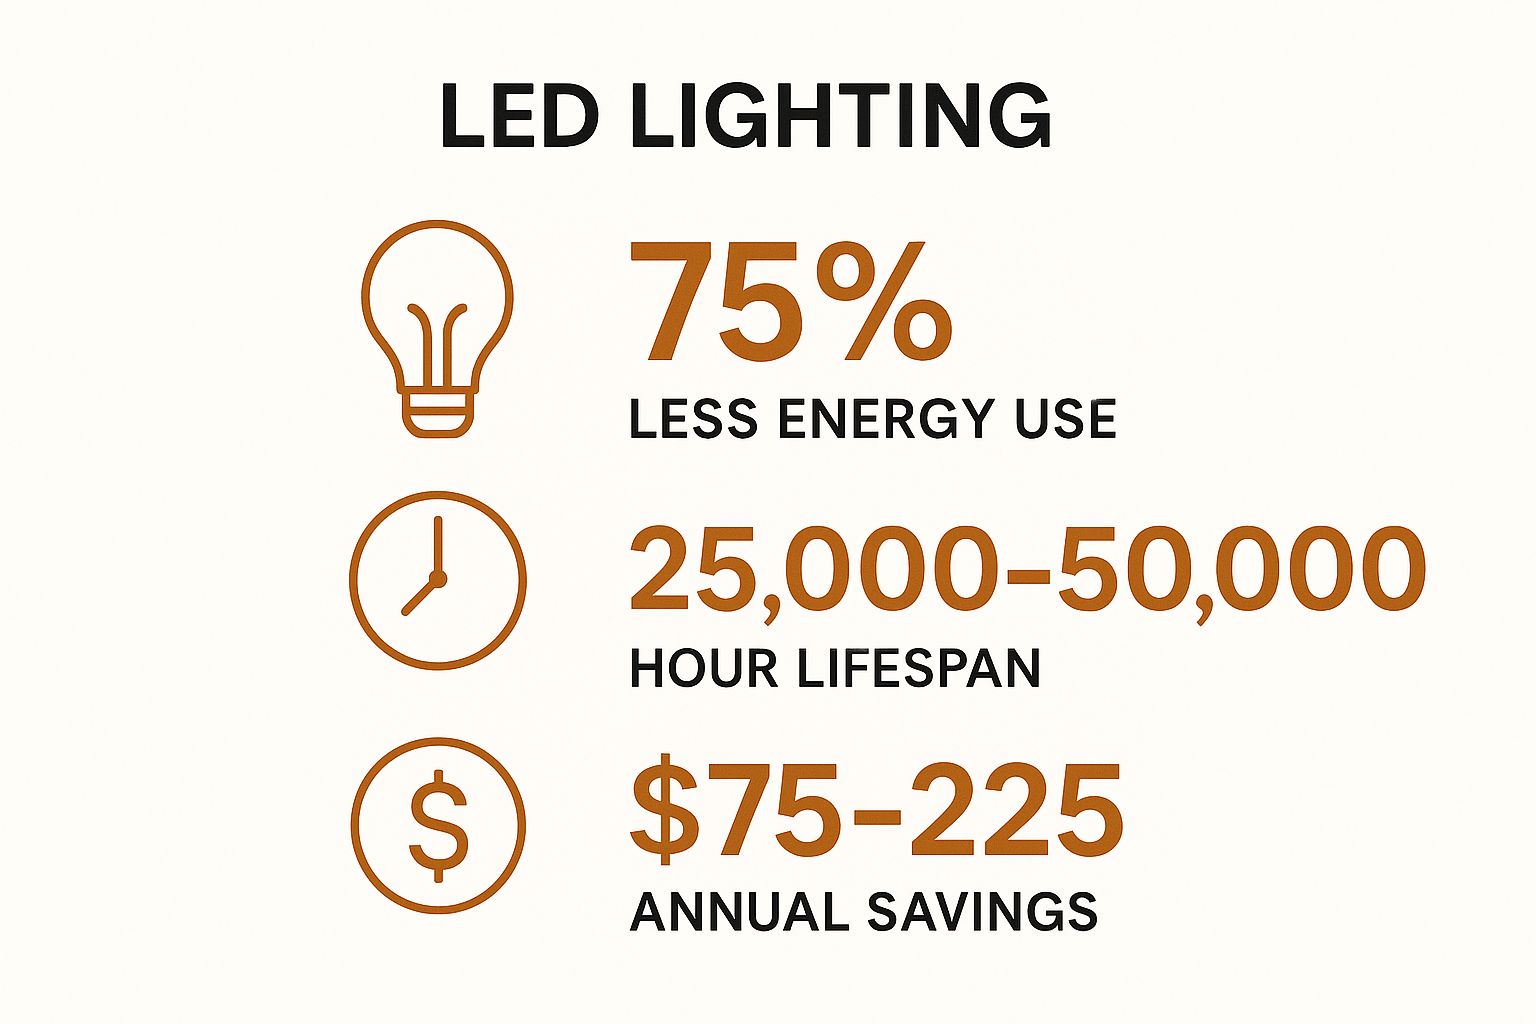
These figures clearly illustrate why LEDs are a cornerstone of modern home energy efficiency, offering a powerful combination of drastic energy reduction and substantial long-term savings.
How to Implement Your LED Upgrade
To maximize your return on investment, approach the upgrade strategically. You don't have to replace every bulb at once.
- Prioritize High-Use Areas: Start with the lights you use most frequently, such as those in the kitchen, living room, and outdoor security fixtures. This ensures you see the fastest payback in energy savings.
- Choose the Right Color Temperature: For a cozy, warm glow similar to incandescent bulbs, look for a color temperature between 2700K and 3000K.
- Understand Brightness: Focus on lumens, not watts. An 800-lumen LED bulb provides the same brightness as a traditional 60-watt incandescent bulb while using only a fraction of the power.
- Look for Certifications: Always choose bulbs with the ENERGY STAR® label. This certification guarantees the product has passed rigorous testing for performance, quality, and energy efficiency.
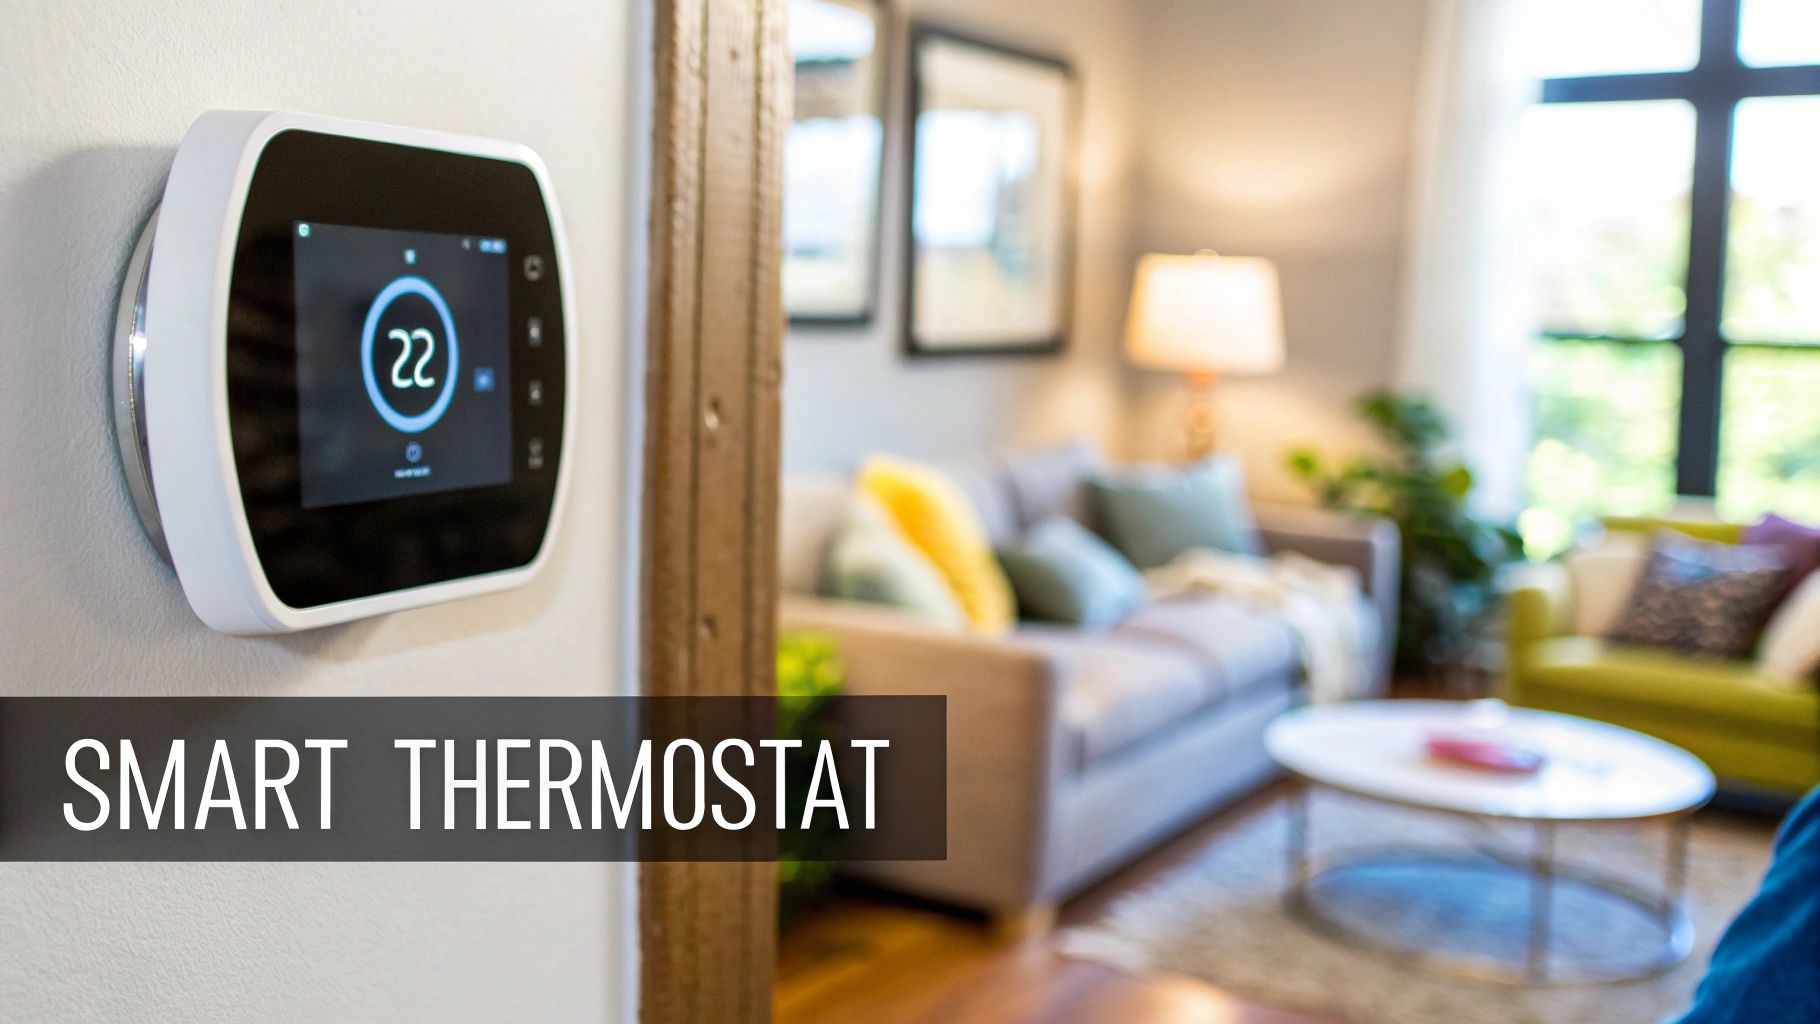
2. Install a Programmable or Smart Thermostat
One of the most effective home energy efficiency tips is to gain intelligent control over your heating and cooling systems. Upgrading from a manual thermostat to a programmable or smart model automates temperature adjustments, eliminating significant energy waste. These devices allow you to set schedules that reduce heating or cooling when you are asleep or away from home, ensuring you only use energy when it's truly needed.
Smart thermostats take this a step further by learning your daily habits, allowing for remote control via a smartphone, and providing detailed energy usage reports. This level of control translates into substantial savings. For instance, Google Nest users report average savings of 10-12% on heating and 15% on cooling. The data is clear: automating your home's climate control is a powerful tool for reducing utility bills and your environmental impact.
Key Benefits of Smart Thermostats
The following infographic illustrates the proven savings and impact of upgrading your home's thermostat, highlighting why it's a key home energy efficiency tip.
These figures demonstrate how a relatively small investment can yield consistent, long-term returns by optimizing the performance of your home's largest energy consumer: the HVAC system.
How to Implement Your Thermostat Upgrade
To get the most out of your new thermostat, proper setup and usage are crucial. Follow these actionable steps to maximize your energy savings.
- Establish an Efficient Schedule: For significant savings, set your thermostat back 7-10°F for 8 hours a day, such as overnight or during work hours. This simple change can reduce your annual heating and cooling costs by up to 10%.
- Set Optimal Baseline Temperatures: Use 68°F as your target temperature during winter and 78°F in the summer when you are home. Every degree you adjust from these baselines can impact your energy bill.
- Check for Utility Rebates: Before purchasing, contact your local utility provider. Many offer substantial rebates or even free smart thermostats to customers, drastically reducing your initial cost.
- Use Advanced Features: Take full advantage of features like vacation mode when you're away for extended periods and review the monthly energy reports to identify patterns and opportunities for further optimization.
3. Improve Insulation and Air Sealing
A crucial home energy efficiency tip involves creating a robust thermal barrier for your home. Proper insulation and air sealing work together to prevent unwanted heat transfer, keeping your conditioned air inside during summer and warm air in during winter. This dual approach addresses both conductive heat loss through walls and ceilings and convective heat loss from countless small air leaks, making it a powerful strategy for reducing energy consumption.
This isn't just about adding a layer of fiberglass in the attic; it's a comprehensive home improvement. Case studies from the Department of Energy consistently show that comprehensive air sealing and insulation can lead to energy savings of 20-30%. For instance, a Minnesota homeowner was able to slash their monthly heating bills from $400 down to just $150 after a thorough insulation upgrade, demonstrating the significant financial impact of this investment.
Key Benefits of Insulation and Air Sealing
The following chart provides a breakdown of the primary areas for air leaks in a typical home, showing where your sealing efforts can have the greatest impact.
| Area of Home | Potential for Air Leakage |
|---|---|
| Ducts | Up to 30% of airflow |
| Fireplace | Up to 14% of air loss |
| Plumbing Penetrations | Up to 13% of air loss |
| Doors & Windows | Up to 20% combined loss |
| Attic Hatch | Up to 1% of air loss |
| Electrical Outlets | Up to 2% of air loss |
| Basement Rim Joists | Can be a major source |
As the video illustrates, a well-sealed and insulated home is the foundation of energy efficiency, directly impacting your HVAC system's workload and your utility bills.
How to Implement Insulation and Sealing Upgrades
A systematic approach ensures you get the most significant results from your efforts. Tackle these upgrades in the correct order for maximum effectiveness.
- Start with an Energy Audit: Hire a professional to conduct an energy audit ($200-$500). They use tools like blower doors and infrared cameras to pinpoint your home's biggest air leaks and insulation deficiencies.
- Seal Air Leaks First: Sealing gaps is critical before adding insulation. Use caulk for stationary gaps around window frames and plumbing penetrations, and weatherstripping for movable components like doors and windows.
- Prioritize the Attic: Heat rises, making the attic the most critical area for insulation. Aim for an R-value between R-38 and R-60, depending on your climate zone. Don't forget to seal and insulate the attic hatch.
- Inspect Basement Rim Joists: This area, where the foundation meets the wooden frame of the house, is one of the largest sources of air infiltration. Sealing and insulating it is a high-impact, low-cost project.
- Check for Incentives: Look for federal tax credits, which can cover up to $1,200 for these upgrades under the Inflation Reduction Act, along with local utility rebates.
4. Upgrade to ENERGY STAR Appliances
Replacing aging home appliances offers one of the most substantial opportunities for improving your home energy efficiency. Appliances are major energy consumers, and upgrading to models with the ENERGY STAR® certification ensures you are choosing products that meet strict efficiency guidelines set by the U.S. Environmental Protection Agency. These certified appliances use 10-50% less energy and water than standard models, delivering significant savings without compromising on performance.
This upgrade can have a major impact on your monthly utility bills and overall household consumption. For example, replacing a refrigerator that is over 15 years old with a new ENERGY STAR model can save you more than $270 over the appliance's lifetime. Similarly, a certified clothes washer can save an average family nearly $400 in utility costs over its lifespan. When multiple old appliances are replaced, these savings compound, potentially saving homeowners hundreds of dollars annually and making it a key strategy among impactful home energy efficiency tips.
Key Benefits of ENERGY STAR Appliances
The following chart illustrates the potential lifetime savings when upgrading various appliances to ENERGY STAR certified models, highlighting the financial and environmental advantages of making a switch.
These figures demonstrate that investing in energy-efficient appliances provides a strong return, cutting down on both resource consumption and household expenses.
How to Implement Your Appliance Upgrade
To get the most out of your investment, a strategic approach to upgrading is essential.
- Prioritize the Oldest Appliances: Start with your oldest and least efficient units. A refrigerator manufactured before 2001, for instance, can use twice as much energy as a new ENERGY STAR model.
- Check the EnergyGuide Label: Before buying, always compare the yellow EnergyGuide labels on different models. This label provides a clear estimate of the appliance's annual energy consumption and operating cost.
- Look for Rebates and Sales: Many utility companies offer rebates for purchasing ENERGY STAR certified appliances. Time your purchase around holiday sales events to maximize your savings.
- Choose the Right Size: An oversized appliance wastes energy, even if it's an efficient model. Select a size that truly meets your family's needs. If you are considering how these upgrades affect your overall home energy system, you can explore your potential return on investment with this calculator.
- Use Energy-Saving Modes: Once installed, take advantage of "eco" or "energy saver" settings on your new appliances to further reduce consumption.
5. Optimize Water Heater Efficiency
Water heating is a major energy consumer in most households, often accounting for 14-18% of your utility bill. It is typically the second-largest energy expense after heating and cooling. Optimizing your water heater’s efficiency is a powerful home energy efficiency tip that combines smart adjustments, simple maintenance, and potential upgrades to deliver substantial savings.
This approach targets energy waste at its source. A conventional tank-style water heater constantly uses energy to keep dozens of gallons of water hot, 24/7. By adjusting settings, reducing heat loss, and using less hot water, you can dramatically cut this standby energy consumption. Real-world examples prove its effectiveness: one homeowner who switched from a standard electric tank to a heat pump water heater saved an estimated $330 annually. These savings highlight the immense impact of focusing on this often-overlooked appliance.
Key Strategies for Water Heater Savings
The following chart breaks down the most impactful ways to reduce your water heating costs, from simple behavioral changes to significant equipment upgrades.
This data illustrates that a layered approach, combining multiple strategies, offers the greatest potential for reducing your energy consumption and lowering your utility bills.
How to Implement Water Heater Optimization
You can begin saving immediately with low-cost or no-cost adjustments, while planning for more significant upgrades over time.
- Adjust the Temperature: Set your water heater's thermostat to 120°F (49°C). This is hot enough for all household needs, including dishwashing, yet significantly reduces standby heat loss and lowers the risk of scalding.
- Insulate Your System: Wrap older electric water heater tanks in a pre-cut insulation blanket. Additionally, insulate the first six feet of both the hot and cold water pipes connected to the unit to minimize heat loss as water travels.
- Perform Regular Maintenance: Annually, drain one to two gallons of water from the bottom of your tank. This simple action removes sediment buildup that forces the heating element to work harder and less efficiently.
- Upgrade Key Fixtures: Install low-flow fixtures certified by WaterSense®. A WaterSense showerhead uses 2.0 gallons per minute (gpm) or less, reducing hot water consumption by 20% or more without sacrificing performance.
6. Install Energy-Efficient Windows and Window Treatments
Your windows are significant points of energy transfer, accounting for 25-30% of a home's heating and cooling energy use. Upgrading to energy-efficient windows and complementing them with strategic window treatments is one of the most effective home energy efficiency tips for reducing utility bills and enhancing comfort. Modern windows with multiple panes, Low-E coatings, and insulated frames minimize heat loss in winter and heat gain in summer.
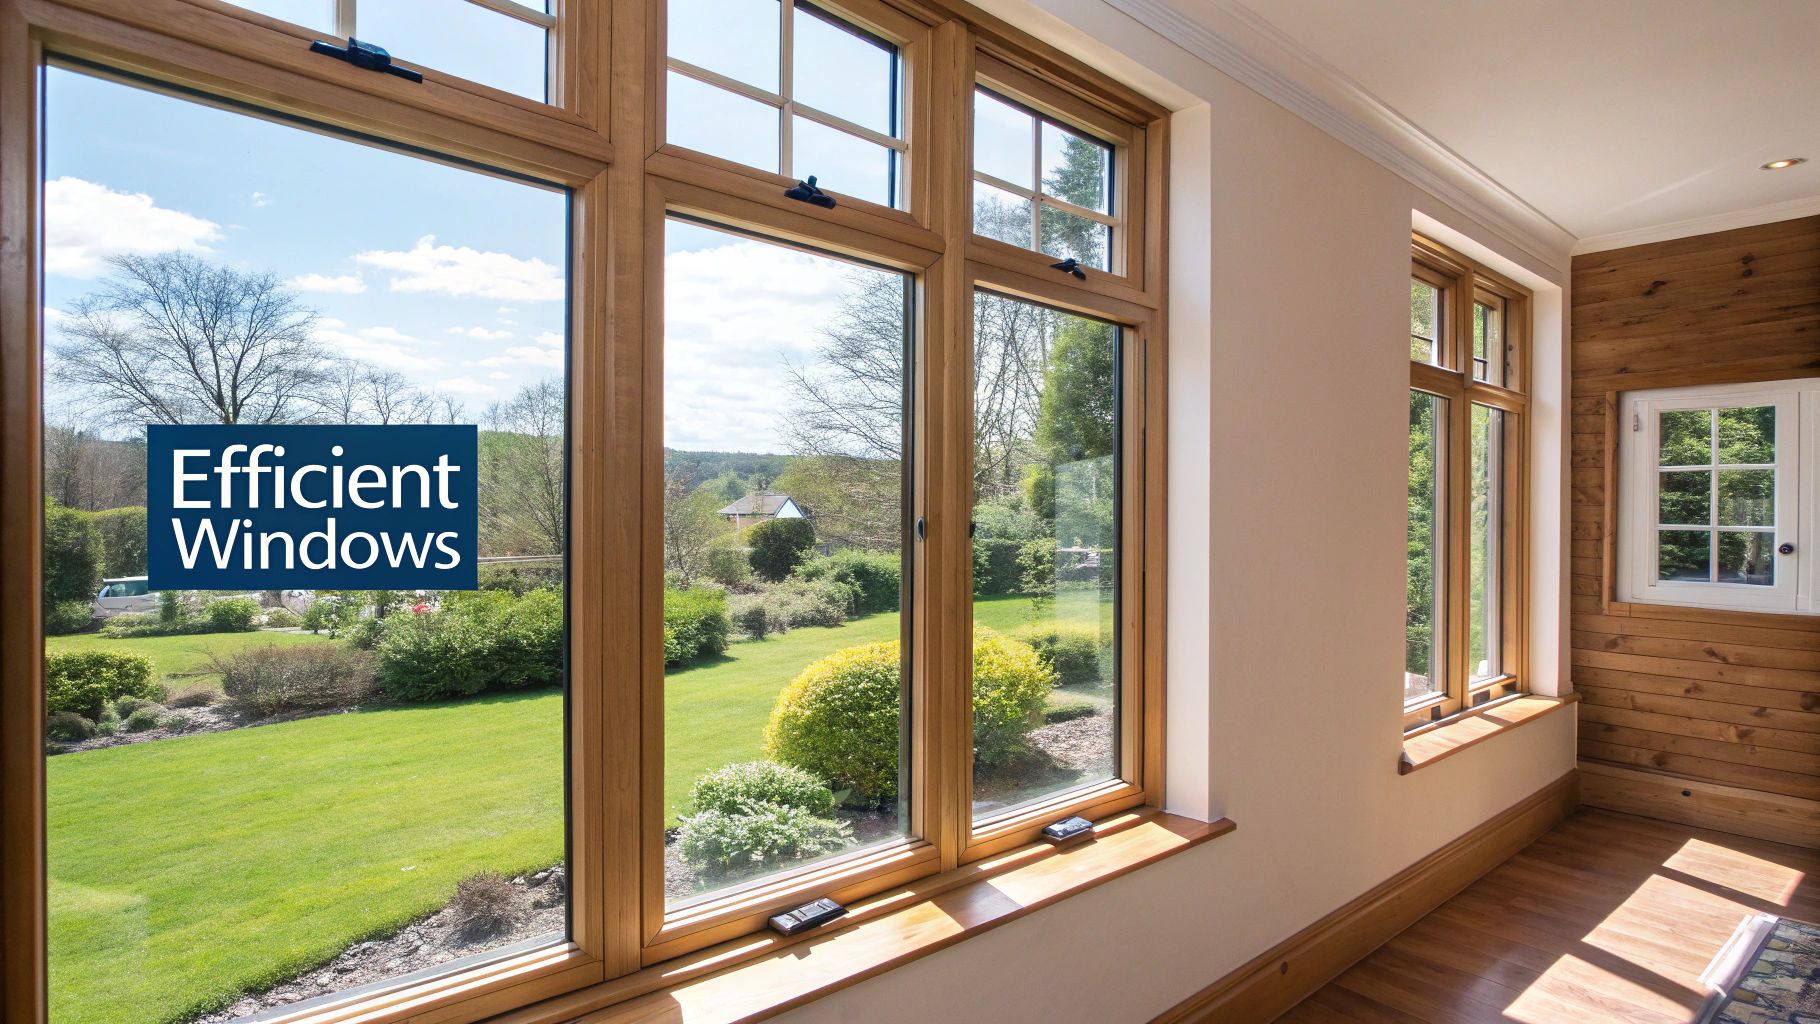
This comprehensive approach offers substantial returns. For example, a homeowner in Minneapolis cut their energy bills by 25% by combining triple-pane windows with cellular shades. This illustrates how a dual strategy of replacing inefficient windows and adding insulating treatments can create a powerful thermal barrier, stabilizing your home's indoor temperature and reducing the workload on your HVAC system year-round.
How to Implement Window Upgrades
A full window replacement is a major investment, so it’s crucial to approach it strategically to get the most significant impact.
- Prioritize Problem Areas: If replacing all windows isn't feasible, start with the largest windows or those facing north, as they often contribute the most to heat loss in colder climates.
- Understand Key Ratings: Look for the ENERGY STAR® label and the National Fenestration Rating Council (NFRC) sticker. Focus on a low U-factor (0.30 or less) for better insulation and an appropriate Solar Heat Gain Coefficient (SHGC) for your climate.
- Leverage Window Treatments: Before a full replacement, maximize the efficiency of existing windows. Applying weatherstripping and caulk can seal air leaks. High-performance treatments like cellular shades can reduce heat loss through windows by 40% or more. Beyond upgrading to energy-efficient windows, choosing the right window treatments can significantly impact your home's thermal performance. For a deeper dive into options that provide excellent insulation, explore insulated and thermal curtains.
- Use Natural Light and Shade: Open curtains on south-facing windows in the winter to let in free solar heat, and close them in the summer to block it out. Planting deciduous trees can provide natural shade in the summer while allowing sunlight through in the winter.
7. Conduct Regular HVAC Maintenance
Your home’s heating, ventilation, and air conditioning (HVAC) system is a powerhouse, accounting for nearly half of your total energy consumption. As one of the most significant home energy efficiency tips, implementing a regular maintenance schedule is critical. This ensures your system runs at peak performance, preventing the gradual decline in efficiency that leads to higher bills and premature equipment failure.
A well-maintained HVAC system can use 15% to 30% less energy than a neglected one, a figure that translates directly into substantial savings. For instance, a Department of Energy study found that simply having dirty air filters can increase energy consumption by 5% to 15%. By investing a small amount of time and money into routine care, you protect your largest home appliance, improve indoor air quality, and gain control over your energy costs.
Key Benefits of HVAC Maintenance
The following chart highlights the compelling reasons why prioritizing regular upkeep for your heating and cooling system is a cornerstone of any home energy efficiency strategy.
These benefits illustrate how proactive maintenance delivers a powerful return on investment, protecting both your finances and your comfort.
How to Implement Your HVAC Maintenance Plan
A combination of simple DIY tasks and professional tune-ups will keep your system in top condition. Follow this checklist to maximize efficiency.
- Change Air Filters Regularly: Check your filter monthly and replace it at least every 90 days. During high-use seasons like summer and winter, change it monthly. For improved air quality, use pleated filters with a MERV rating of 8-12.
- Schedule Professional Tune-Ups: Hire a qualified technician for an AC tune-up in the spring and a heating system check-up in the fall. This preventative care addresses potential issues before they become expensive breakdowns.
- Keep Outdoor Units Clear: Ensure there is at least two feet of clearance around your outdoor condenser unit. Regularly remove leaves, grass clippings, and other debris that can obstruct airflow.
- Seal Your Ductwork: Leaky ducts can lose up to 30% of your conditioned air. Use mastic sealant or metal-backed tape (not standard duct tape) to seal all accessible seams and connections in your duct system. Just as your primary home systems need care, so do supplemental ones; read more about the importance of routine care in our guide to solar power system maintenance.
8. Reduce Phantom Energy Loads (Standby Power)
One of the most overlooked home energy efficiency tips involves tackling the silent energy drain from your electronics. Known as phantom load, standby power, or vampire energy, this is the electricity consumed by devices even when they are turned off or in standby mode. These seemingly small loads can account for 5-10% of your total residential electricity use, stealthily adding up on your utility bill every month.
This isn't a minor issue; it's a significant, continuous drain on your home's power. Research from the Lawrence Berkeley National Laboratory highlights the scale of the problem: a single cable box can draw 15-50 watts continuously, costing up to $146 annually on its own. By addressing these phantom loads, you can achieve tangible cost reductions and enhance your home's overall energy efficiency without sacrificing convenience, making it a crucial strategy for any homeowner.
Key Culprits of Phantom Energy Loads
The following chart illustrates common household devices that contribute to standby power consumption, highlighting the financial impact of leaving them plugged in 24/7.
| Device Category | Common Offender Examples | Estimated Annual Cost |
|---|---|---|
| Entertainment Center | TV, Cable Box, Game Console | $50 – $175 |
| Home Office Equipment | Desktop PC, Monitor, Printer | $75 – $200 |
| Kitchen Appliances | Coffee Maker, Microwave | $10 – $30 |
| Chargers (all types) | Phone, Laptop, Tablet | $5 – $20 (per household) |
These figures reveal how multiple devices collectively create a substantial financial burden, underscoring the importance of managing standby power.
How to Eliminate Phantom Loads
Getting control of vampire energy is straightforward with a few strategic habits and tools. You don't need to unplug everything; focus on the biggest offenders first.
- Use Smart Power Strips: Plug your entire entertainment center or computer workstation into an advanced power strip. These devices automatically cut power to peripheral electronics (like speakers or printers) when the main device (your TV or computer) is turned off.
- Unplug Chargers: Phone, tablet, and laptop chargers continuously draw power, even when not connected to a device. Make it a habit to unplug them after your device is fully charged.
- Identify the Worst Offenders: Use a plug-in electricity usage monitor (like a Kill A Watt meter) to measure the standby draw of individual appliances. This helps you prioritize which devices to unplug or connect to a power strip.
- Leverage Timers: For items like decorative lighting or network routers you don't need overnight, an inexpensive outlet timer can automatically shut them off, saving energy while you sleep. Being mindful of when you use energy can also help you save if you are on a specific rate plan. Learn more about how time-of-use electricity rates work.
Home Energy Efficiency Tips Comparison
| Energy Efficiency Upgrade | 🔄 Implementation Complexity | ⚡ Resource Requirements | 📊 Expected Outcomes | 💡 Ideal Use Cases | ⭐ Key Advantages |
|---|---|---|---|---|---|
| Upgrade to LED Lighting | Low – simple bulb replacement | Low – upfront bulb cost ($2-8 each) | High – up to 75% energy savings, long life | Homes needing quick, cost-effective lighting | Drastic energy reduction & long lifespan |
| Install a Programmable or Smart Thermostat | Moderate – wiring and setup (30-60 min) | Medium – device cost ($130-250), WiFi needed | Moderate – 10-23% HVAC savings annually | Homes with HVAC and WiFi wanting automation | Remote control, automation & energy reports |
| Improve Insulation and Air Sealing | High – professional installation typical | High – $1,000-5,000+ based on scope | Very High – 15-50% reduction in heating/cooling | Homes with poor insulation/drafts | Major comfort, cost, and noise reduction |
| Upgrade to ENERGY STAR Appliances | Low to Moderate – appliance replacement | Medium to High – higher upfront appliance cost | Moderate – 10-50% appliance energy savings | Replace old appliances for efficiency | Certified savings & advanced features |
| Optimize Water Heater Efficiency | Moderate – varies by strategy | Low to High – insulation ($20-50) to new units ($800-3,000) | Moderate – 25-50% water heating cost reduction | Water heating significant part of energy use | Multiple cost-effective upgrade options |
| Install Energy-Efficient Windows & Treatments | High – window replacement disruptive | High – $300-1,000+ per window | Moderate to High – 25-60% heating/cooling savings | Replacing old or single-pane windows | Comfort, UV protection, and value add |
| Conduct Regular HVAC Maintenance | Low to Moderate – recurring tasks and annual service | Low to Medium – $75-200 yearly maintenance + filter costs | Moderate – 15-30% HVAC energy savings | All homes with HVAC systems | Cost savings, longer equipment life |
| Reduce Phantom Energy Loads (Standby Power) | Low – behavioral and minor device additions | Low – power strips ($10-60) and unplugging habits | Low to Moderate – 5-10% electricity savings | Homes with many electronics and standby use | Simple, low-cost savings & fire risk reduction |
Taking the Next Step Towards Energy Independence
Throughout this guide, we've explored a comprehensive suite of practical and impactful home energy efficiency tips, moving from simple swaps to significant home upgrades. We've seen how each action, no matter its scale, contributes to a larger goal of reduced energy consumption, lower utility bills, and a smaller environmental footprint.
Recapping our journey, we started with foundational "quick wins" like transitioning to LED lighting and taming phantom energy loads with smart power strips. These low-cost, high-impact changes provide an immediate return on your investment. We then progressed to optimizing your home's core systems, detailing the value of programmable thermostats, diligent HVAC maintenance, and efficient water heater settings. Finally, we addressed the crucial role of your home's physical structure, emphasizing the profound savings generated by improving insulation, air sealing leaks, and installing energy-efficient windows.
From Efficiency to Independence: Your Strategic Roadmap
The key takeaway is that energy efficiency is not a single action but a continuous, strategic process. The most successful approach involves layering these improvements over time, creating a powerful cumulative effect. Think of it as building an energy-saving fortress around your home, brick by brick.
Your personal roadmap might look something like this:
-
Phase 1: Immediate Actions (The Low-Hanging Fruit)
- Commit to swapping out incandescent bulbs for LEDs as they burn out.
- Install smart power strips in your home office and entertainment center this weekend.
- Adjust your water heater temperature down to 120°F (49°C).
-
Phase 2: System Optimization (The Mid-Term Plan)
- Schedule a professional HVAC tune-up and an energy audit to identify your home's biggest weaknesses.
- Invest in a smart thermostat to automate your heating and cooling schedules.
- Plan your next appliance purchase by researching top-rated ENERGY STAR models.
-
Phase 3: Major Upgrades (The Long-Term Vision)
- Budget for adding insulation to your attic or walls based on your energy audit's findings.
- Plan for a future window replacement project, focusing on high-performance, multi-pane units.
By mastering these home energy efficiency tips, you do more than just save money; you gain control over your home's performance and comfort. You transform it from a passive consumer of energy into a highly efficient, fine-tuned environment that works for you, not the utility company. This path of consistent, informed action is the first giant leap toward true energy independence. When you have successfully minimized your home's energy demand, the next logical step is to generate your own clean, reliable power.
Ready to take the ultimate step from energy efficiency to complete energy independence? Combining these tips with a custom solar installation from Energía radiante can reduce or even eliminate your electricity bill. Visit Energía radiante to get a free consultation and discover how you can power your newly efficient home with the sun.