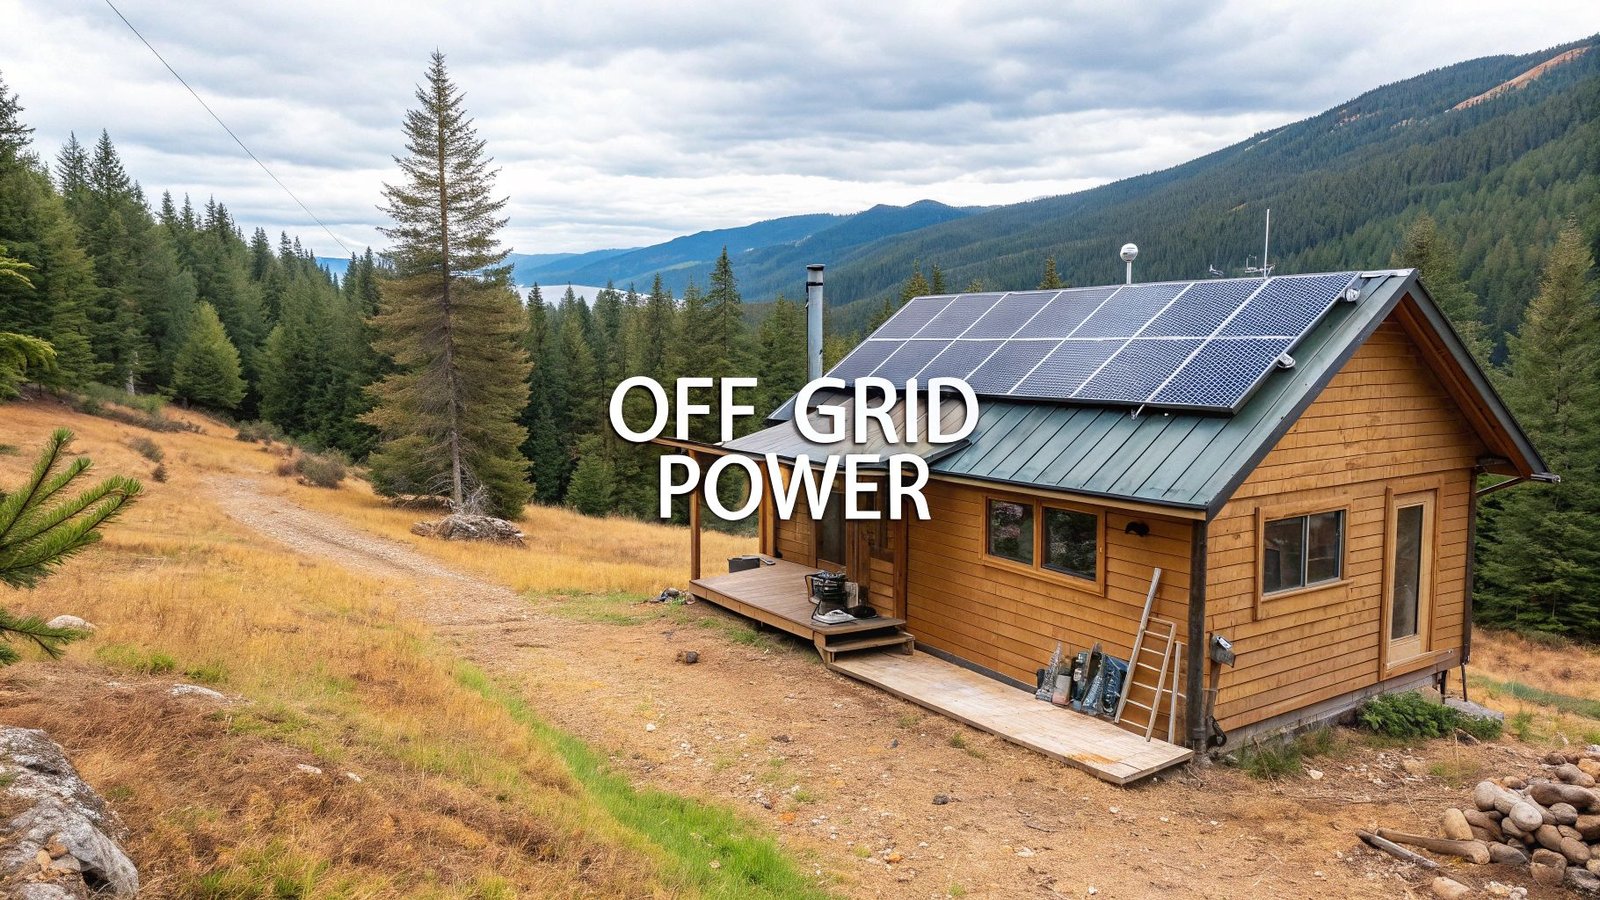
Imagine a life without power bills, where you're completely in charge of your own electricity. That's the promise of using solar power for off grid living. It's more than just a setup; it's a ticket to energy independence and a truly sustainable lifestyle. You're essentially creating your own private utility that powers your home, no matter how far off the beaten path you are.
Why Off Grid Solar Is More Than Just Power
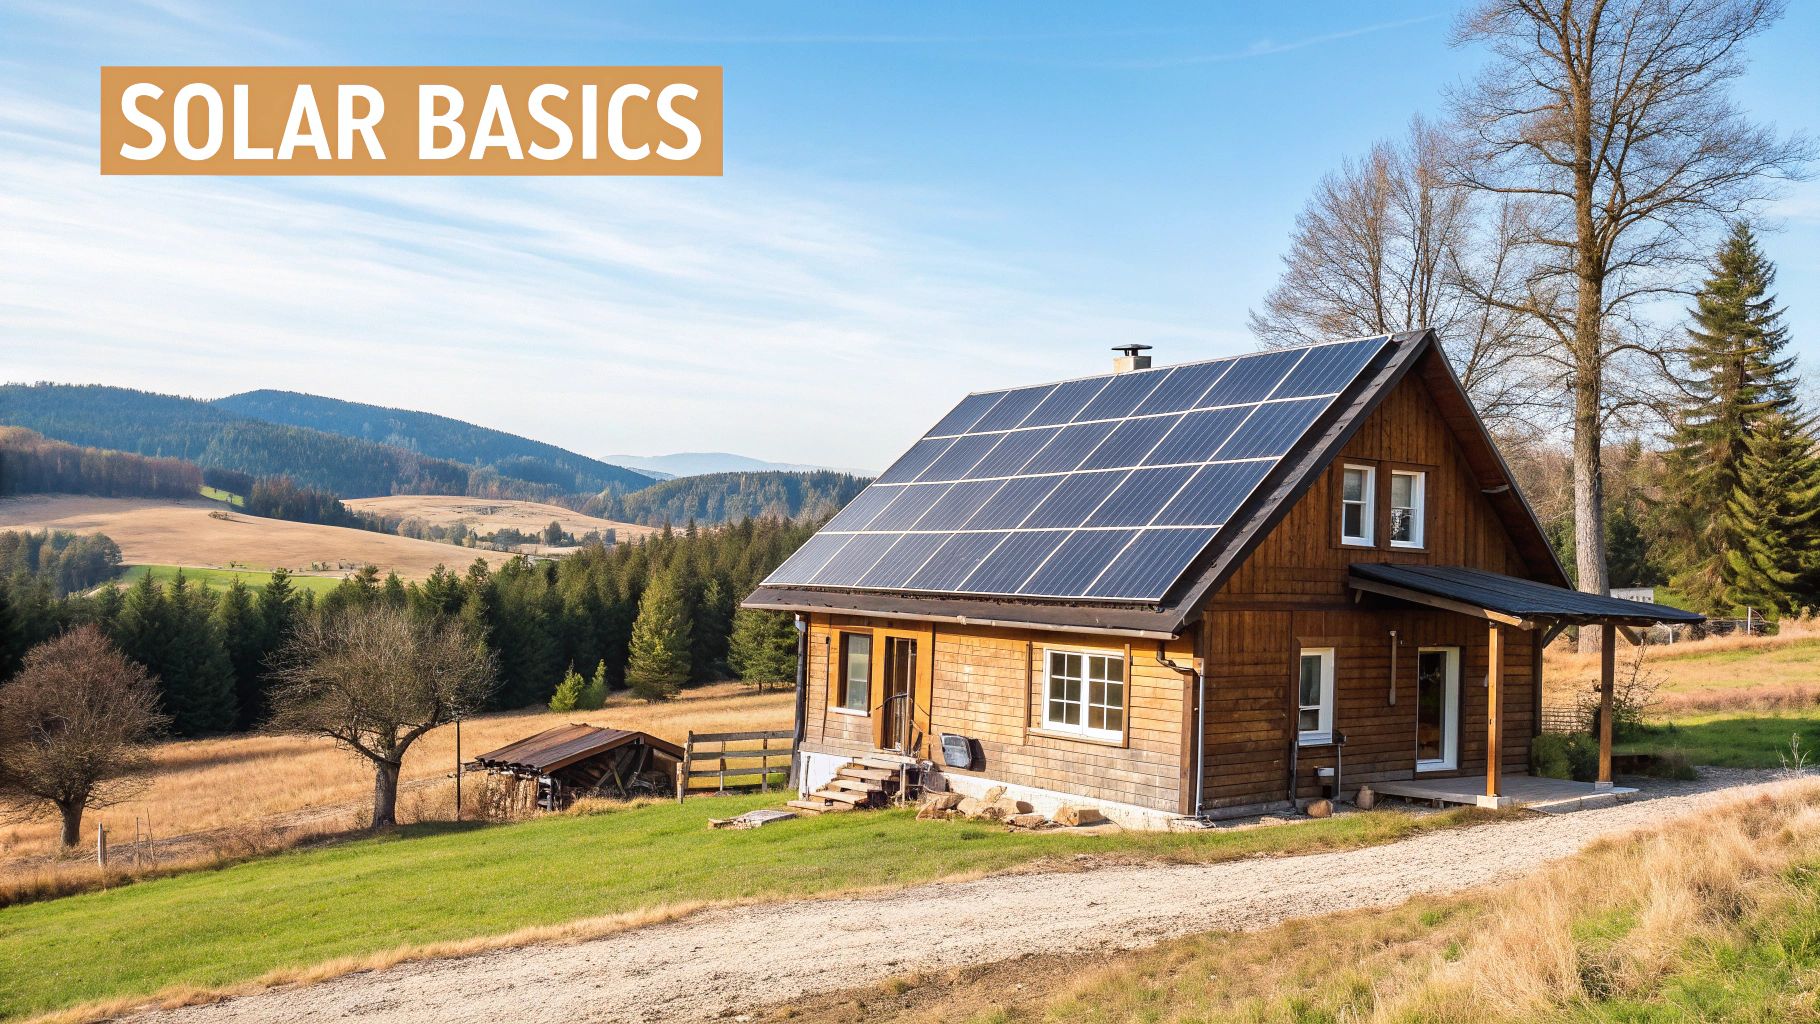
Making the leap to off-grid solar is a huge step toward becoming self-reliant. It means cutting the cord from the public utility for good, freeing you from surprise rate hikes, frustrating power outages, and an unstable grid. This whole lifestyle is built on resilience—you make your own power, you store it, and you use it.
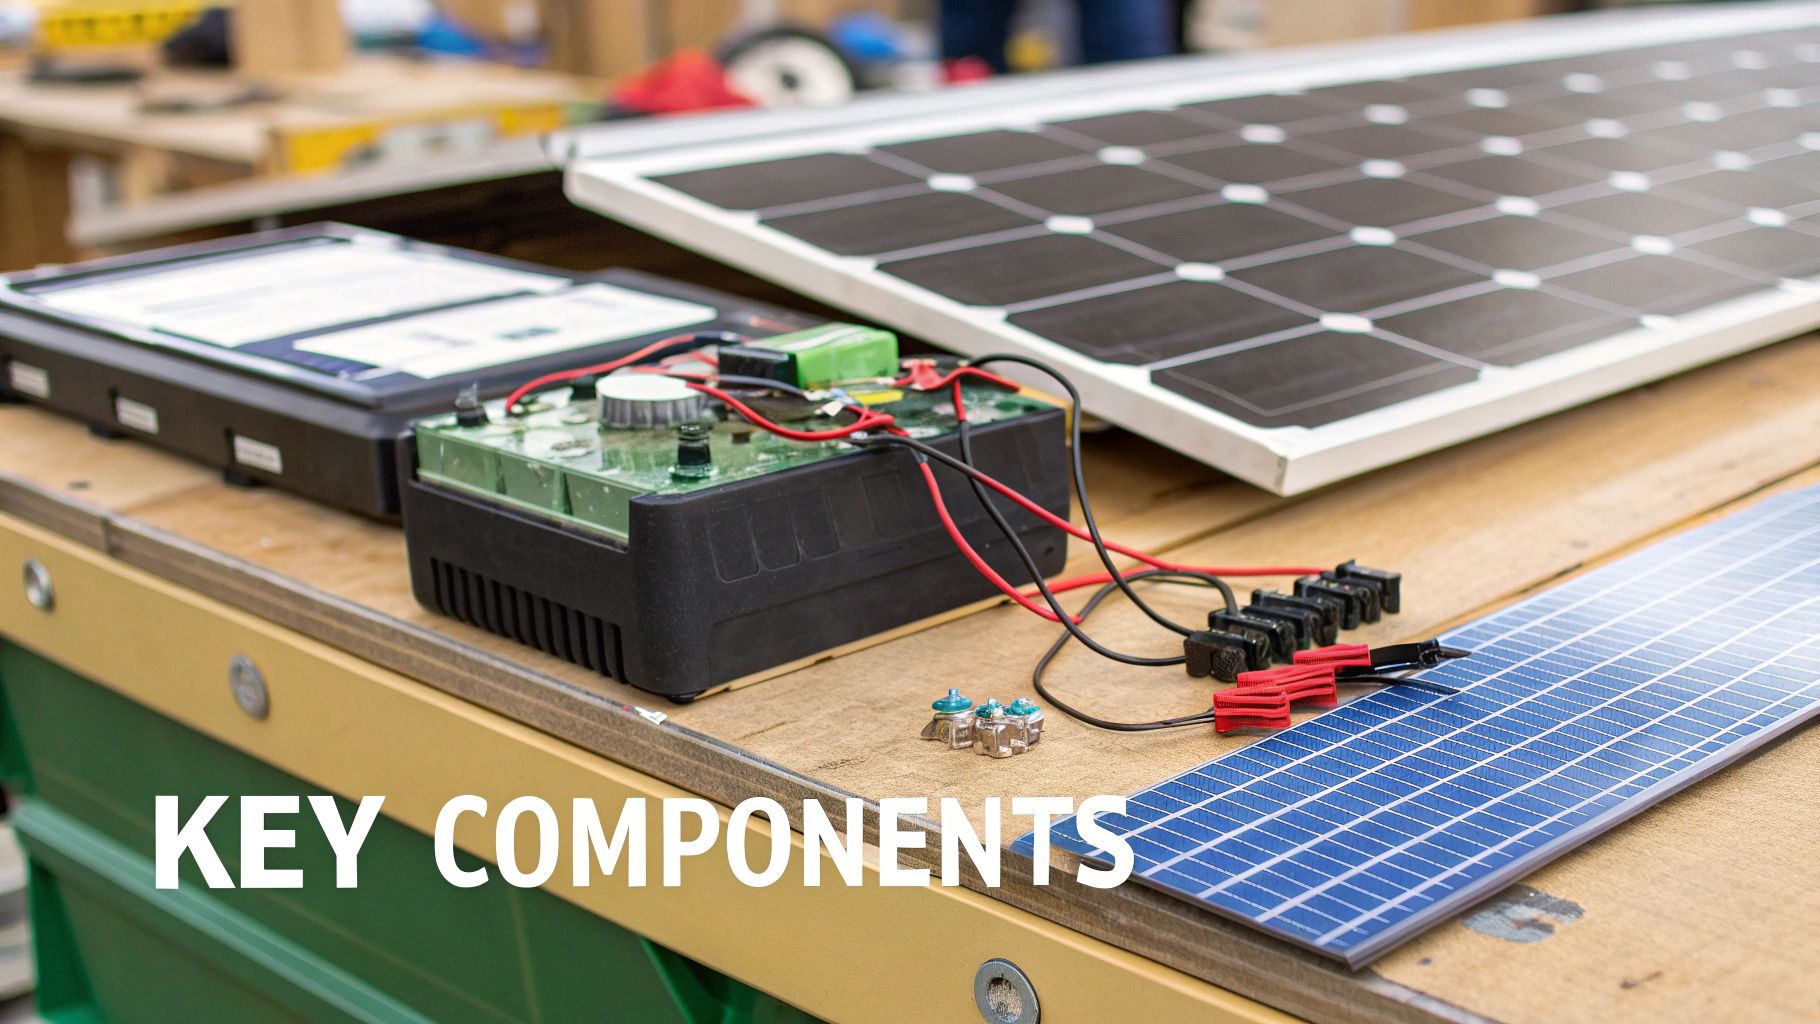
At its heart, an off-grid solar system has four key parts that have to work together perfectly:
- Solar Panels: These are the workhorses. They soak up sunlight and turn it into direct current (DC) electricity.
- Charge Controller: Think of this as the traffic cop for your system. It manages the power flowing from the panels to the batteries to make sure they don't get overcharged.
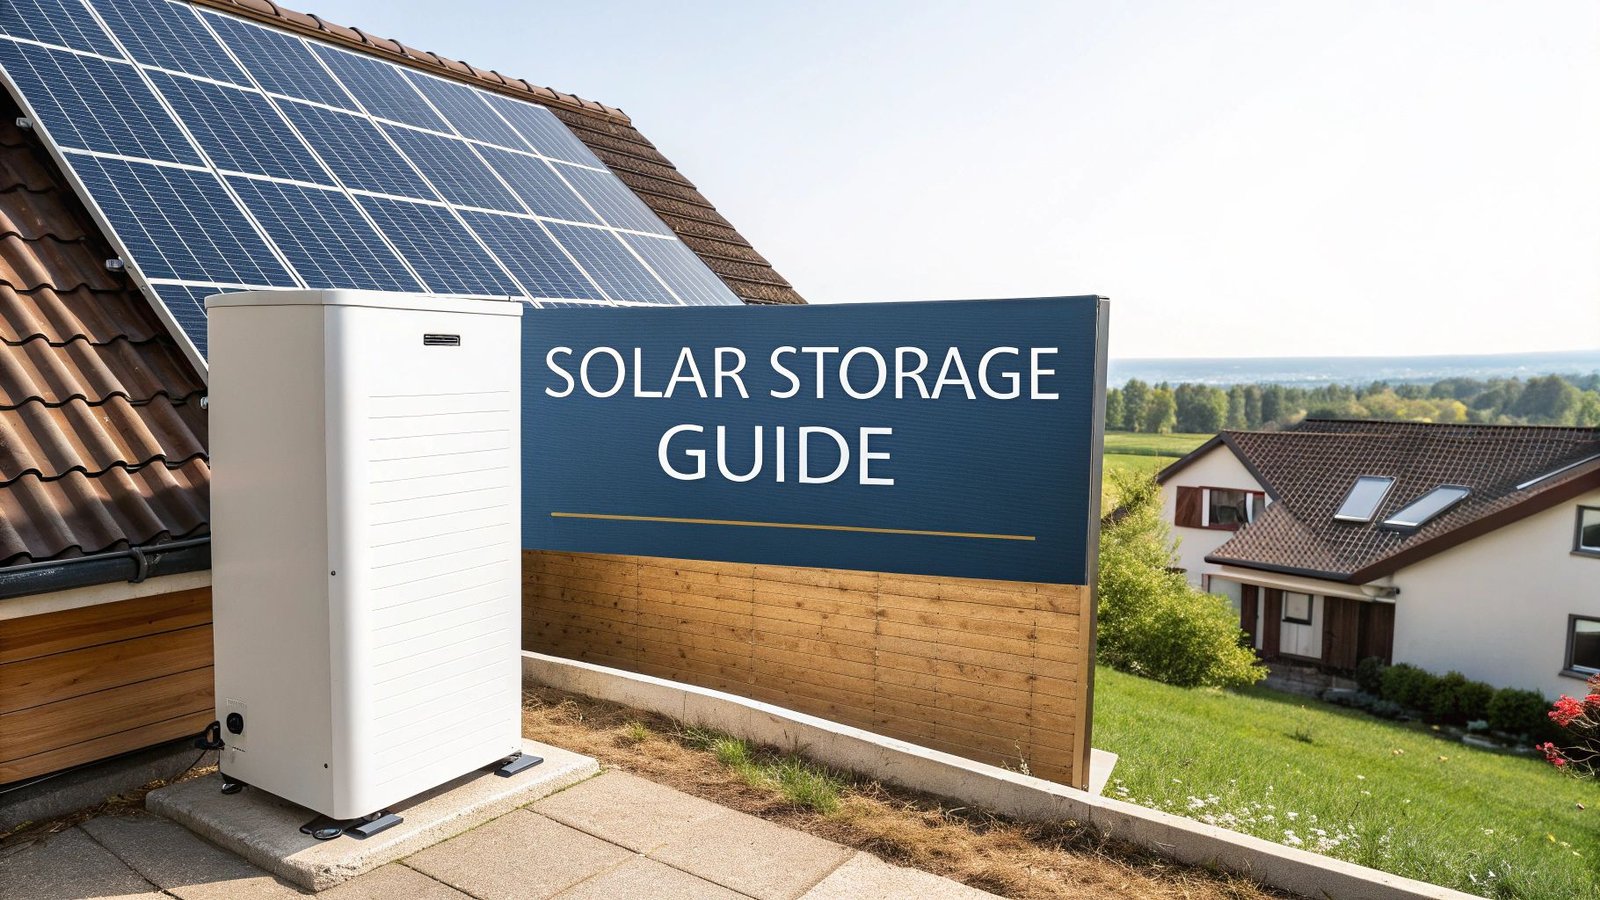
- Battery Bank: This is your energy savings account. Any extra power gets stored here for nighttime use or on those inevitable cloudy days.
- Inverter: This handy device takes the DC power from your batteries and converts it into the alternating current (AC) that your everyday appliances need to run.
The Growing Appeal of Energy Independence
More and more people are being drawn to off-grid living, looking for a simpler and more sustainable way of life. The technology has also become much more affordable and efficient. To give you an idea of the scale, in the first half of just one recent year, the world added 380 gigawatts (GW) of new solar capacity. That's a massive 64% jump from the 232 GW installed in the same period a year before.
graph TD
    A[Year 1 (H1)] --> B(232 GW);
    C[Year 2 (H1)] --> D(380 GW);
    style A fill:#f9f,stroke:#333,stroke-width:2px
    style C fill:#ccf,stroke:#333,stroke-width:2px
True off-grid living is a commitment to a holistic lifestyle. It's not just about flipping a switch; it’s about understanding your consumption, respecting natural resources, and building a resilient homestead.
This mindset goes way beyond just keeping the lights on. It often involves learning other self-sufficiency skills, like figuring out how to handle preserving meat without refrigeration.
A Lifestyle of Resilience and Freedom
At the end of the day, choosing off-grid solar is a lifestyle decision rooted in freedom. It’s the freedom to build your home wherever you want, the financial breathing room from not having a monthly utility bill, and the peace of mind that comes from knowing you can take care of things yourself. With a bit of careful planning, this kind of self-sufficiency is absolutely within reach. This guide is here to walk you through everything you need to know, so you can start your off-grid journey with confidence.
How to Calculate Your Real-World Energy Needs
If there's one mistake that will sink an off-grid solar project before it even starts, it's guessing your energy needs. Forget about panels and batteries for a moment. The very first thing you must do is a detailed energy audit. This isn't just theory; it's a practical, on-the-ground assessment of your daily power usage that gives you the single most important number for designing your entire setup.
This audit is basically a detailed inventory of every single thing in your home that will pull power. It’s tedious, I know, but it’s the bedrock of a reliable system. Skimp on this step, and you’ll either blow your budget on a system that’s way too big or—much worse—end up with one that can’t keep up, leaving you in the dark during a long winter storm.
Creating Your Appliance Inventory
The best way to start is to just walk through your house, room by room, with a notepad or a spreadsheet open. Jot down every single appliance and electronic device you plan on using.
Don’t just list the big-ticket items like the refrigerator and microwave. You need to think about the small stuff, too. I'm talking about phone chargers, laptops, LED lights, that well pump, and even the electric toothbrush. Everything counts.
For each item on your list, you need to find two key pieces of information:
- Wattage (W): This tells you how much power the device draws when it's running. You can almost always find this on a small label on the back or bottom of the appliance itself, or sometimes on the power adapter brick.
- Hours Used Per Day: This is your best, most honest estimate of how long that device will actually be running in a typical 24-hour period. It’s incredibly easy to underestimate this, so be realistic.
Once you have those two numbers, the math is simple. You just multiply them together to find out how much energy each device uses per day in watt-hours (Wh).
Wattage (W) x Hours Used Per Day = Daily Watt-Hours (Wh)
This calculation is the fundamental building block for your entire energy budget.
Accounting for Phantom Loads
Here's something that trips up a lot of newcomers: phantom loads. You might also hear it called vampire power. This is the sneaky energy that electronics consume even when they're turned "off" but are still plugged into the wall.
Think about your television, the clock on the microwave, or all those device chargers. They're constantly sipping a small amount of power, 24/7. It might not seem like much, but these little draws can easily add up to 5-10% of your total daily energy consumption. In an off-grid system where every watt matters, ignoring this can put a surprising and unnecessary strain on your battery bank. My advice? Either unplug these devices completely or connect them to power strips that you can switch off.
Building a Sample Energy Budget
Let’s walk through a practical example for a typical off-grid cabin. By listing out the common appliances and crunching the numbers, we can see exactly how a daily total comes together. You can use this as a template for your own home. For a deeper dive into system design, our guide on off grid solar power for homes covers the full scope of sizing your components.
I've put together a sample worksheet below. It's a great starting point for figuring out your own daily watt-hour requirements.
Sample Appliance Energy Audit for an Off Grid Cabin
| Appliance | Wattage (W) | Hours Used Per Day | Daily Energy (Wh) |
|---|---|---|---|
| Energy-Efficient Refrigerator | 150 W (cycling) | 8 | 1,200 Wh |
| LED Lights (5 total) | 10 W each (50W) | 6 | 300 Wh |
| Laptop | 65 W | 4 | 260 Wh |
| Phone Charger (2 phones) | 10 W | 2 | 20 Wh |
| Water Pump | 500 W | 0.5 | 250 Wh |
| Microwave | 1,200 W | 0.1 (6 mins) | 120 Wh |
| Total Daily Consumption | 2,150 Wh |
Looking at this table, it becomes immediately obvious that the refrigerator is the biggest energy hog by a long shot. Knowing this is powerful. It allows you to make smart decisions, like investing in an ultra-efficient fridge or maybe opting for a propane stove instead of an electric one to save precious watts.
pie
    title Daily Energy Consumption Breakdown (2,150 Wh Total)
    "Refrigerator" : 1200
    "LED Lights" : 300
    "Laptop" : 260
    "Water Pump" : 250
    "Microwave" : 120
    "Phone Charger" : 20
Your calculated daily watt-hour total is the non-negotiable number that will dictate the size of your solar panel array and battery bank. Getting this right prevents frustration and ensures your system performs as expected, day in and day out.
With this final number—in our example, 2,150 Wh—you now have the essential figure you need. You're ready to move on to the exciting part: choosing the hardware that will bring your off-grid dream to life.
Choosing the Right Hardware for Your System
Alright, you've done the math and know exactly how much power you need each day. Now for the fun part: picking out the gear. This is where your off-grid dream starts to feel real, as you choose the components that will become your personal power plant.
Think of it less like shopping and more like assembling a high-performance team. Every piece—from the panels on the roof to the batteries in the bank—has to work in perfect harmony. The decisions you make here will define your system's reliability, how long it lasts, and what it ultimately costs. Let's get into the nitty-gritty of the core components.
The Great Solar Panel Debate
Your solar panels are the workhorses of the entire system, and you'll mainly be looking at two types: monocrystalline and polycrystalline. They both turn sunlight into electricity, but how they do it—and how well—is where they differ.
-
Monocrystalline Panels: You can spot these by their uniform, sleek black look. They're made from a single, pure silicon crystal, which makes them the most efficient option out there, typically hitting 17-22% efficiency. This is a huge advantage if you're short on space. They also tend to have a slight edge in performance on cloudy days or in really hot weather.
-
Polycrystalline Panels: These have a more marbled, blue appearance because they're made from multiple silicon fragments melted together. This process is cheaper, so the panels cost less upfront. The trade-off is slightly lower efficiency, usually in the 15-17% range. You'll just need a bit more surface area to get the same power output.
So, for that cabin example needing power for a 2,150 Wh load, a monocrystalline setup makes a lot of sense. You can maximize your power generation without needing a massive amount of roof space.
Battery Technology: The Heart of Your System
If panels are the workhorses, the battery bank is the heart. It’s what keeps the lights on at night and through those long, cloudy stretches. Your choice here really comes down to two main players: old-school lead-acid and modern lithium-ion, specifically Fosfato de litio y hierro (LiFePO4).
Here's a quick rundown of how they stack up:
| Característica | Lead-Acid (AGM/Flooded) | Lithium-Ion (LiFePO4) |
|---|---|---|
| Lifespan | 5-7 years | 10-15+ years |
| Profundidad de descarga (DoD) | 50% | 80-100% |
| Maintenance | Regular (watering, equalizing) | Virtually none |
| Coste inicial | Baja | Más alto |
| Long-Term Value | Fair | Excellent |
Lead-acid batteries have been around forever because they're cheap to get started with. But they’re needy—requiring maintenance—and you can only safely drain them to about 50% of their total capacity. LiFePO4 batteries, while more expensive at the outset, are a game-changer. They last twice as long, are completely maintenance-free, and you can use almost all of their stored power. For most people, they are a far better investment in the long run.
Inverters: Converting Power for Your Appliances
The inverter is the unsung hero that takes the low-voltage DC power from your batteries and converts it into the 120V AC power that your appliances actually use. The big decision here is between a modified sine wave and a pure sine wave inverter.
A modified sine wave inverter is the budget option. It’s fine for simple things like basic tools or a water pump. The problem is, its power output is choppy and can wreak havoc on sensitive electronics like laptops, modern TVs, or medical equipment.
A pure sine wave inverter creates clean, stable power that’s just as good, if not better, than what you get from the utility grid. Honestly, for any serious off-grid setup, this is the only way to go. It protects your expensive appliances and ensures everything runs properly.
Charge Controllers: Maximizing Your Harvest
Finally, there’s the charge controller. This little box is the brain of your solar array, managing the flow of power from the panels to the batteries and preventing them from overcharging. You’ll choose between Pulse Width Modulation (PWM) and Maximum Power Point Tracking (MPPT).
PWM controllers are the simpler, cheaper technology. They basically act like a smart on/off switch. MPPT controllers are far more sophisticated. They actively find the optimal voltage and current from your panels, which can boost your power harvest by up to 30%. That’s a massive difference, especially on cold, sunny days or when the clouds roll in. The efficiency gains almost always make an MPPT controller worth the extra cash.
By the way, if you’re thinking about integrating power for a vehicle into your plans, looking over an EV Car Camping Gear Checklist can offer some great insights on what gear plays nicely together.
Choosing your hardware is a balancing act between performance, longevity, and budget. While it can be tempting to save money upfront with lower-cost components, investing in high-quality, efficient gear like LiFePO4 batteries and MPPT controllers will pay dividends in reliability and peace of mind for years to come.
A Practical Guide to Your Solar Installation
You've picked out your gear, and now it's time for the exciting part: bringing your off-grid solar system to life. This is where the rubber meets the road, turning all that careful planning into a real, working power source. While we can't cover every technical detail here, we'll walk through the most important phases and share some best practices to make sure your installation is safe, efficient, and built to last.
Getting from a pile of boxes to a fully functional system follows a clear path. This visual gives you a great overview of the major stages, from the initial site check all the way to keeping an eye on your system's performance.
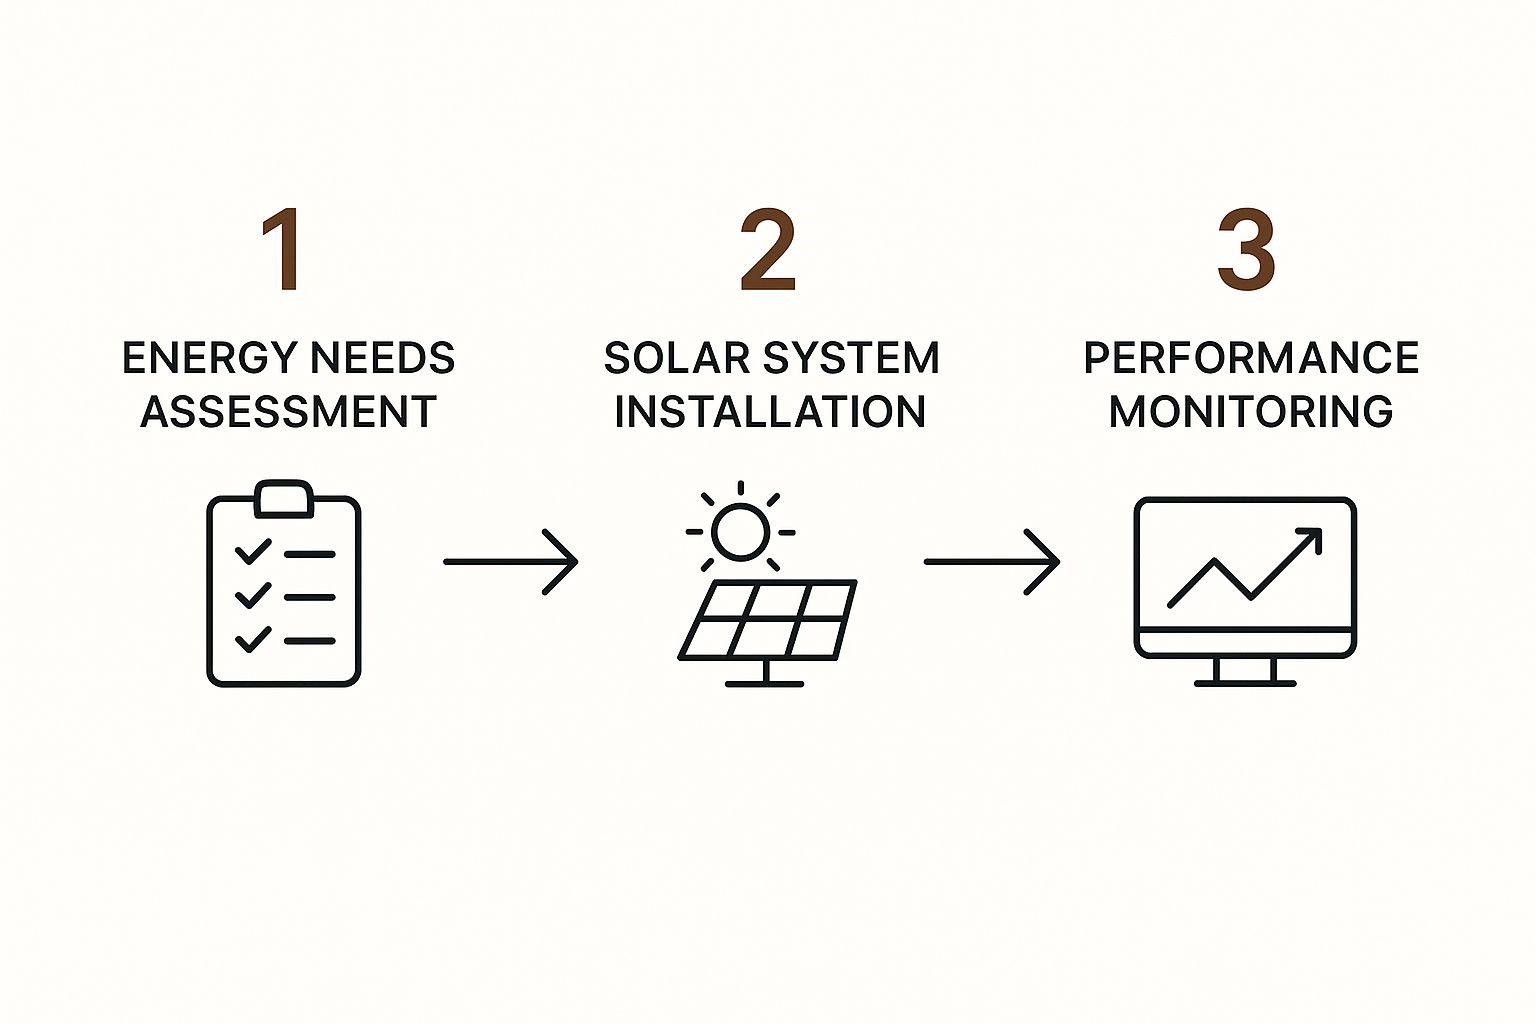
As you can see, the physical installation is the hands-on centerpiece of a bigger strategy—one that starts with smart planning and finishes with diligent, long-term system management.
Mounting Your Solar Panels
One of the first hands-on decisions you’ll make is where to actually put your panels. You really have two main choices: on your roof or on the ground.
- Roof-Mounted Systems: This is a go-to for a reason. It uses space you aren't using anyway and keeps the panels safely out of the way. The catch? You’ll be working at heights and, more importantly, drilling holes in your roof. Those penetrations have to be sealed perfectly to avoid leaks down the road.
- Sistemas instalados en el suelo: These are a breeze to work with. Installation, cleaning, and any future maintenance are much easier when you can stand right next to the array. You also get total freedom to orient them for that perfect, sun-soaking angle. The trade-off is that they eat up yard space and are more exposed to things like runaway lawnmowers or theft.
No matter which way you go, the mounting hardware is not the place to cut corners. It needs to be rock-solid and engineered to handle the absolute worst weather your area gets, whether that’s gale-force winds or a heavy snow dump.
Understanding Panel Wiring
With your panels mounted, the next step is wiring them together. You can connect them in series or in parallel, and your choice here has a huge impact on how your system performs.
Wiring in series (connecting the positive of one panel to the negative of the next) adds up the voltage but keeps the amperage the same. This is fantastic for long wire runs because higher voltage means less power loss over distance.
Wiring in parallel (connecting all the positives together and all the negatives together) does the opposite—it adds up the amperage while the voltage stays the same. This setup is much more tolerant of shade. If a shadow falls on one panel, it won't cripple the output of the entire string. To see how these wiring choices fit into the grander scheme, you can dig deeper into the complete solar panel installation process.
The Correct Connection Sequence
Hooking up your components in the wrong order can fry your equipment, especially that sensitive charge controller. There’s a specific sequence for a reason—it’s all about protecting your gear.
- Charge Controller to Battery Bank: The very first connection you should make is from the charge controller to the batteries. This lets the controller wake up, read the system's voltage, and calibrate itself before any power comes in from the panels.
- Solar Panels to Charge Controller: Once the controller is powered on and stable, you can safely connect your solar array to it.
- Battery Bank to Inverter: The last piece of the puzzle is connecting your battery bank to the inverter. This brings your AC power online, making it ready to run everything from your lights to your coffee maker.
graph TD
    subgraph "Connection Sequence"
        direction LR
        A(1. Battery Bank) --> B(2. Charge Controller);
        C(3. Solar Panels) --> B;
        A --> D(4. Inverter);
        D --> E(5. AC Loads);
    end
Your safety is the absolute top priority during installation. Never work on live wires, always use cables properly sized for the current they’ll carry, and make sure your system is well-grounded to protect against any electrical faults.
Cuándo llamar a un profesional
There's a huge sense of accomplishment in a DIY installation, but it’s just as important to know your limits. Some parts of the job, especially tying the inverter into your home's main electrical panel (the AC load center), are best left to a licensed electrician.
Bringing in a pro ensures your system is not only safe but also up to local code. Gaining energy independence is a fantastic goal, but it should never, ever come at the cost of your safety.
Keeping Your System Healthy and Efficient
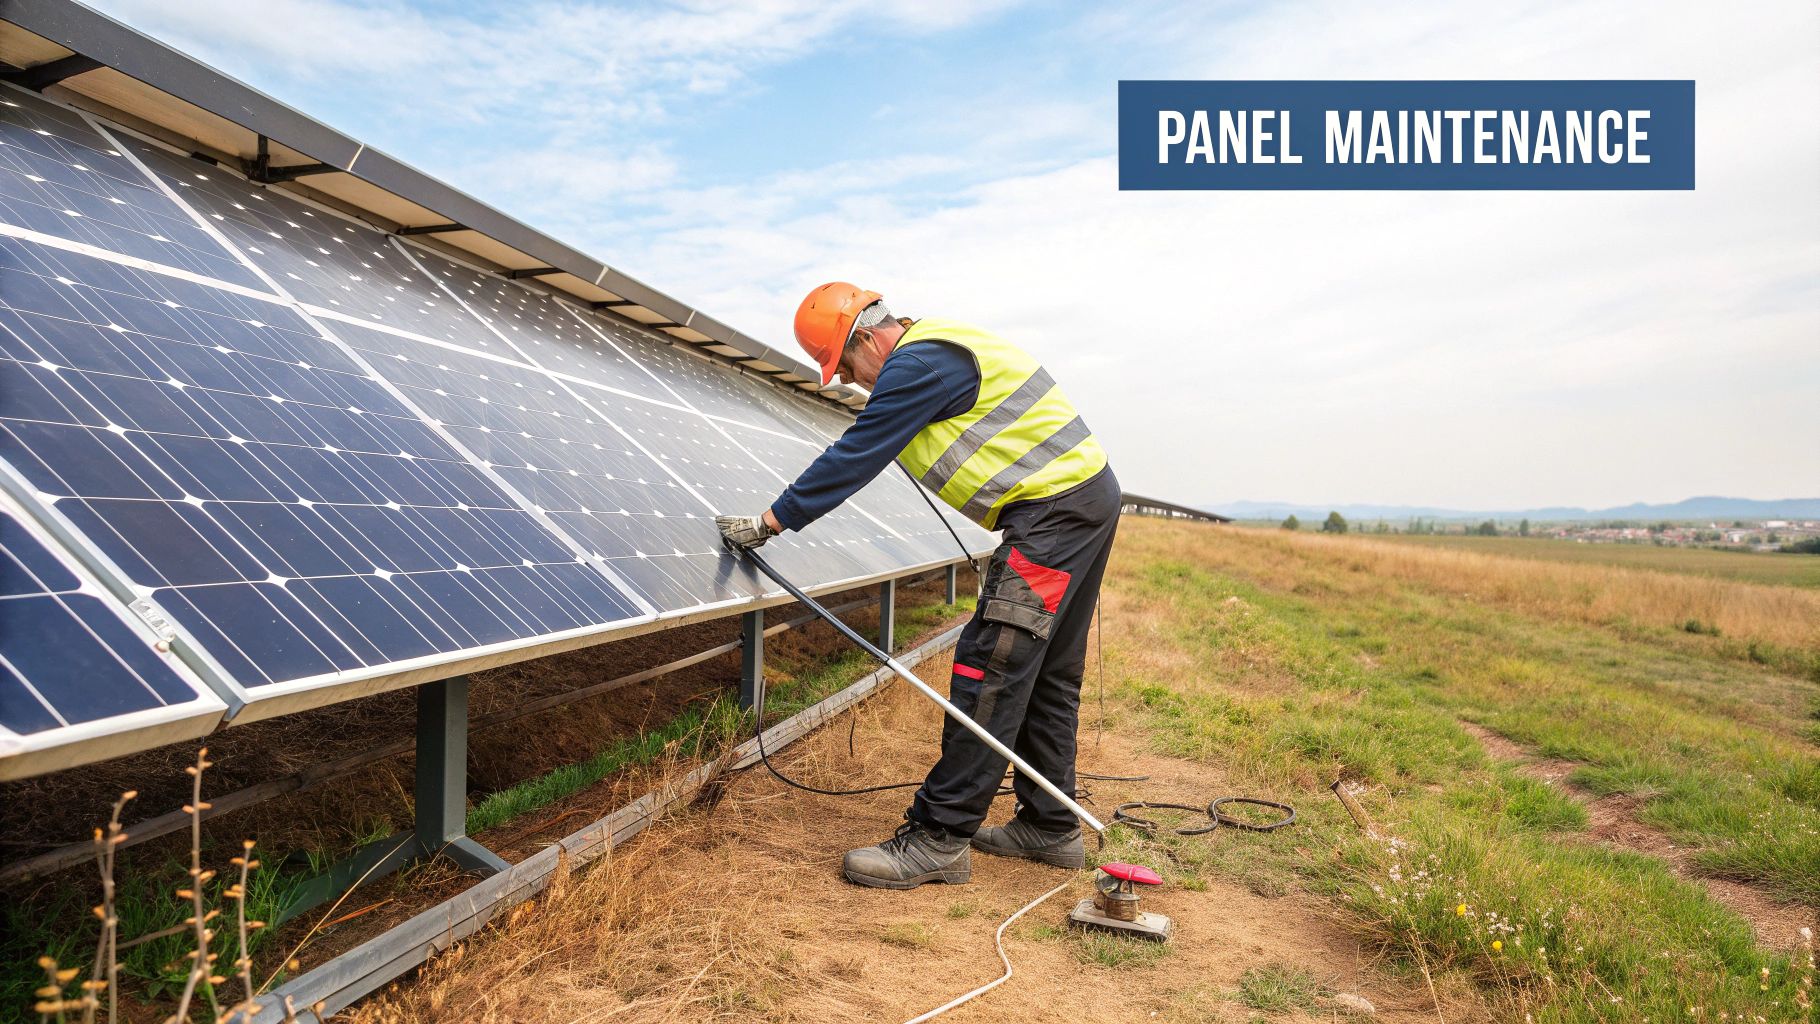
Your off-grid solar setup is the heart of your independent lifestyle. Like any critical piece of equipment, it needs a bit of regular attention to perform at its best. Consistent maintenance is what protects your investment and guarantees you’ll have reliable power for years, not just seasons.
This isn't about becoming a master electrician overnight. It’s about creating a simple, repeatable routine to keep all the components happy. Think of it as a series of quick health check-ups. These small, proactive steps stop minor issues from snowballing into big, expensive headaches—saving you from sudden power outages and costly repairs down the line. A well-maintained system doesn't just work; it works smarter, squeezing every last watt out of the sun.
Your Regular Maintenance Schedule
The easiest way to stay on top of everything is to follow a schedule. When you break the work into monthly, quarterly, and annual tasks, the whole process feels less intimidating and ensures nothing falls through the cracks.
This rhythm helps you spot subtle changes in performance before they become real problems. Here’s a sample schedule that shows how a little bit of regular effort keeps your system in prime condition.
Sample Annual Maintenance Cadence
| Frequency | Task | Por qué es importante |
|---|---|---|
| Monthly | Visually inspect panels for dirt, debris, or damage. Check battery voltage. | Ensures maximum sunlight absorption and catches battery issues before they worsen. |
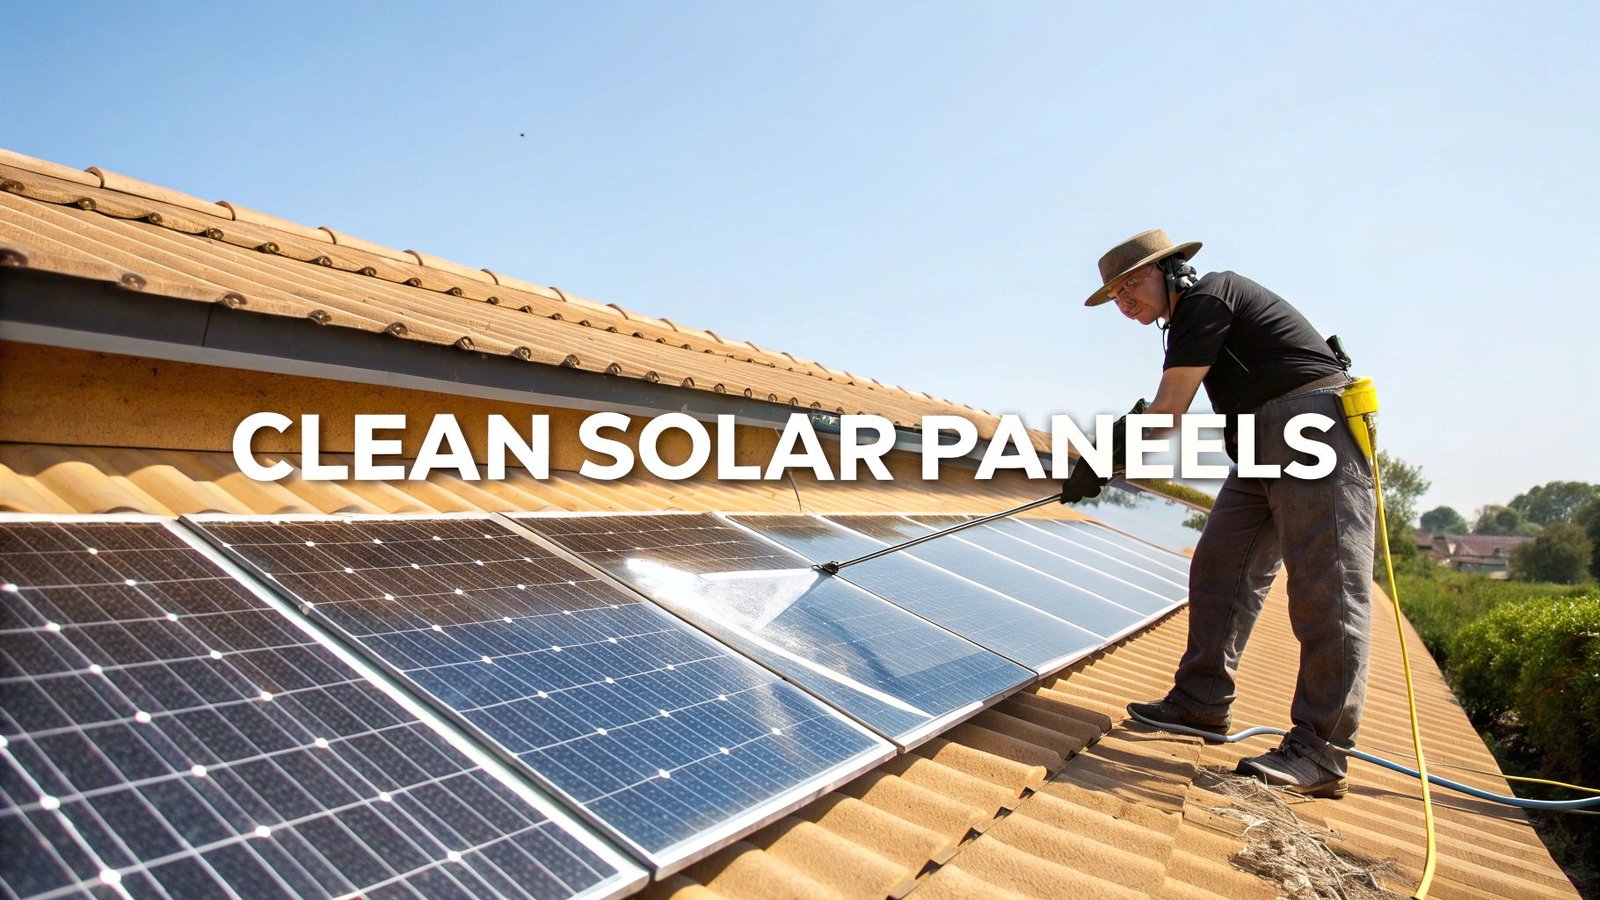
| Quarterly | Clean solar panels (if needed). Check and tighten all wiring connections. | Maintains peak efficiency and prevents power loss from loose connections. |
| Annually | Perform a battery health check (like equalization). Benchmark system output. | Extends battery life and helps identify any long-term performance degradation. |
Troubleshooting Common Power Issues
Even with the most diligent maintenance, you might hit a snag or notice a dip in performance. Don't panic. The cause is often something simple you can spot and fix yourself.
For example, a sudden drop in power is a classic problem. Before you start thinking a component has failed, run through this quick mental checklist:
- Look for New Shading: Has a tree branch grown out and started casting a shadow on your array? Even a small shadow on one panel can tank the output of the whole string.
- Inspect Panel Cleanliness: A thick layer of dust, pollen, or bird droppings can act like a film, blocking sunlight and seriously cutting into your power production.
- Verify Your Connections: Take a walk through the system, from the panels down to the batteries, and give the wires a gentle tug. It's not uncommon for a connection to vibrate loose over time, and it's an easy fix.
The real goal of proactive maintenance isn't just to fix problems—it's to prevent them from ever happening. A few minutes on a monthly check-up can save you hours of frustration and downtime later.
The demand for reliable solar power for off grid living has exploded, making this technology a lifeline in areas without grid access across North America, Europe, and beyond. This growth is fueled by companies constantly innovating to drive down costs and make energy independence a reality for more people. You can see just how big this global market is and who the key players are over on fortunebusinessinsights.com.
Ultimately, getting to know your system's components—especially the batteries—is key to both maintenance and troubleshooting. If you want to get a better handle on that crucial piece of the puzzle, our guide on how to store solar energy is the perfect next step. The more you know, the more you can ensure your off-grid power system remains a healthy, efficient, and dependable part of your life.
Your Biggest Questions About Off-Grid Solar, Answered
Going off-grid with solar is a huge, exciting step toward energy independence. But it's also a big commitment, and it’s totally normal to have a ton of questions before you take the plunge. I hear them all the time. Let's walk through some of the most common ones to clear things up.
What's the Real-World Cost of an Off-Grid Solar System?
This is always the first question, and the honest answer is: it depends entirely on how much power you use. There's no one-size-fits-all price.
A simple setup for a weekend hunting cabin or a small tiny home might run you just a few thousand dollars. But for a full-time family home with modern conveniences, you’re realistically looking at a range of $20,000 to $50,000, and sometimes more.
The two main drivers of that cost are your battery bank and the number of solar panels you need. For example, lithium batteries have a higher sticker price, but their long life and performance make them a better value over time. The best advice I can give is to never guess. Start with a proper energy audit to figure out exactly what you need. That way, you won't waste money on a system that's too big or end up with one that can't keep the lights on.
Here’s a rough idea of how costs scale with your needs.
Estimated Cost Ranges for Off-Grid Solar Systems
| System Size | Typical Use Case | Estimated Upfront Cost |
|---|---|---|
| Small | Weekend Cabin, RV, Tiny Home | $3,000 – $10,000 |
| Medium | Small Full-Time Residence | $15,000 – $30,000 |
| Large | Standard Family Home | $30,000 – $50,000+ |
Can I Really Run Big Appliances Like an AC Unit?
Absolutely, but you have to plan for it from the very beginning. Power-hungry appliances like central air, a well pump, or an electric water heater are a massive drain on any system. To handle their high, continuous load and the huge surge of power they draw when they first kick on, you'll need a much bigger solar array, a beefy pure sine wave inverter, and a seriously large battery bank.
Honestly, a more practical and cost-effective strategy is to sidestep the problem altogether by choosing ultra-efficient appliances. Think about a mini-split for cooling, a dedicated solar water heater, or cooking with propane. Making smart choices here dramatically cuts your overall electricity demand, which means your system can be smaller, simpler, and a whole lot cheaper.
The secret to a successful off-grid home isn't just about making more power; it's about using less. The appliances you choose are just as critical as the number of solar panels on your roof.
What Happens on Cloudy Days or During the Winter?
That's where your battery bank earns its keep. It’s your personal energy savings account. On bright, sunny days, your panels generate more power than you’re using, and that excess energy gets stored in your batteries.
When the sun goes down or you get a string of cloudy days, your system seamlessly switches over to run on that stored power. A well-designed off-grid system should always have a few "days of autonomy" built in, meaning it can run your home for 2-3 days on batteries alone.
We also size your solar array based on the worst-case scenario—the short, cloudy days of winter—to ensure you have enough generating capacity year-round. For extra peace of mind, most off-gridders I know also have a small backup generator just in case of a prolonged storm.
How Long Does All This Equipment Actually Last?
Modern solar equipment is incredibly durable, but different parts have different lifespans. Knowing what to expect helps you plan for the long haul and understand the true value of your investment.
Solar panels are the workhorses of the system. They are tough as nails and almost always come with performance warranties that last 25 años. It’s the other components that you’ll need to think about down the road.
Here's a typical breakdown:
- Inverters and Charge Controllers: These are the brains of the operation and generally have a lifespan of De 10 a 15 años.
- Lead-Acid Batteries: Your classic deep-cycle batteries will give you 5 to 7 years of service, but only if you're diligent about maintenance.
- Lithium (LiFePO4) Batteries: These are the new standard for a reason. They require zero maintenance and can easily last 15 years or more, making them a fantastic long-term investment despite the higher initial cost.
gantt
    title Component Lifespan Comparison
    dateFormat  YYYY
    axisFormat %Y

    section Solar Panels
    Warranty Period  :2024, 25y

    section Inverter/Controller
    Typical Lifespan  :2024, 15y

    section Lead-Acid Batteries
    Typical Lifespan  :2024, 7y

    section Lithium (LiFePO4) Batteries
    Typical Lifespan :2024, 15y
Ready to design a solar system that truly fits your off-grid dreams? The experts at Energía radiante specialize in creating custom solar solutions that deliver reliable, sustainable power for your home. Let us help you take the next step toward complete energy independence.
Explore your options at https://radiantenergysolar.com today.