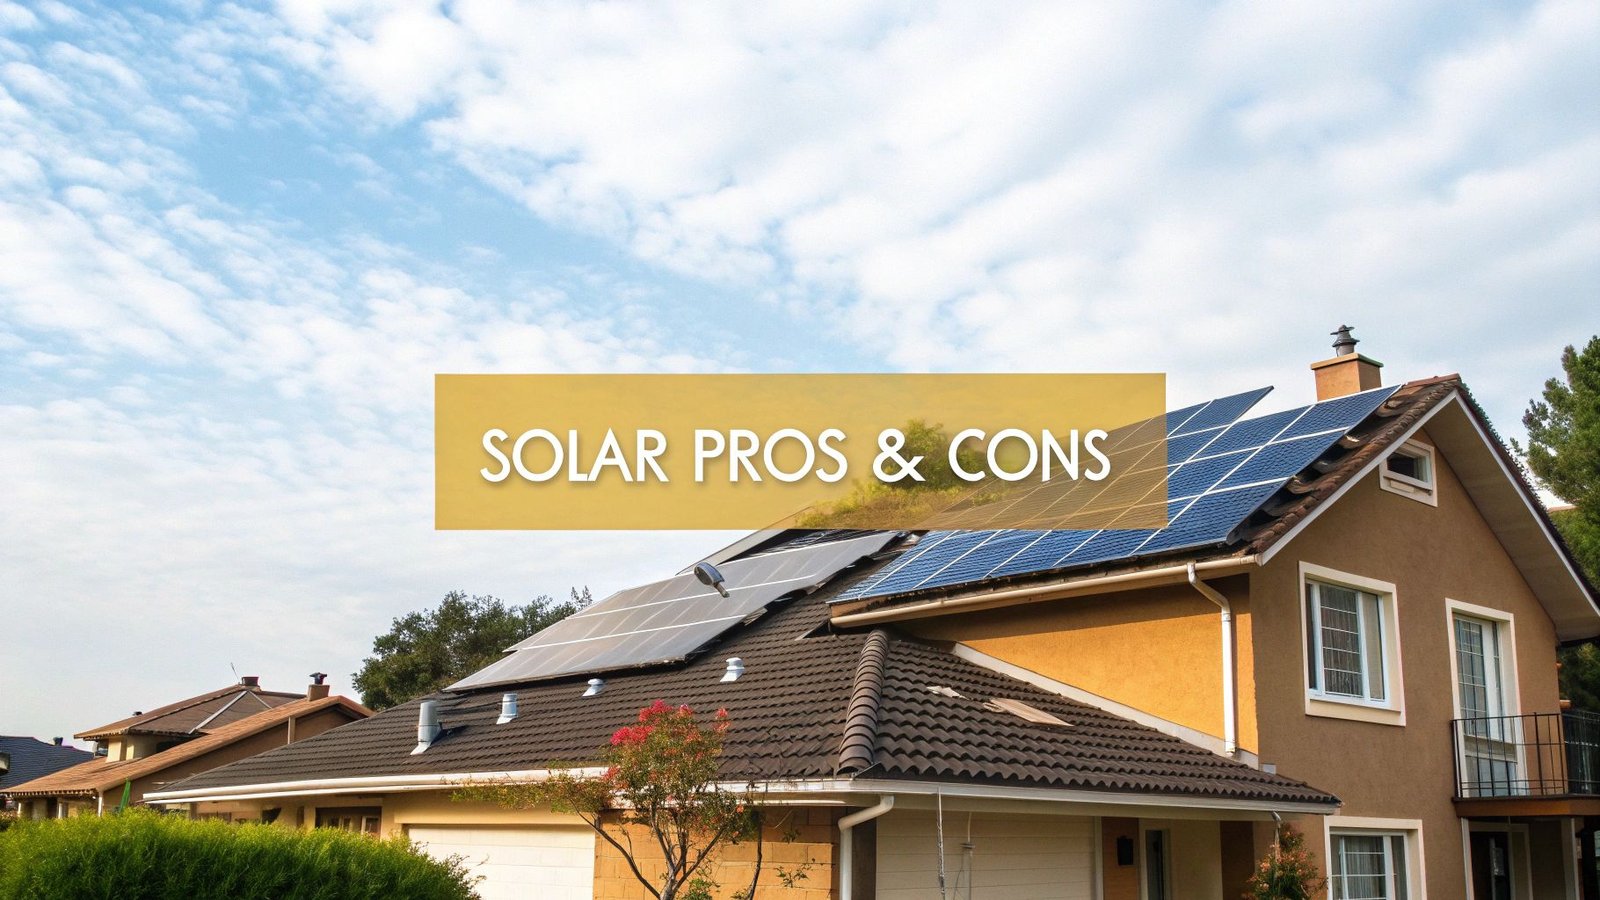
Adding a residential solar panel installation to your home is a major upgrade. At its core, it's about putting photovoltaic (PV) panels on your roof to turn sunlight into electricity, powering your daily life. This can dramatically lower your energy bills and shrink your carbon footprint, but it’s a big project. You need to be sure it’s the right move for your specific property and financial situation.
Is a Home Solar Installation Your Next Smart Move?
Before you even think about getting quotes or comparing panel brands, the first step is a bit of honest self-assessment. Going solar is a significant decision, so making sure it truly fits your home and budget will give you confidence moving forward.
This whole process boils down to weighing a long-term investment against the upfront cost. Think of it as pre-paying for your home's energy for the next couple of decades—an investment that can pay you back year after year.
First, Dig Into Your Energy Consumption
Your journey starts with a simple task: grab your electricity bills from the last 12 months. This data is the absolute foundation for any solar project. It tells you exactly how much power you use and, just as importantly, when you use it. Look for your monthly kilowatt-hour (kWh) usage; this number is what a solar designer needs to figure out how big your system should be.
For instance, a family living in Arizona will likely see a massive spike in summer from running the air conditioner. On the other hand, a home in New England might see its highest usage during the cold, dark winter months. These seasonal patterns are crucial for proper system design.
       Typical Household Monthly Electricity Usage (kWh)

      ^
1,500 |                ██
1,400 |                ██
1,300 |                ██
1,200 |    ██          ██
1,100 |    ██          ██
1,000 |    ██    ██    ██
  900 | ██ ██    ██    ██ ██
  800 | ██ ██ ██ ██    ██ ██
  700 | ██ ██ ██ ██ ██ ██ ██ ██
  600 +----------------------------------> Months
        J  F  M  A  M  J  J  A  S  O  N  D
Expert Tip: Don't just glance at the total dollar amount on your bill. The real story is in the kWh usage. A $300 monthly bill in a state with high electricity rates might actually represent less energy use than a $200 bill somewhere with cheaper power.
Your goal here is to establish a clear baseline of your energy needs. This is what will determine the size of your solar installation and, ultimately, how much you can save.
Next, Assess Your Roof's Solar Potential
When it comes to solar, not all roofs are created equal. The perfect roof for solar has a few key traits, and you can get a pretty good idea of yours before ever speaking to an installer.
- Age and Condition: A solar panel system is built to last 25 to 30 years. If your roof is already pushing 15 years old, most professionals I know would strongly recommend replacing it before installing panels. It's often possible to roll the cost of a new roof into your solar financing, which saves you the massive headache and expense of removing and reinstalling the entire array down the road.
- Orientation: In the Northern Hemisphere, a south-facing roof is the gold standard for maximum sun exposure. But don't worry if that's not you—east- and west-facing roofs are also fantastic options. They are particularly good at capturing morning and afternoon sun, respectively, which can align perfectly with when your home uses the most power.
- Shading: Take a walk outside and look at your roof at different times of the day. Do you see big shadows from nearby trees or your neighbor’s two-story house? While modern tech like microinverters can help minimize the impact of some shade, a roof with clear, unobstructed sunlight for the bulk of the day will always give you the best performance.
Here’s a rough guide to how your roof’s direction can influence energy production for a typical U.S. home:
| Roof Direction | Estimated Annual Production Efficiency | Best For |
|---|---|---|
| South | 100% | Maximizing overall daily production. |
| West | 85-95% | Capturing peak afternoon sun, offsetting evening energy use. |
| East | 85-95% | Capturing early morning sun, great for morning power needs. |
| North | 60-70% | Generally avoided, but can be viable in some scenarios. |
Finally, Weigh the Financial and Lifestyle Factors
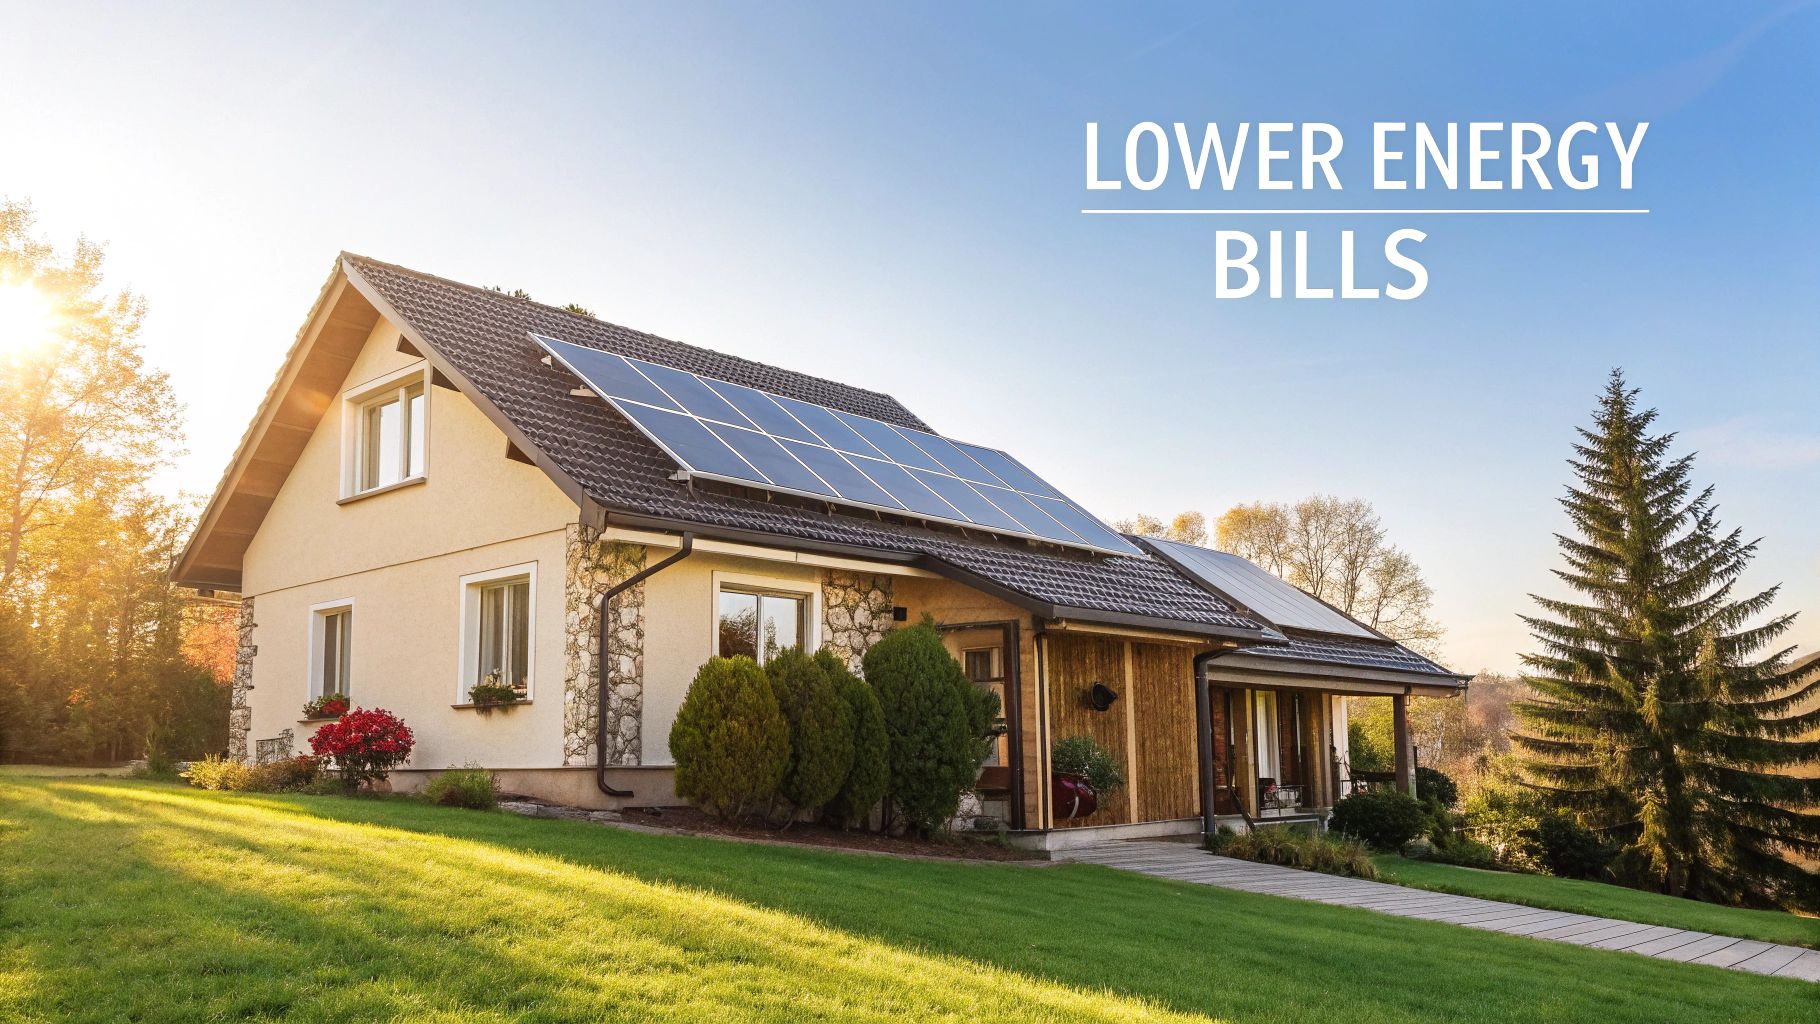
Now, let's look at the bigger picture. With utility rates climbing steadily across the country, a solar installation offers something incredibly valuable: predictable energy costs for decades to come. It’s a powerful hedge against those inevitable price hikes from the power company.
Think about a real-world scenario. A homeowner in California pays a fortune for electricity in the late afternoon and early evening due to "time-of-use" rates. For them, a west-facing solar array that churns out power when grid electricity is most expensive isn't just a nice-to-have; it's a financial game-changer.
But this decision isn't purely about the numbers. It's also about gaining a level of energy independence. The ability to generate your own clean electricity provides a unique peace of mind and allows you to live more sustainably. For many homeowners, that feeling is one of the most powerful motivators of all.
Choosing Your Solar Partner and Designing the System
Alright, you've run the numbers and confirmed that going solar makes sense for your home. Now comes what I consider the most critical decision of the entire process: picking the right installation partner. A great installer means a smooth, reliable residential solar panel installation that performs for decades. A bad one? Well, that can lead to years of headaches.
The solar industry is absolutely booming right now. The growth is staggering, with a recent report from the National Renewable Energy Laboratory showing that a massive 460 GWdc of new solar was installed worldwide in a single year—that's a 14% jump from the year before. While this is great news for clean energy, it also means the market is crowded. You have to be careful and do your homework.
Vetting Your Local Solar Installers
Your main goal here is to find a company with a solid local reputation, the right credentials, and transparent business practices. The best way to start is by getting at least three quotes from different installers in your area. This isn't just about price shopping; it's about comparing their approach and professionalism.
When you talk to these companies, treat it like an interview. You’re hiring them for a major project on your most valuable asset, so don't be afraid to ask tough questions.
- Licensing and Insurance: This is a deal-breaker. Ask for their contractor license number and proof of liability insurance. It protects you completely if an accident happens on your property. No exceptions.
- Experience and Specialization: How long have they been in business? More importantly, how many residential solar panel installation projects have they done right here in our community? A team that knows the local building codes and utility company quirks is worth its weight in gold.
- Warranties: You need to understand three different warranties. There’s the panel performance warranty (typically 25 years), the equipment warranty for panels and inverters, and the installer's own workmanship warranty. A strong workmanship warranty, often 10-25 years, is a clear sign that they stand behind the quality of their work.
I have to stress this: don't just pick the cheapest quote. A price that seems too good to be true usually is. It often points to corner-cutting with cheaper equipment, less experienced crews, or even a company that might not be around to honor its warranty in five years.
Decoding and Comparing Solar Quotes
Once you have those quotes in hand, you'll see they’re much more than just a final price. They are the initial blueprints for your home's new power plant. You need to dig into the details to truly understand what you're buying.
The core components are the panels, the inverter, and potentially a battery. Your installer should be able to clearly explain why they chose certain brands and models for your specific roof and energy needs. It's also a good idea to familiarize yourself with the different solar products and their specifications so you know what you're looking at.
Here’s a simple way to break down and compare the hardware in your quotes:
| Component | What to Look For in a Quote | Key Considerations |
|---|---|---|
| Solar Panels | Brand, model, wattage, and efficiency rating. | Higher efficiency panels produce more power in less space but cost more upfront. It's a balance between performance and budget. |
| Inverters | Type (string, microinverters, or optimizers), brand, and warranty. | Microinverters are fantastic for roofs with tricky shading because they manage each panel individually, but they do have a higher price tag. |
| Battery Storage | Brand, capacity (kWh), and power rating (kW). | A battery is optional but is the only way to have backup power during an outage. It's also great for saving money if your utility has time-of-use rates. |
The System Design and Engineering Process
A top-tier installer will never give you a final quote without doing a thorough site survey. This means getting on your roof, taking precise measurements, and checking its structural health. They'll also inspect your main electrical panel to make sure it can handle the extra load from the solar system.
All that data goes to their engineering team, who then drafts a custom set of blueprints for your home. This design is what truly maximizes your energy production. They'll position panels to avoid shade from trees or chimneys and angle them perfectly to catch the most sun.
This professional, custom-engineered plan is what separates a high-performing system from a mediocre one. It's the secret sauce to getting the savings and energy independence you’re paying for.
Making Solar Affordable: How Credits and Rebates Work

Let's talk about the number one thing that holds people back from going solar: the price tag. When you see the initial quote for a full system, it can definitely give you pause. But here’s the reality I’ve seen time and again: that first number is almost never what you actually pay.
A powerful mix of federal, state, and local incentives can slash your final cost, turning a major expense into a smart, long-term investment. Think of these programs less as discounts and more as a partnership between you and the government to promote clean energy. Knowing how to stack them is the key to getting the best possible deal.
The Federal Residential Clean Energy Credit
The biggest financial game-changer for most homeowners is the federal tax credit. This isn't just a deduction that lowers your taxable income; it's a true dollar-for-dollar credit that directly reduces what you owe in federal taxes. Right now, this credit lets you subtract 30% of your total system cost from your tax bill.
  How the 30% Federal Tax Credit Works on a $30,000 System

  $30,000  (Total System Cost)
-  $9,000  (30% Federal Tax Credit)
----------
= $21,000  (Your Net Cost)
So, if your total solar installation comes to $30,000, the federal credit gives you $9,000 back. That’s a huge chunk of your initial investment. Best of all, it applies to the whole project—panels, inverters, labor, and even battery storage systems.
A quick heads-up: to get the full credit, you need to have enough tax liability to offset. You can carry the credit forward if needed, but it's a smart idea to chat with a tax professional to make sure you're all set.
State and Local Incentives: The Next Layer of Savings
This is where things get really interesting, because incentives can change dramatically depending on where you live. A good solar partner will be an expert on local programs, but it helps to know what’s out there.
- State Tax Credits: Some states offer their own tax credits on top of the federal one, giving you an extra boost.
- Cash Rebates: This is my favorite kind—instant money back. Certain states or utility companies will send you a check once your installation is complete.
- Performance-Based Incentives (PBIs): Also known as Solar Renewable Energy Credits (SRECs), these programs essentially pay you for the power you produce. You earn credits for every megawatt-hour (MWh) your system generates, which you can then sell.
These programs can change, so it's always wise to check your state's energy office website or ask your installer for the latest scoop. Getting a full picture of the available solar energy solutions and their financial benefits is crucial before signing on the dotted line.
Don't Forget Net Metering
Beyond one-time credits, net metering is the unsung hero of solar savings. It's a simple billing arrangement with your utility that makes sure you get value from every single kilowatt-hour your panels produce.
During the day, your system often cranks out more power than you can use. That extra electricity flows back to the grid, and your utility credits your account for it. Later, when the sun goes down and you need to pull power from the grid, your utility just draws from the credits you banked earlier. It's the mechanism that makes your meter spin backward, both literally and figuratively.
To help you see how these incentives stack up, here’s a look at the most common financial programs and how they impact your bottom line.
Solar Incentive and Rebate Comparison
| Incentive Type | How It Works | Typical Value/Benefit |
|---|---|---|
| Federal Tax Credit | A dollar-for-dollar reduction of what you owe in federal taxes. | Slashes 30% off your total system cost. |
| State Rebates | A direct cash payment from the state or your utility after installation. | Can reduce costs by another $1,000 to $5,000 or more, depending on your location. |
| Net Metering | Utility bill credits for excess electricity your system sends back to the grid. | Dramatically lowers or even eliminates your monthly electricity bills for decades. |
When you layer these benefits, the initial "sticker shock" of a solar installation starts to fade pretty quickly. A system that seems expensive at first glance can become a financially savvy move with a surprisingly fast payback period, setting you up for decades of energy savings.
What to Expect on Installation Day
After all the calls, paperwork, and planning, installation day is when things get real. Seeing the crew's trucks pull up to your home is an exciting moment—the culmination of your journey toward solar energy. Let’s walk through what actually happens when the team is on-site, so you'll know exactly what’s going on from start to finish.
Most residential solar panel installations wrap up surprisingly fast, typically in just one to three days. The timeline can shift a bit depending on your system's size, the complexity of your roof, and even the weather. But a professional crew works with precision, with each person handling their specific role.
Getting Your Home Ready for the Crew
A few simple steps on your end can make a huge difference in how smoothly the day goes. Think of it as clearing the runway for an efficient and safe installation.
First, make sure the driveway is clear. The crew will need space for their work vehicles and equipment, so moving your cars is a huge help. You'll also want to clear a path to your main electrical panel, whether it's in the garage, basement, or a utility closet. The electricians will need easy access to it all day.
Finally, a heads-up: there will be some noise. Drilling and general activity on the roof are part of the process. It's a good idea to keep pets secured and let your family know to expect a bit of commotion.
The Racking: Your System's Unsung Hero
The first big job on the roof is installing the racking system. This is the heavy-duty metal framework that will anchor your solar panels for the next 25+ years. You won't even see it once the panels are mounted, but it's arguably the most critical piece of the puzzle.
The crew begins by locating the rafters—the structural bones of your roof. They then drill and attach specialized mounts, often called "stanchions" or "flashings," directly into these supports. This is a meticulous process. They use powerful sealants to form a completely waterproof seal around every single attachment point, which is crucial for preventing any future leaks.
The quality of this racking work is a direct reflection of your installer's expertise. A properly installed system is engineered to handle everything from gale-force winds to heavy snow, protecting both your home and your investment.
With the mounts firmly in place, the team fastens long aluminum rails to them. This creates the grid that the panels will be bolted onto, ensuring the system's weight is distributed safely and evenly across the roof structure.
Placing Panels and Running the Wires
Once the racking is ready, it's time for the main event: getting the solar panels on the roof. The crew carefully carries each panel up and secures it to the rails, following the exact layout designed by the engineers to catch the most sun.
While some team members are on the roof, others are handling the electrical work. This happens in a few key stages:
- Panel Wiring: Each panel is connected to its neighbor. This is also when they'll attach microinverters or power optimizers to the back of each panel, if your system uses them.
- Running Conduit: You'll see the electricians run sturdy metal piping, called conduit, from the roof down to your main service panel. This conduit acts as armor, protecting the solar wiring from weather and physical damage.
- Connecting the Inverter: Near your main panel, they'll mount and wire up the central inverter (for systems that use one). This device is the brain of your solar setup, converting the DC electricity from the panels into the AC electricity your home runs on.
This visual breaks down how the on-site work fits into the bigger picture.
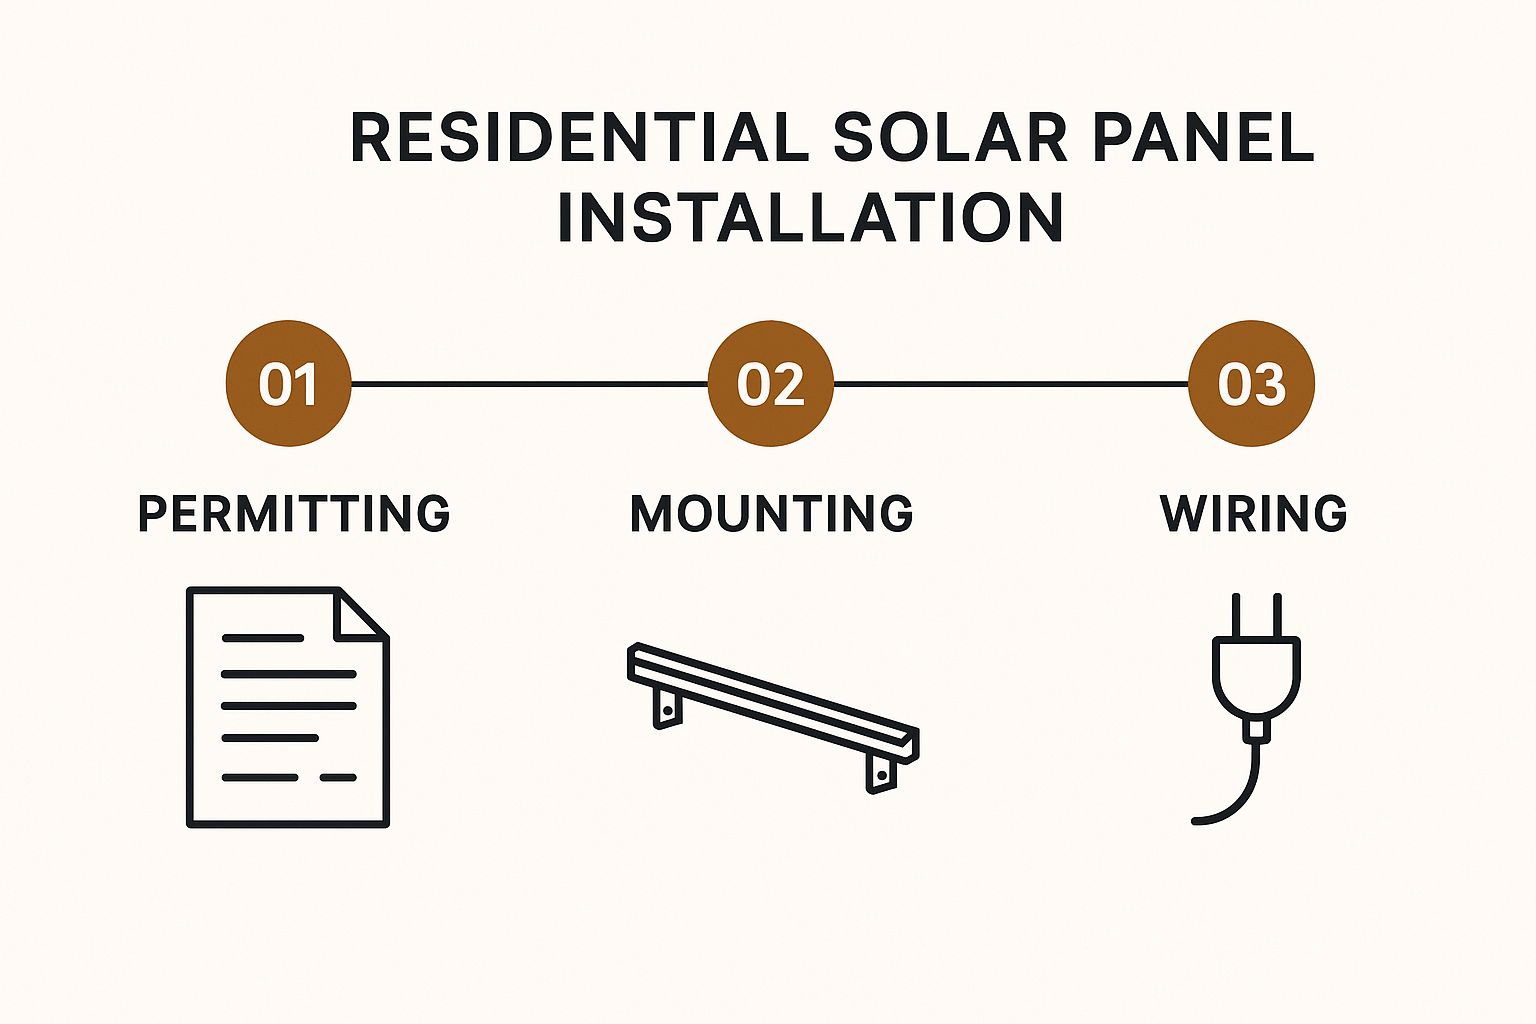
As you can see, the physical installation is often one of the quickest phases of the whole project, bookended by the longer administrative steps. By the end of the day, your roof will have a brand-new look, and the system will be physically complete and ready for the final inspections.
So, the panels are on the roof and all the heavy lifting is done. It's an incredible feeling to see them up there, but don't plan the "power-on" party just yet. Even though the physical residential solar panel installation is finished, you’ve now entered the final, critical phase of inspections and approvals. This part of the journey is all about patience, as you'll be coordinating with your local government and your utility company.
https://www.youtube.com/embed/2MYrL6M9q58
Think of it like a two-part quality check. Your installer did their job, and now two separate groups need to give their official thumbs-up to make sure everything is safe, up to code, and ready to connect to the wider energy grid.
The City or County Inspection
First up is the inspection from your local building authority. Don't worry, your solar installer will handle scheduling this. An inspector will visit your home to verify that the entire installation—from the electrical work to how the panels are mounted on the roof—meets every local building and safety code.
They come with a detailed checklist and are laser-focused on safety and compliance. Here’s a peek at what they’re typically looking for:
- Secure Racking and Mounting: They’ll check that the racking system is bolted securely to your roof's structure. They also make sure every penetration is perfectly sealed with flashing to prevent any chance of leaks down the road.
- Correct Wiring and Conduit: The inspector examines all the electrical wiring. They’re confirming it's the right gauge, run inside protective conduit, and that every connection is tight and secure.
- Safety Disconnects: This is a big one. They will verify that the required safety shutoffs are installed and clearly labeled. These switches are what allow firefighters or maintenance crews to safely de-energize your system in an emergency.
This inspection is absolutely mandatory. Your system can't move to the next stage until it passes. A seasoned installer will have a nearly perfect track record here because they know the local codes like the back of their hand.
Once your system passes this municipal inspection, you’ll get a green tag or an official approval sticker placed on your electrical panel. This is the signal that you're clear for the final step: getting the utility company’s blessing.
The residential solar market is always growing, with thousands of new systems like yours coming online. In just the first quarter of a recent year, the U.S. added a whopping 1,106 MWdc of residential capacity. This boom, fueled by homeowner demand and rising electricity rates, really highlights why these standardized, safe installation practices are so important. Even with some economic headwinds, the demand keeps climbing, with experts forecasting 9% average annual growth over the next five years. You can dive into the full solar market analysis on the SEIA website.
Getting Permission to Operate (PTO)
With the city’s green tag secured, your installer will submit all the final paperwork, including the inspection release, over to your electric utility company. The utility then does its own review to ensure your system can be connected to their grid without causing any issues.
In some cases, they might even send their own technician to your home to swap out your old meter for a new bi-directional meter. This special meter is what makes the magic happen—it tracks both the power you pull from the grid and all the excess power you send back.
After their final review, the utility will issue the golden ticket you’ve been waiting for: Permission to Operate (PTO).
This official notice, usually an email sent to both you and your installer, is the final go-ahead. Only after you receive your PTO can you legally flip the switch on your system and start generating your own clean power. Be prepared, this waiting period can take anywhere from a few days to several weeks, so it’s important to have realistic expectations. Once PTO is granted, your installer will walk you through powering everything on and connecting your system to its monitoring app.
Answering Your Top Solar Installation Questions
Even with a step-by-step plan, it's natural to still have questions. Going solar is a big decision for any homeowner, and you want to be sure you've covered all the bases before you sign on the dotted line. I get it. Over the years, I've heard just about every question you can imagine, so I've put together some straight-to-the-point answers to the most common ones we hear.
Let's dive right into the practical concerns that are likely on your mind.
How Long Does a Solar Installation Really Take?
This is probably the number one question people ask, and it’s a two-part answer. First, the actual work on your roof is surprisingly fast. A professional crew can typically get all the racking, panels, and initial wiring done in just one to three days.
The full process, however—from the day you sign the contract to the moment your system is officially generating power—takes a bit longer. A realistic timeline is usually between two and six months. That extra time is for all the crucial behind-the-scenes work: the detailed engineering and design, pulling permits with your local jurisdiction, and coordinating with the utility company for final inspection and approval to connect to the grid.
Will Solar Panels Cause Damage to My Roof?
I hear this worry a lot, but let me put it to rest: when installed by a qualified, professional team, solar panels will not damage your roof. In fact, it's quite the opposite.
Reputable installers use specialized mounting hardware and flashing systems that are engineered to create a watertight seal. Each attachment point is meticulously protected to prevent leaks and maintain your roof's integrity.
It's a common misconception that we're just drilling holes in your roof. In reality, we're installing a multi-layered barrier at every attachment. The panels themselves even act as a shield, protecting the shingles underneath from direct sun, rain, and hail, which can extend the life of that part of your roof.
The key is to work with an experienced company that offers a solid workmanship warranty. That’s your guarantee that the installation is done right and your roof will stay secure for years to come.
What Kind of Maintenance Do Solar Panels Require?
Here’s the best part: solar panels are incredibly low-maintenance. They have no moving parts and are built tough to withstand decades of weather. For most homeowners, you hardly have to do a thing.
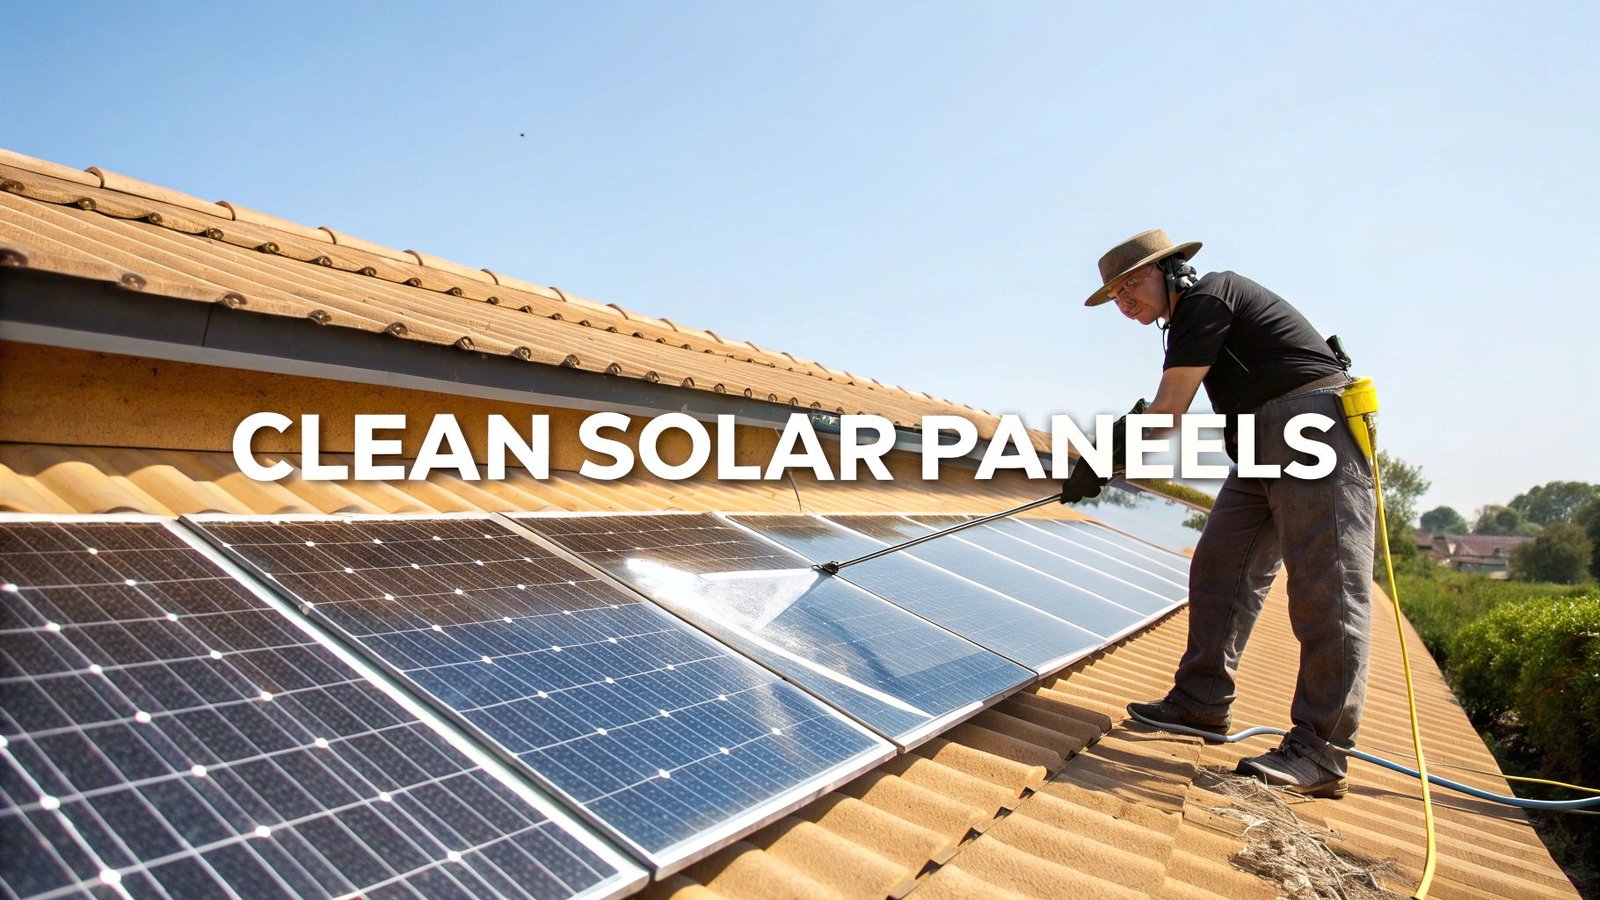
- Cleaning: In most places, regular rainfall is all you need to wash away the dust and pollen that builds up over time. If you live in a particularly dry or dusty area, you might consider having them professionally cleaned every few years just to keep them running at peak efficiency.
- Monitoring: Every modern system we install comes with monitoring software, usually through a simple app on your phone. You can see exactly how much energy your panels are producing in real-time. This also lets us keep an eye on things, so if there's ever a dip in performance, we'll know right away and can schedule a service call if needed.
Beyond that, your system is designed to be a set-it-and-forget-it home upgrade.
What If I Need a New Roof After Installing Solar?
This is a fantastic question and one that requires a little bit of forward-thinking. If your roof is getting on in years—say it's more than 15 years old—we almost always recommend replacing it before you go solar.
Getting the roof done first will save you a major headache and a lot of money down the road. If you install panels and then realize you need a new roof a few years later, you'll have to pay a crew to come out, detach and remove the entire solar array, store it safely, and then reinstall everything once the new roof is on. By planning ahead, you can avoid that whole complicated and costly process.
       Projected Residential Solar Growth (New GW/Year)

      ^
  40  |                    █████
      |                    █████
  30  |      █████         █████
      |      █████         █████
  20  |      █████         █████
      |      █████         █████
  10  |█████ █████ █████   █████
      |█████ █████ █████   █████
   0  +------------------------------> Year
         Past    Recent   Future (avg)
It's clear that homeowners who make the switch are overwhelmingly happy they did. Recent US surveys show that about 90% of solar homeowners are satisfied with their investment, and more than 80% would recommend it to others. This enthusiasm is fueling incredible growth, with the global market expected to level out at around 35 GW of new residential solar each year—a number that completely dwarfs what we saw just a few years ago. You can dig into these trends and the future of residential solar adoption from McKinsey for more detail.
Our team has helped thousands of homeowners navigate this journey, and we believe in being fully transparent and educational every step of the way. You can learn more about our company and our commitment to our customers to see if we're the right fit for you.
Ready to take control of your energy future? At Radiant Energy, we make the process of going solar simple and transparent. Our experts are here to design a custom system that fits your home's unique needs and maximizes your savings. Get your free, no-obligation solar quote today and discover how much you can save.