So, you’re thinking about going solar. That’s a great first step. But before you start picturing panels on your roof, we need to answer a critical question: is your home actually a good candidate for a solar installation?
Figuring this out involves a bit of detective work—looking at your roof's condition, how much sun your property gets, and what your family’s real energy needs are. Getting this right from the start is the key to making sure your solar investment pays off for years to come.
Is Your Home a Good Fit for Solar Panels?
Deciding to go solar isn't just an environmental statement; it’s a major home improvement project. A successful, high-performing system depends on a few fundamental factors that every homeowner needs to consider. Taking the time to evaluate these upfront will save you from headaches and ensure your system runs at peak efficiency.
The move toward solar is happening fast. In the first quarter of 2025 alone, the U.S. solar market installed a massive 10.8 GW of new capacity. While big utility projects are a huge part of that, the real story is the growing number of homeowners making the switch. You can see more on the latest market trends over at seia.org.
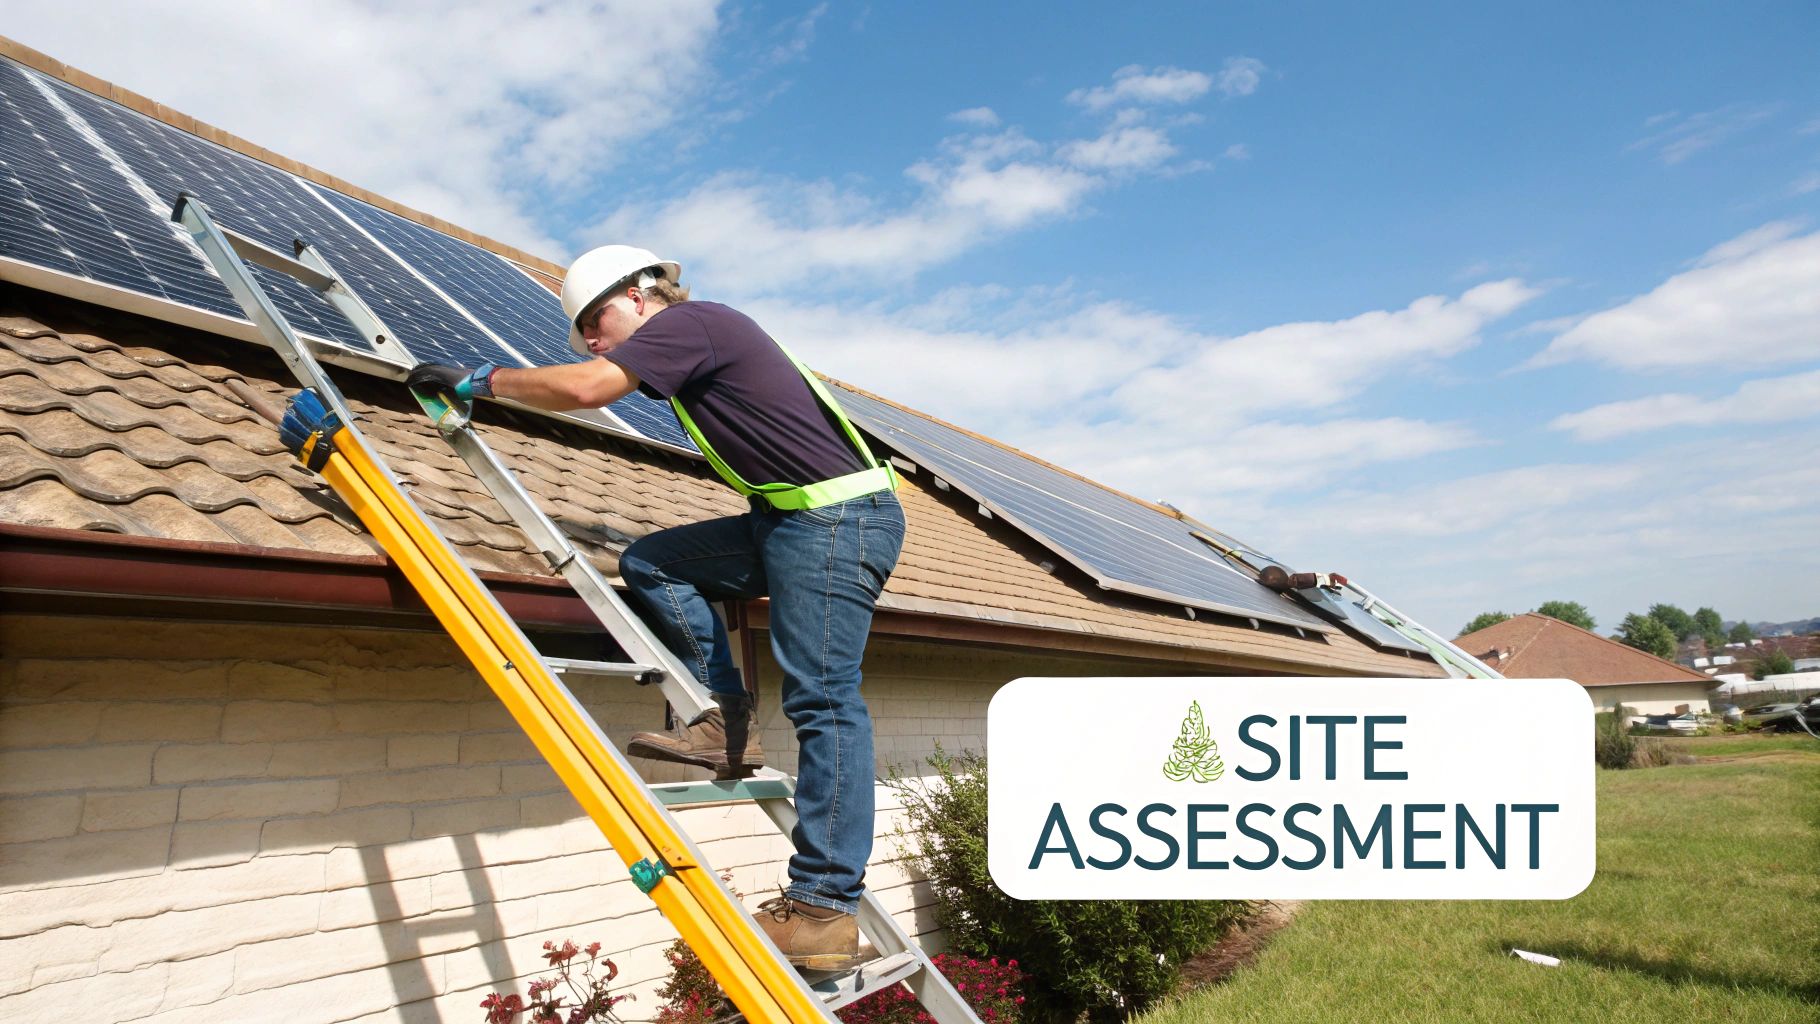
Evaluating Your Roof's Health and Material
Your roof is the literal foundation for your solar panels, so its condition is non-negotiable. I can't stress this enough: putting a brand-new solar array on an old, worn-out roof is a terrible idea.
Think of it this way—solar panels are built to last 25 to 30 years. Your roof needs to have at least that much life left in it. If your asphalt shingle roof is already 15 years old, you’re likely looking at a replacement in the next decade. The cost to remove and reinstall a solar array for a roof job is significant, so it’s always smarter and cheaper to get the roof replaced before the panels go up.
Keep an eye out for these red flags:
- Curled or missing shingles: A classic sign that your roof is nearing the end of its life.
- Water stains in the attic: This points to leaks and potential structural issues that need to be fixed immediately.
- A ton of granules in your gutters: This means the protective top layer of your shingles is eroding.
The material of your roof matters, too. We can install panels on most common materials like asphalt, metal, and tile without a problem. But some, like slate or wood shake, require specialized techniques and can drive up the installation cost.
Gauging Your Property's Sunlight Exposure
Sunlight is the fuel for your solar system. The amount of direct, unobstructed sun your roof gets—what we call solar access—directly determines how much power you'll generate. The sweet spot is a clear, open view of the sky, especially during the peak hours between 9 AM and 3 PM.
Shade is the number one enemy of solar production. Even a single large tree or a neighbor's new second-story addition can cast a shadow that drastically cuts your output. Walk around your property at different times of the day. And don't forget the seasons! A spot that's sunny in July might be completely shaded in December when the sun sits lower in the sky.
This chart illustrates how the direction your roof faces affects the annual energy output of a solar panel system, helping homeowners estimate their potential.
Roof Orientation and Its Impact on Solar Energy Production
| Roof Orientation | Estimated Annual Energy Production (% of Optimal) | Best Use Case |
|---|---|---|
| South-Facing | 95-100% | The "gold standard" for maximizing year-round energy. |
| West-Facing | 85-95% | Great for offsetting peak afternoon/evening energy use. |
| East-Facing | 85-95% | Ideal for capturing early morning sun and energy needs. |
| North-Facing | 60-70% | Generally avoided unless the roof pitch is very low. |
While a true south-facing roof is the ideal scenario in the Northern Hemisphere, don't worry if yours faces east or west. These orientations are still fantastic for solar and can often produce 85-95% of what a perfectly south-facing system would.
Analyzing Your Household Energy Consumption
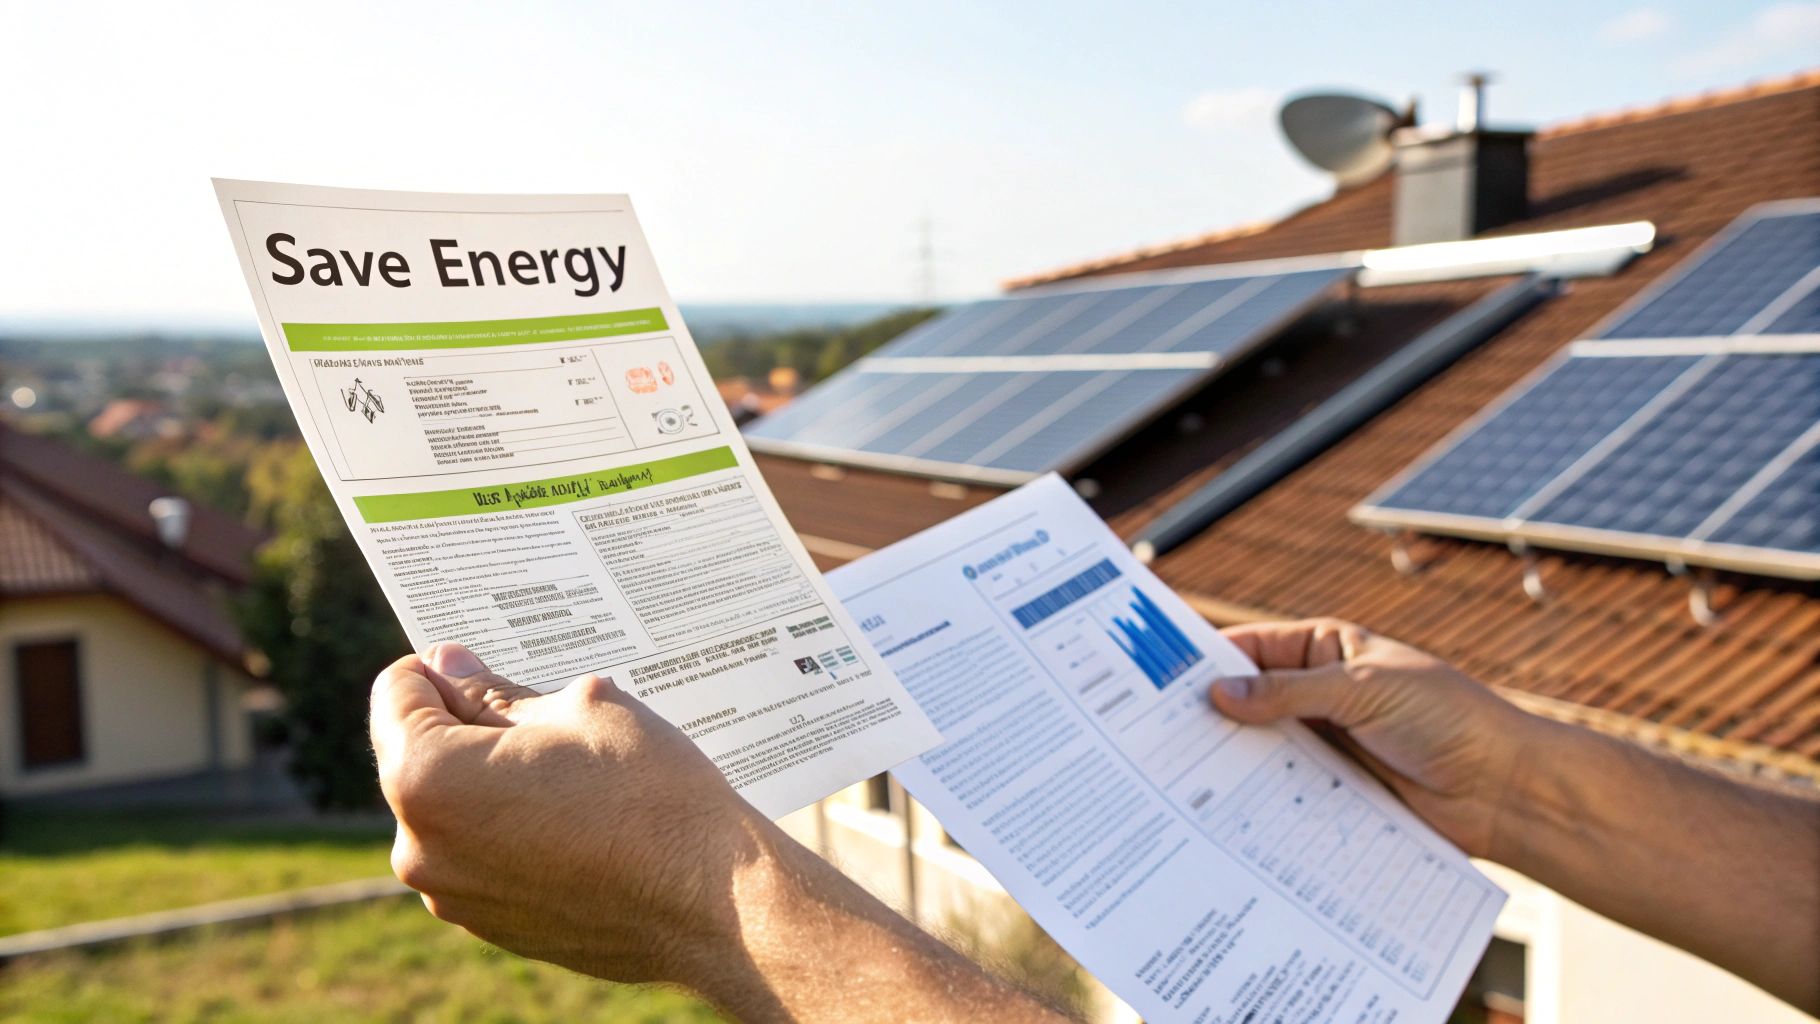
Finally, let's talk about your actual electricity usage. You can't design a system without knowing what you're trying to offset. The best way to do this is to grab your last 12 months of utility bills and find your average monthly kilowatt-hour (kWh) usage.
This data is your home's unique energy fingerprint. It tells us exactly how much power you need and when you use it most.
It’s also a smart move to tighten up your home's efficiency before going solar. By conducting a comprehensive home energy audit, you can often identify simple fixes that lower your overall consumption. This might mean you can get by with a smaller, less expensive solar system. For homeowners looking to optimize their power usage, exploring how solar energy for my home can be a game-changer is a great next step.
Designing a Solar System That Works for You
Once your home gets a clean bill of health from the assessment, we get to the fun part: designing a solar system that actually fits your life and your budget. This is where we talk hardware. It might seem daunting, but it really boils down to making a few key decisions about the components that will power your home for decades.
Let’s start with the most visible part of the system—the panels. You'll typically run into three main types, and each one strikes a different balance between performance, cost, and curb appeal.
Choosing the Right Solar Panels
Not all solar panels are created equal. The right choice for your roof depends on how much space you have to work with, what your budget looks like, and even your personal aesthetic. The core difference between them is how their silicon is made.
-
Monocrystalline Panels: These are the sleek, black panels you often see in modern installations. They are the most efficient option on the market, meaning they generate more power in a smaller footprint. If you have limited roof space, they're a no-brainer. While they do have a higher upfront cost, their top-tier performance often delivers the best long-term value.
-
Polycrystalline Panels: You can usually spot these by their distinctive blue, almost mosaic-like appearance. They're a bit less efficient than their monocrystalline cousins because the manufacturing process is simpler. That same process also makes them more affordable, which is perfect for homeowners with plenty of roof space who don't need to squeeze every last watt out of each panel.
-
Thin-Film Panels: This is a completely different beast. Thin-film panels are lightweight, flexible, and versatile. Their efficiency is the lowest of the three, so they require a lot more space. However, that flexibility makes them a unique solution for unconventional roofs or other applications where a rigid panel just won't cut it.
For most homes, the decision comes down to monocrystalline vs. polycrystalline. I usually tell clients that if you want the best performance and have a smaller roof, go with mono. If you have a big, open roof and want a more budget-conscious option, poly is a fantastic choice.
Understanding Solar Inverters: The Brains of the Operation
If solar panels are the heart of your system, the inverter is definitely the brain. Its job is to take the direct current (DC) electricity produced by your panels and convert it into the alternating current (AC) your home's appliances actually use.
Choosing the right inverter technology can make or break your system's performance, especially if your roof gets any shade during the day.
An inverter's job is simple but critical: make the sun's energy usable for your home. The wrong one can bottleneck your entire system, leaving potential savings on the table.
To help you understand the options, here's a quick rundown of the main inverter technologies we work with.
Comparing Solar Inverter Technologies
Choosing an inverter isn't just a technical decision; it directly impacts how much energy your system will produce, especially in real-world conditions like partial shading from trees or chimneys. This table gives you a head-to-head comparison to see which technology best fits your home.
| Inverter Type | Best For | Pros | Cons | Estimated Cost |
|---|---|---|---|---|
| String Inverter | Homes with simple, unshaded, south-facing roofs. | Most affordable and has a long track record of reliability. Simple to maintain. | A single shaded panel can drag down the performance of the entire string of panels. | $ (Lowest) |
| Microinverters | Roofs with complex layouts, multiple angles, or partial shading issues. | Each panel performs independently, maximizing output. Panel-level monitoring. | Higher upfront cost. More electronic components on the roof. | $$$ (Highest) |
| Power Optimizers | A great middle-ground for roofs with some moderate shading. | Combines a string inverter with panel-level optimizers for better performance than a string-only system. | More complex installation than a standard string inverter; more costly. | $$ (Mid-Range) |
Ultimately, the best choice depends entirely on your roof's unique characteristics. A system with microinverters might cost more upfront, but if you have a big tree shading your roof every afternoon, the extra energy production can easily pay for the difference over time.
Sizing Your System for Maximum Value
The million-dollar question is always, "How many panels do I need?" The goal is to generate enough power to offset most or all of your annual electricity usage without going overboard.
To figure this out, we look at two key things: your past 12 months of utility bills and your location's "peak sun hours." That's just a fancy term for how many hours of strong, direct sunlight your roof gets on an average day.
The right size is a balance. It's about matching your energy consumption patterns with what a solar array can realistically produce at your specific location. We’ve put together a more detailed guide on how to size a solar system that walks you through the exact calculations. And don't forget to account for future energy hogs! If an electric car is in your future, for example, you'll want to understand things like how to charge a Tesla at home to factor that extra load into your design.
Deciding on Solar Battery Storage
The final piece of the puzzle is deciding whether to add a battery. A solar battery is like a piggy bank for your excess solar energy. It stores the power your panels generate during the day so you can use it at night or, more importantly, during a power outage.
Adding a battery is a smart move if:
- You live somewhere with frequent power outages: A battery gives you true peace of mind, keeping your lights on and your fridge running when the grid goes down.
- Your utility offers poor net metering rates: If you don't get much credit for the extra power you send to the grid, it makes more financial sense to store it and use it yourself.
- You want to be as energy independent as possible: With a battery, you can rely almost entirely on your own clean energy, day and night.
Navigating Solar Permits and Financial Incentives
Once your solar system is designed, it’s time to tackle the paperwork. This part of the process—navigating permits and locking in financial incentives—can feel a little overwhelming, but it’s absolutely critical for a smooth and cost-effective solar panel installation.
Think of this phase as the bridge between design and installation. Getting it right ensures your project stays on track, complies with local rules, and maximizes every dollar of your investment.
The Permitting Maze Explained
Before we can even think about putting panels on your roof, we have to get the green light from your local authorities. This usually means the city or county building department. Don't worry, this is standard practice and something your installer will handle from start to finish.
This isn't just bureaucratic red tape; it's a crucial safety and quality control measure. The permit process confirms that your system is designed to be structurally sound, meets all electrical codes, and is safe for your home and the utility grid.
So, what does your installer actually submit? The permit packet is pretty comprehensive:
- Site Plans: These are detailed blueprints showing exactly where the panels will sit on your roof.
- Wiring Schematics: Think of this as the electrical roadmap for your system, illustrating how everything connects from the panels to the inverter and your home's main service panel.
- Structural Calculations: This is the engineering proof that your roof can easily and safely support the added weight of the solar array for decades to come.
- Equipment Spec Sheets: We also have to include the technical details for the specific panels and inverters being used on your project.
The review timeline can vary quite a bit, from a few days to several weeks, depending entirely on how busy your local municipality is. A seasoned installer knows exactly how to put together a bulletproof application, which can really help speed things along. For a deep dive into the specifics, check out our guide on solar panel permit requirements.
Tapping into Financial Incentives
Now for the exciting part—making a good solar investment a great one. A whole network of federal, state, and local incentives exists to dramatically lower the cost of going solar.
The most significant of these is the federal Residential Clean Energy Credit. This isn't just a small rebate; it's a powerful tax credit that allows you to deduct a percentage of your total system cost directly from what you owe the IRS.
Let's put that into perspective. On a $30,000 system, a 30% credit means you could see a $9,000 reduction in your federal tax liability. That’s a huge chunk of savings right off the top.
These incentives are game-changers. By layering the federal tax credit with state and local rebates, it's not uncommon to see the net cost of a solar panel installation drop by 40-50% or even more.
Beyond the federal credit, many states have their own tax credits, and utility companies often kick in one-time cash rebates. Your installer should be an expert on all the local programs, but it’s always smart to do a little research yourself to make sure you’re not leaving any money on the table.
Your Solar Financing Options
With a clear idea of your net cost after incentives, the final piece of the puzzle is figuring out how to pay for the system. The good news is, you've got more options than ever before.
This chart shows the most common ways homeowners choose to finance their solar panel installation.
graph TD
    subgraph Ownership Models
        A(Cash Purchase) --> B(Owns system outright);
        B --> C(Eligible for all tax credits);
        C --> D(Highest long-term ROI);

        E(Solar Loan) --> F(Owns system immediately);
        F --> G(Eligible for all tax credits);
        G --> H(Monthly payment often < old utility bill);
    end
    subgraph Third-Party Model
        I(Lease / PPA) --> J(Does NOT own system);
        J --> K(Not eligible for tax credits);
        K --> L(Pays fixed monthly rate for power);
    end
Let’s break down the three main paths homeowners take:
- Cash Purchase: This is the most straightforward route. Paying upfront means you own the system outright from day one, have no interest payments, and will see the highest long-term return on your investment.
- Solar Loan: The most popular choice for a reason. You finance the system and own it immediately, making you eligible for all the tax credits. In many cases, the monthly loan payment is less than your old electric bill, so you start saving right away.
- Solar Lease/PPA: In a lease or Power Purchase Agreement (PPA), you don't own the system. A third-party company installs it on your roof and you pay them a fixed monthly rate for the power it produces. While this rate is usually lower than the utility's, you won't be eligible for the tax credits.
The best path really depends on your personal financial goals. For most people, owning the system through a cash purchase or a loan delivers the biggest financial win over its 25+ year lifespan. And thanks to initiatives like the Inflation Reduction Act, the U.S. solar market is set for massive growth, making now a fantastic time to invest. You can see more on the solar market's projected growth on seia.org.
What to Expect on Installation Day
After all the planning and paperwork, installation day is where the magic happens. This is when your solar project transforms from a plan on paper into a power-generating reality on your roof. It's an exciting time, and understanding the process can make it that much more satisfying.
A professional installation is a highly organized process that prioritizes safety and precision. For most homes, the whole thing is wrapped up in just one to three days.
Laying the Groundwork: Racking and Mounts
The crew's first job is to prep the site. They'll confirm the layout we designed, mark the exact spots for the mounting hardware, and establish a safe work area. Think of this as the "measure twice, cut once" phase—it's all about building a perfect foundation.
Next up is the racking system. This is the heavy-duty metal framework that will hold your panels securely for the next 25 years or more. It’s the skeleton of your solar array.
The team will locate the rafters in your roof and bolt stanchions (or mounts) directly into them. This is absolutely critical because it ensures the system’s weight is supported by your home's structure, not just the sheathing. They'll then add flashing around every single attachment point, creating a completely watertight seal to protect your roof for decades. With the mounts in place, they attach aluminum rails to form a perfectly level grid.
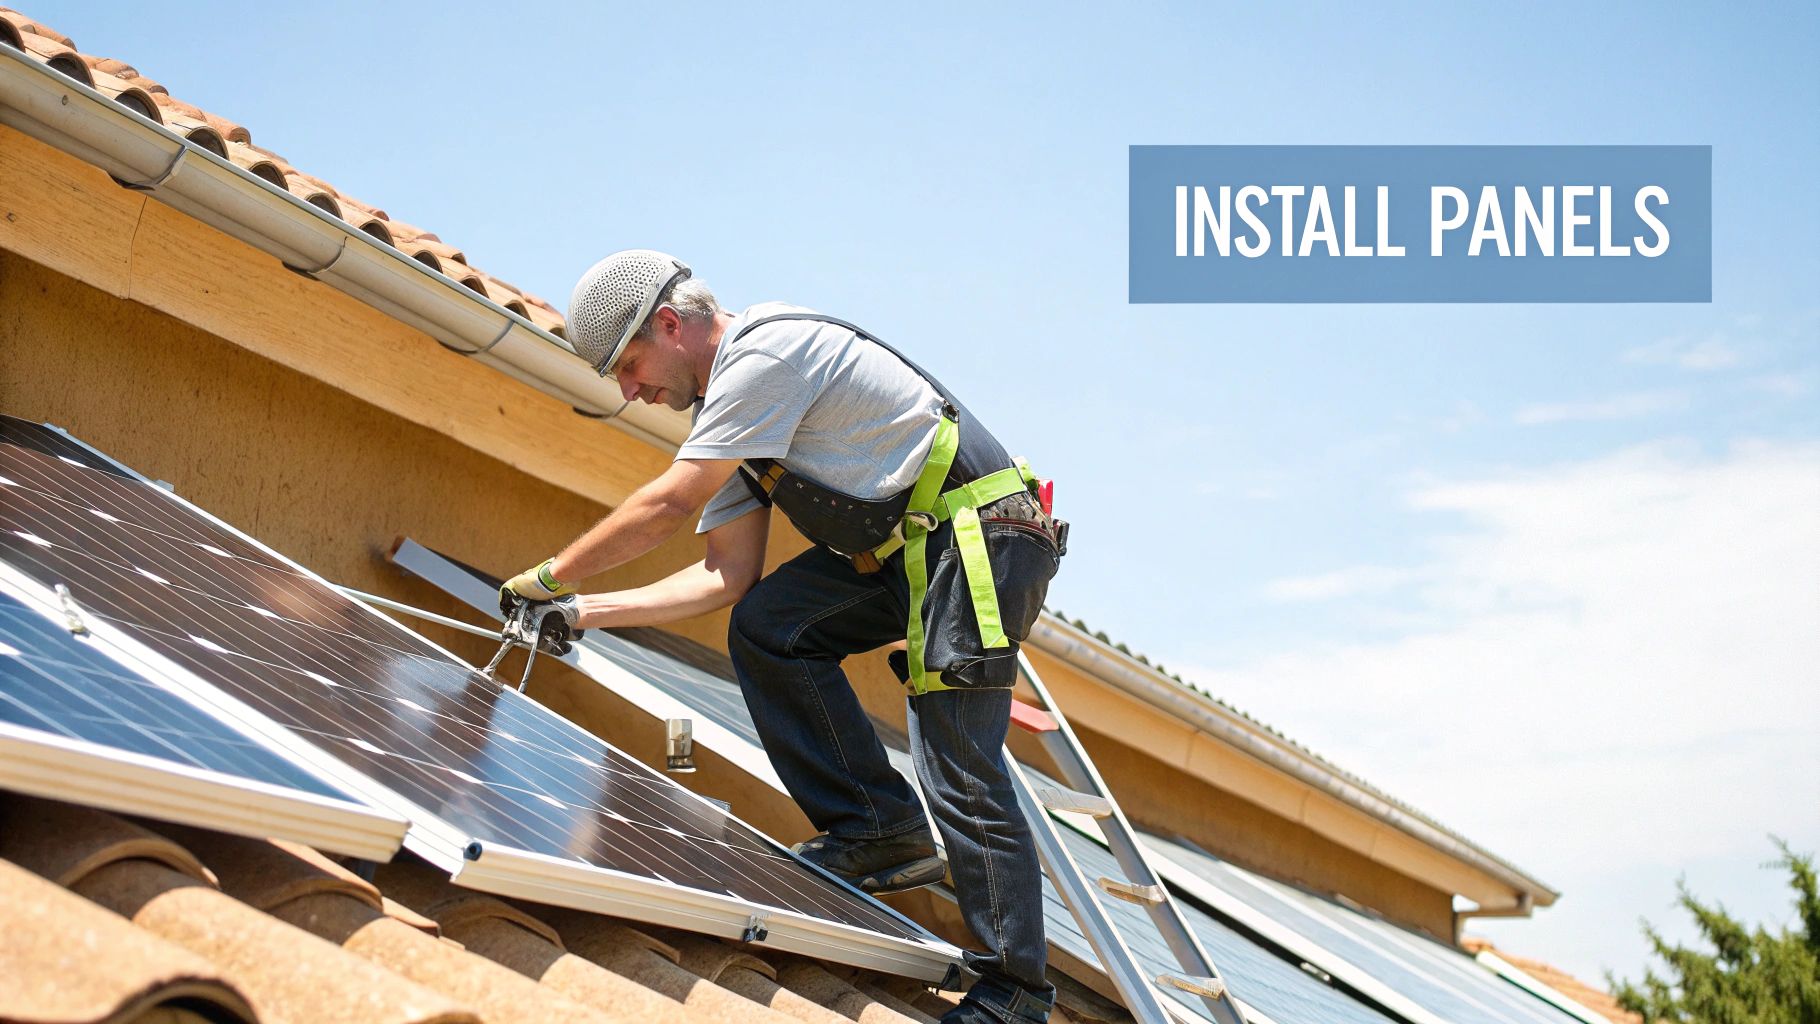
Setting the Panels and Wiring It All Up
Once the racking is solid, it's time for the main event: getting the panels on the roof. The crew carefully lifts each panel into place and secures it to the rails with specialized clamps. They work methodically to create that clean, uniform look you see on finished solar homes.
While the panels are being mounted, the electrical work begins. Panels are wired together in series, creating what we call "strings." These strings are then run to a junction box on the roof. This is where the direct current (DC) power from every panel is collected before making its way down to your inverter. All connections use weatherproof connectors to ensure the circuit is safe and built to last.
I can't stress this enough: safety is the number one priority. This means every installer wears fall protection, and we follow strict electrical codes for all wiring and grounding. A reputable company never, ever cuts corners on safety.
Of course, choosing the right equipment is a decision made long before the installation crew shows up. This visual breaks down a simple, three-part approach to selecting your system's main components.

As the infographic shows, the sweet spot is found by balancing your home's energy needs with panel efficiency and the overall cost per watt. This is how you design a system that gives you the best possible return on your investment.
Making the Final Connections
The last stage of the physical installation happens on the ground. The DC wiring is routed from the roof down the side of your house (usually inside a protective conduit) to where your inverter is mounted. The inverter is the real workhorse of the system, converting the DC power from the panels into the alternating current (AC) that your home's appliances use.
From there, the new solar circuit is wired into your main electrical panel through its own dedicated breaker. This final step is what allows the clean energy from your roof to flow directly into your home, immediately offsetting the power you'd normally pull from the grid. If you've opted for a battery, it's installed and connected during this phase as well.
Before they pack up, the crew will install your monitoring system. It connects to your home's Wi-Fi and lets you track your system's performance in real-time on your phone or computer. Seeing exactly how much power you're generating is, for many new solar owners, one of the most rewarding parts of the entire experience.
Flipping the Switch: The Final Steps to Going Live
The panels are on the roof, the wiring is run, and everything looks ready to go. It’s a huge moment, but we’re not quite at the finish line yet. Before you can start generating your own clean power, there are a couple of essential checks and approvals we have to clear.
Think of these last steps as the final quality control. They're non-negotiable and are in place to make sure your system is safe, up to code, and ready to work reliably for the next 25+ years.
Clearing the Final Inspection
First up is the final inspection from your local city or county building department. An inspector will come out to verify that every part of the installation meets both national and local electrical and building codes. This isn't just about ticking boxes; it's a serious safety review.
Your installation crew will be there to meet the inspector and walk them through the system. They'll be looking at everything with a fine-toothed comb.
Here are a few things they always check:
- Proper Grounding: Is the entire system properly grounded? This is critical for preventing electrical hazards.
- Secure Mounting: They’ll confirm that the racking is bolted securely into your roof's rafters, not just the decking.
- Correct Wiring: The inspector will check that all the connections are tight, using the right gauge wire and weatherproof fittings.
- Code-Compliant Signage: Are all the required safety labels and placards—like the rapid shutdown switch—in the right places?
A good installer builds everything to meet or exceed code from the very beginning. When it's done right, this inspection is usually a quick and smooth process.
Getting the Green Light from Your Utility
Once the city inspector signs off, we move on to the utility company. Your installer will package up the passed inspection report and all the other required paperwork and send it over to them. The utility does its own final review to ensure your system can be safely connected to their grid.
When they’re satisfied, they'll issue a formal Permission to Operate (PTO) letter. That PTO is the golden ticket. It’s the official go-ahead to turn your system on and start making power.
Whatever you do, don't flip the switch until you have that PTO letter. Turning the system on early can create major headaches with the utility, cause delays, and even pose a safety risk to line workers.
Getting the PTO can take anywhere from a few days to a few weeks after the inspection is passed, depending entirely on how quickly your local utility company moves.
To give you a better idea, here’s how the final leg of the journey usually plays out.
Post-Installation Activation Timeline
graph TD
    A[Final Inspection Passed] -->|~1-2 days| B(Installer Submits Paperwork to Utility);
    B -->|~1-4 weeks| C(Utility Issues Permission to Operate);
    C -->|Immediate| D(System Commissioning & Activation);
As you can see, it's a straightforward sequence. The utility’s approval is the final gate we have to pass through before your system officially comes to life.
Commissioning and Watching the Meter Spin Backward
With the PTO in hand, it’s time for the best part: commissioning the system. Your installation team will come back one last time to officially turn everything on. They’ll power up the inverter, double-check the voltage readings, and make sure every component is talking to each other correctly.
This is also when they’ll get your system's monitoring platform connected to your Wi-Fi. This is your personal window into your system's performance, usually through an app on your phone.
You’ll be able to:
- Track Real-Time Production: See exactly how much power your panels are cranking out at any given moment.
- Monitor Individual Panel Performance: If your system uses microinverters or optimizers, you can zoom in on the output of every single panel.
- View Historical Data: Look back at your energy production over days, weeks, and months to see your savings stack up.
The moment you see your home being powered by the sun on that app, the job is truly done. This is when your investment officially starts paying for itself, turning your home into your very own clean energy power plant.
Got Questions? We've Got Answers
It’s completely normal to have a few questions floating around even after you've seen the whole installation process. Going solar is a big decision, and you should feel confident about every part of it, especially how it will perform for years to come.
Let's walk through some of the most common questions we hear from homeowners right before they flip the switch. Getting these cleared up is the final step in feeling great about your move to clean energy.
How Much Upkeep Do Solar Panels Really Need?
This is one of the best parts—modern solar systems are incredibly low-maintenance. There are no moving parts, and the panels themselves are built like tanks to handle everything from scorching heat to heavy snow for decades.
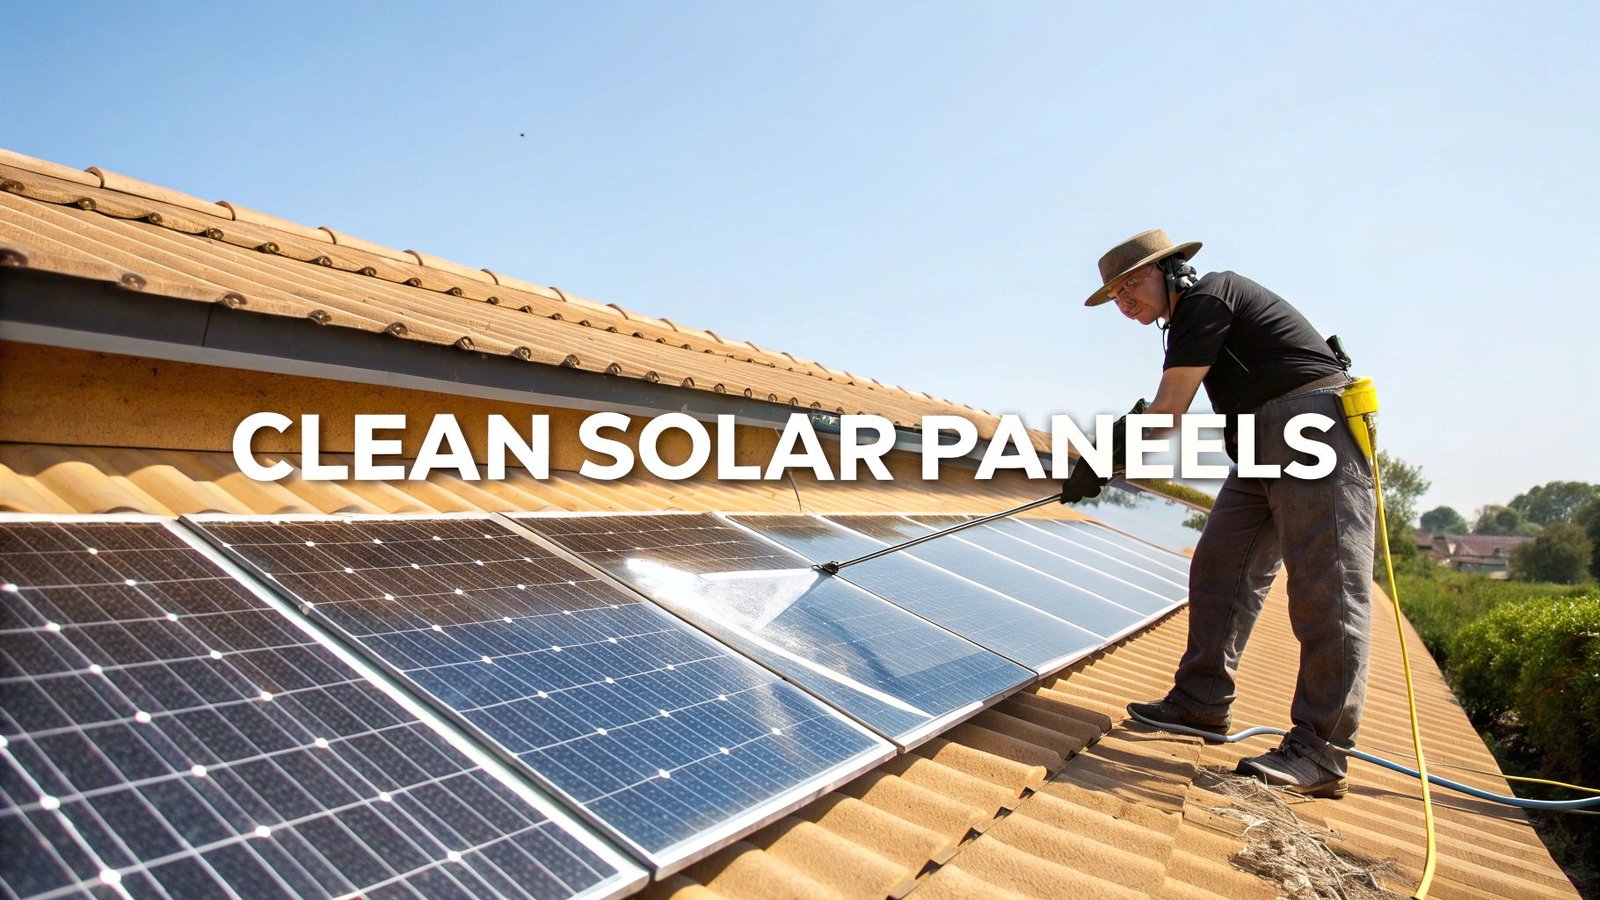
For the most part, you can let mother nature do the work. A good rainstorm is usually all it takes to wash off the dust and pollen that can build up. If you live somewhere especially dry or dusty, you might consider a professional cleaning every few years to keep everything running at peak efficiency, but it’s rarely a frequent chore.
Pro Tip: Keep an eye on your monitoring app. If you notice a sudden, sustained drop in energy production that isn't related to the weather, that's your cue to check if the panels need a quick cleaning.
What's the Real Lifespan of a Solar Panel System?
Think of your solar panel system as a long-term home investment, designed to churn out clean power for a very long time. The performance warranty on most top-tier panels is a solid 25 to 30 years.
But that doesn't mean they just switch off after year 25. The warranty is simply a guarantee that your panels will still produce a high percentage of their original power—typically around 80-90%. In reality, many systems keep generating plenty of usable electricity well beyond the 30-year mark.
Keep in mind that some components, like the inverter, have a shorter lifespan, usually around 10-15 years. It's a planned maintenance item, much like replacing a water heater, that you can expect over the life of your system.
How Will Solar Panels Affect My Home's Value?
This is a big one, and the news is good: adding a solar system you own almost always increases your home's value. Study after study has shown that homes with solar sell for a premium compared to similar homes without it.
Why? Because prospective buyers see it as a huge upgrade that slashes their future cost of living.
You're essentially offering a pre-paid energy plan for the house. The next owner gets lower utility bills from day one, which is a powerful selling point that can also help your home sell faster.
The key here is owning the system, whether you paid cash or used a solar loan. Leased systems can sometimes make a home sale more complicated, since the buyer has to qualify for and agree to take over the lease.
Do Solar Panels Still Work on Cloudy Days?
Yes, they absolutely do. This is a huge misconception. While peak production happens on bright, sunny days, your panels will still generate a significant amount of power when it's overcast.
Modern, high-efficiency panels are great at capturing the diffuse sunlight that gets through the clouds. Your output will be lower than on a perfect day, of course, but it won't drop to zero. Even on a really gloomy day, it's common for a system to produce 10-25% of its peak output, still chipping away at your energy consumption.
Ready to see what a solar installation could do for your home? The team at Radiant Energy specializes in designing and installing high-quality solar solutions built for lasting value and energy independence. Contact us today for a free consultation and see how much you can save.