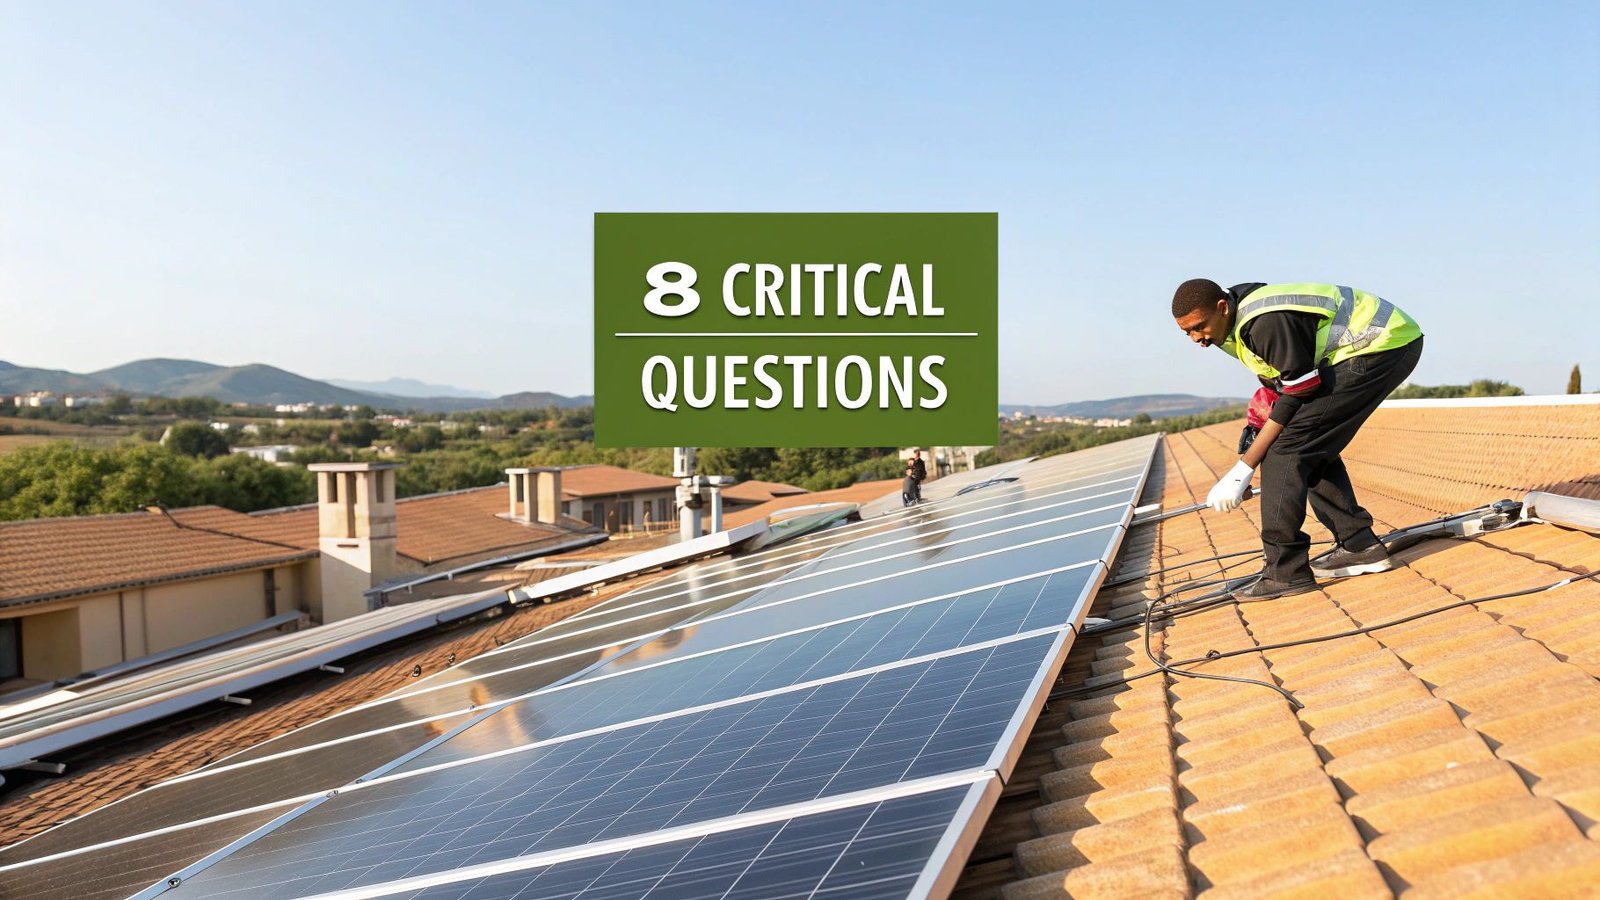
Thinking about going solar? The first, and most important, step in any solar panel installation guide has nothing to do with panels or inverters. It all starts with a simple question: is your home a good fit?
This initial check involves taking a hard look at your roof's condition, its angle, where it's facing, any potential shade from trees or chimneys, and, of course, how much electricity your family actually uses. Getting these details right from the very beginning is what separates a smart, cost-effective solar investment from a frustrating one.
Is Your Home a Good Candidate for Solar?
Before you even start thinking about equipment or getting quotes, you need to do a thorough home assessment. This isn't just about having a roof; it's about having the right kind of roof and a crystal-clear picture of your energy habits. If you skip this foundational work, you could end up with an underperforming system that never delivers the savings you were promised.
Let's break down exactly what you need to look at.

Evaluate Your Roof's Condition and Structure
Think of your roof as the foundation for your solar power plant. Since a solar panel system is built to last 25 years or more, you absolutely need the roof underneath it to be just as tough.
If your roof is already over 15 years old or is showing obvious signs of wear and tear, it's a much smarter move to replace it before installing panels. Tearing off a brand-new solar array to fix a leaky roof in a few years is an expensive and avoidable headache.
The material of your roof matters, too. Most common materials work just fine, but the installation methods can differ quite a bit:
- Asphalt Shingles: The most common roofing material and the most straightforward for a standard solar installation.
- Metal Roofs: These are fantastic for solar. Standing seam metal roofs, in particular, often allow installers to clamp the panels on without drilling a single hole.
- Tile Roofs: Clay or concrete tiles look great, but they require a bit more expertise. Installers need to use specialized mounting hardware to avoid cracking tiles and to ensure everything remains perfectly waterproof.
For a more detailed look at how different materials come into play, check out this guide on solar panel roof requirements to make sure you're good to go.
Find Your Solar Sweet Spot: Orientation and Pitch
The direction your roof faces and its angle (or pitch) have a massive impact on how much juice your panels can squeeze out of the sun. Here in the Northern Hemisphere, a south-facing roof is the undisputed champion, as it gets the most direct sunlight all day long.
But don't worry if your roof doesn't face due south. East- and west-facing roofs are still excellent candidates. An east-facing array will soak up the strong morning sun, while a west-facing one will be a powerhouse in the late afternoon. This can actually be a perfect match for your family's energy patterns—like when you're running the dishwasher in the morning or cranking the AC after work.
graph TD
    subgraph Roof Orientation and Solar Production
        A[South-Facing] -- "Excellent" --> P(Maximum All-Day Production)
        B[West-Facing] -- "Good" --> Q(Strong Afternoon Production)
        C[East-Facing] -- "Good" --> R(Strong Morning Production)
        D[North-Facing] -- "Poor" --> S(Minimal Direct Sunlight)
    end
    style P fill:#f9f,stroke:#333,stroke-width:2px
    style Q fill:#bbf,stroke:#333,stroke-width:2px
    style R fill:#bbf,stroke:#333,stroke-width:2px
    style S fill:#ff9,stroke:#333,stroke-width:2px
The ideal roof pitch usually falls somewhere between 30 and 45 degrees. If your roof is flatter, that's not a dealbreaker; installers can simply use angled mounts to tilt the panels for optimal production.
Analyze Your Energy Consumption
You can't design the right-sized system if you don't know how much electricity you use. The best way to figure this out is to grab your last 12 months of utility bills. This historical data gives you the real story of your average monthly and daily consumption, measured in kilowatt-hours (kWh).
Keep an eye out for seasonal spikes. Do you use a ton of power in the summer for air conditioning? This information is the blueprint for your solar designer. A system that's too small won't make a big enough dent in your bill. On the other hand, an oversized system can be a waste of money, especially if your local utility has less-than-generous net metering policies.
Spot and Plan for Shading Issues
Shade is the natural enemy of solar production. It’s a bigger deal than you might think—even a small shadow from a single tree branch or a chimney can dramatically slash a panel's output.
Thankfully, modern tech like microinverters helps a lot. They allow each panel to work independently, so a shadow on one doesn't drag the whole system down. Still, the best strategy is always to avoid shade in the first place.
Take a walk around your property at different times of the day and on different days to see how shadows from trees, vents, or even a neighbor's house move across your roof. A professional installer will take this a step further, using special tools to perform a detailed shade analysis that maps the sun's path for the entire year. This ensures every panel is placed right where it will be most productive.
Key Takeaway: A solid solar installation is built on a solid foundation. Before you ever look at a single piece of equipment, you have to nail the basics: your roof's health, its orientation, and any potential shading issues. Getting this right ensures your investment will be paying you back for decades to come.
Choosing the Right Solar Equipment for Your Home
Okay, your home has passed the initial assessment—now for the fun part: picking the hardware. This stage can feel a little overwhelming with all the tech talk, but it really comes down to matching the right gear to your home, your energy goals, and your budget.
Think of it this way: the solar panels are the engine, the inverter is the transmission, and the racking is the chassis holding it all together. Each piece is vital for getting peak performance out of your investment.

Comparing Solar Panel Technologies
Not all solar panels are the same. The technology you pick directly affects how much power your system produces, how much it costs, and even what it looks like from the street. For most homeowners, the choice comes down to three main types: monocrystalline, polycrystalline, and thin-film.
Monocrystalline panels are the premium option. Made from a single, pure silicon crystal, they deliver the highest efficiency rates out there. This means you get more power from a smaller area, making them perfect for homes where roof space is tight. Plus, their sleek, uniform black look is a big hit with homeowners who value aesthetics.
Polycrystalline panels are the budget-friendly workhorse. They’re made by melting multiple silicon fragments together, which is a less expensive process. The trade-off is slightly lower efficiency. You can usually spot them by their distinctive blue, speckled appearance. If you’ve got a big, open roof, these can be a fantastic way to save on upfront costs.
Making sense of these options is easier when you see them side-by-side.
Solar Panel Technology Comparison
This table breaks down the key differences between the most common panel types, helping you pinpoint the best fit for your home.
| Panel Type | Efficiency Range | Cost | Appearance | Best For |
|---|---|---|---|---|
| Monocrystalline | 18% – 24% | High | Uniform black cells | Homes with limited roof space seeking maximum power output. |
| Polycrystalline | 15% – 20% | Medium | Blue, speckled cells | Larger roofs where maximizing space isn't a top priority. |
| Thin-Film | 10% – 15% | Low | Flexible, thin sheets | Unique applications like RVs or curved roofs; less common for homes. |
While this gives you a great overview, choosing the right panel involves a lot more nuance. For a more detailed look, check out our guide on how to choose solar panels for your specific situation.
Understanding Inverters: The Brains of Your System
If panels are the heart of the system, the inverter is definitely the brain. Its critical job is to convert the Direct Current (DC) power your panels produce into the Alternating Current (AC) power that your home and all its appliances actually run on.
Your choice of inverter technology is especially important if your roof has any areas that get shaded during the day.
- String Inverters: These are the classic, tried-and-true option. They work by linking a series of panels (a "string") to one central inverter. They're reliable and cost-effective, but they have a significant weakness: if one panel’s output drops from a shadow or even a pile of leaves, the performance of the entire string suffers.
- Microinverters: This is the high-tech approach. A small, dedicated inverter is installed on the back of every single panel. This lets each panel operate independently, so a shadow on one doesn't drag the others down. They cost more, but for complex roofs or those with shading issues, they are hands-down the best choice.
- Power Optimizers: Think of this as a smart hybrid. Like microinverters, optimizers are attached to each panel to manage its output individually. But instead of converting the power right there, they send it to a central string inverter. You get panel-level optimization for a bit less than a full microinverter setup.
Your inverter choice will make or break your system's performance, especially on tricky roofs. Microinverters or optimizers are non-negotiable for maximizing your energy production if you have to deal with any shade.
Sizing Your System for Maximum Benefit
Figuring out the right system size is all about finding the sweet spot. You need to consider how much energy you use, how much usable roof space you have, and what you're trying to achieve financially. The goal is to generate enough power to slash your utility bill without overspending on a system that’s bigger than you need.
Start by digging out your old utility bills and calculating your average daily energy consumption in kilowatt-hours (kWh). Next, you’ll need to find your area's "peak sun hours," which is the daily average of quality sunlight your location gets. A quick search online for solar resources in your state will give you this number.
Here's a quick back-of-the-napkin formula to get you started:
(Average Daily kWh Usage / Peak Sun Hours) = Required System Size in kW
For instance, if your home uses 30 kWh a day and your area gets 5 peak sun hours, you'd be looking at a 6 kW system to cover 100% of your electricity needs (30 kWh / 5 hours = 6 kW).
This is a great starting point for a conversation with a solar professional, who will then fine-tune that estimate based on your roof's specific pitch, orientation, and panel efficiency.
Navigating Permits and Financial Incentives
The shiny new hardware is the fun part, but the paperwork is where you really start to see the savings pile up and ensure your project is done right. Diving into permits and financial incentives might feel a little overwhelming at first, but once you break it down, it's a completely manageable process. This part of the guide is all about handling the administrative side with confidence.
Before a single panel gets attached to your roof, you'll need the green light from your local authorities. This nearly always means securing both building and electrical permits. These aren't just bureaucratic hoops to jump through; they ensure your installation is safe, structurally sound, and compliant with all local codes, which protects your home, your family, and the utility grid.
And if you're part of a Homeowners Association (HOA), you’ll need their sign-off, too. While many states have laws that protect a homeowner's right to go solar, HOAs can still have rules about where panels can be placed or how they look. It’s always smart to get their approval early on to sidestep any potential headaches later.
Getting Your Permit Application Together
To get your permits, you'll need to submit a packet of documents to your local building department. A little organization here goes a long way in speeding up the whole process.
While your installer will almost certainly handle this for you, it's good to know what's going into that packet. Typically, they'll need to include:
- A Site Plan: This is basically a map of your property that shows the house, property lines, and exactly where the solar array will be located.
- A Roof Plan: This drawing details the specific layout of the panels on your roof, complete with dimensions and the attachment points.
- An Electrical Diagram: Also called a one-line diagram, this schematic shows how the panels, inverter, and other components connect to your home’s electrical system.
- Equipment Spec Sheets: These are the official datasheets from the manufacturer for your specific solar panels and inverter.
Getting your permits approved is a huge milestone. It’s the official go-ahead that confirms your project meets all the safety and structural standards your city or county requires.
Unlocking Major Financial Savings
This is where your investment really starts working for you. A whole range of incentives are out there that can drastically cut the net cost of your system.
The biggest one by far is the federal Residential Clean Energy Credit. This allows homeowners to deduct a massive 30% of the total system cost from their federal taxes. This isn't just a simple deduction; it’s a dollar-for-dollar credit, which makes it incredibly powerful. For a closer look at how these credits affect the final price tag, you can learn more about the overall solar panel system installation cost and see where the incentives fit in.
On top of the federal credit, state and local incentives can stack up for even more savings. These might be direct cash rebates, state-level tax credits, or performance-based incentives. What's available varies a ton depending on where you live, so checking your state’s energy office website is a must.
How Net Metering Pays You Back
Net metering is a billing program that gives you credit for the extra electricity your solar panels produce and send back to the grid. The easiest way to think about it is your utility meter spinning backward. When your system is generating more power than your home is using, that surplus energy flows out to your neighbors.
Your utility company keeps track of all the energy you export and gives you credits on your bill. You can then use those credits at night or on cloudy days when your panels aren't producing. For most homeowners, this program is the key to making solar financially attractive, as it lets you "store" the value of your excess solar energy on the grid.
Here’s a quick look at how these incentives can slash your final cost on a typical system.
| Incentive Type | Average Impact on Cost | Notes |
|---|---|---|
| Federal Tax Credit | -30% | A direct credit you can claim on your federal income taxes. |
| State Rebates | Varies ($500 – $5,000+) | Often a one-time check you receive after the installation is complete. Highly location-dependent. |
| Net Metering | Ongoing Bill Savings | Reduces or even eliminates your monthly electricity bill over the life of the system. |
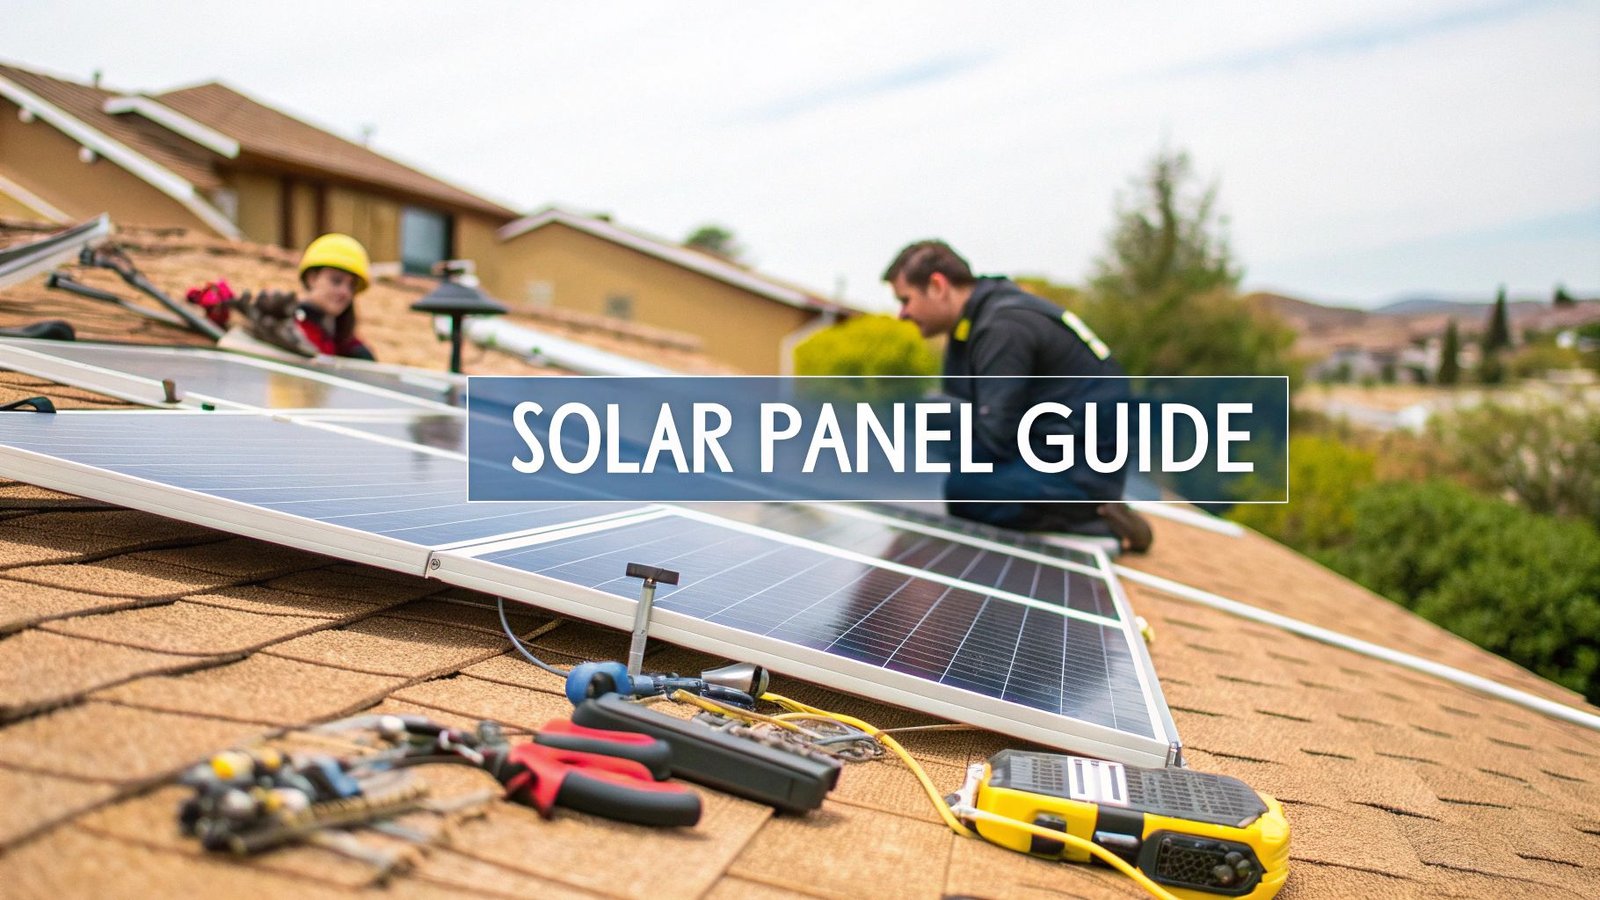
Getting Hands-On: A Look at the Physical Installation
So, the permits are in hand and the equipment is stacked up, ready to go. This is where the blueprints and planning become a real, power-generating asset on your roof. Whether you're a serious DIYer ready to tackle the project or just want to know what to expect from your installation crew, let's walk through how it all comes together.
The buzz around solar is more than just hype; it's a full-blown energy revolution happening on rooftops worldwide. The growth has been staggering. In just the first half of one recent year, a massive 380 gigawatts (GW) of new solar capacity came online globally. That's a 64% jump from the 232 GW installed during the same period the year before. This incredible momentum, detailed in reports like this one on global solar installation trends from utilitydive.com, means more people than ever are going through this exact process.
Having a clear picture of what's involved is the best way to ensure everything goes smoothly.
Safety First: The Non-Negotiables
Before a single tool comes out of the truck, the focus has to be on safety. Let's be clear: working on a roof with heavy equipment and high-voltage electricity isn't a casual weekend project. There are no shortcuts.
Every professional crew adheres to a strict safety protocol, and you should too.
- Fall Protection: This is rule number one. Anyone on the roof needs a properly secured safety harness, ropes, and solid anchor points. It's an absolute must.
- Ladder Safety: The ladder needs to be on firm, level ground. Critically, it should extend at least three feet above the roofline to give you something stable to hold onto when getting on and off.
- Electrical Precautions: All relevant circuits in your main electrical panel must be switched off before any wiring begins. Pros use lockout/tagout procedures to make absolutely sure the power can't be accidentally turned back on.
A Pro's Perspective: I've seen it time and again—the most seasoned installers are the most meticulous about safety. They don't rush these checks because they know from experience that a safe job site is an efficient one.
Building the Foundation: Securing the Racking
The racking system is the skeleton of your solar array. It has to be rock-solid, period. This whole process starts with finding the roof rafters—the structural beams that will carry the entire load. Installers use a combination of stud finders and sometimes even drill small pilot holes from inside the attic to be 100% certain of their locations.
Once the rafters are mapped out, it’s time to install the mounting feet. This is a make-or-break moment for waterproofing. Each penetration point gets a generous application of high-quality roof sealant. Then, it's covered with flashing, which is a metal plate that slides under the shingles to channel water away from the hole. This dual-layer defense is what keeps your roof leak-free for the next 25+ years.
With the mounts firmly in place, long aluminum rails are bolted to them. This creates the sturdy grid where the solar panels will live.
Mounting and Wiring the Panels
The rails are ready, so it's time to get the panels up on the roof. This step is all about precision and careful handling. Installers use specialized mid-clamps and end-clamps to fasten the panels to the rails, making sure every bolt is torqued to the manufacturer’s exact specifications.
As each panel goes up, it gets wired into the array. How this is done depends entirely on your system design.
- For a string inverter system, panels are connected in series, like old-school Christmas lights, to build up voltage.
- With microinverters, each panel has its own little inverter on the back and is wired individually.
The wiring itself uses industry-standard MC4 connectors. These are weatherproof and designed to simply click together, forming a secure and watertight seal. Every single connection is a potential point of failure down the road, so methodical, careful work here is crucial for the system's long-term health.
The Electrical Heart: Connecting It All
The final piece of the puzzle is the electrical work—connecting the power from the roof to your home. For nearly all DIYers, this is where you call in a licensed electrician. In most places, it’s not just a good idea; it’s the law.
The inverter, which is the brain of the whole operation, is usually mounted on an exterior wall near your main electrical panel or tucked away in the garage. From there, the electrician runs the DC wiring from the rooftop array down through tough, weather-resistant conduit.
When handling the final hookup, a solid grasp of fundamental electrical safety principles, especially how connectors and circuits work, is non-negotiable. The electrician will install a new circuit breaker in your main service panel just for the solar system. This is the final link in the chain that lets clean energy flow into your home, spinning your meter backward. Before flipping the switch, every connection is double-checked and tested, getting the system ready for its final inspection and official activation.
System Activation, Inspection, and Long-Term Care
The last panel is secured, and the final wire is connected. It’s a huge milestone, but you're not quite at the finish line yet. Before you can start reaping the benefits of clean, self-generated power, your system needs to pass a critical final phase: commissioning, inspection, and activation. This is where we ensure everything is safe, up to code, and ready for decades of reliable performance.
The first step after the physical install is called commissioning. Think of it as a comprehensive systems check. Your installer will go through every component, from individual panel connections to the inverter's output, to verify it's all operating exactly as designed. This is the professional's final sign-off before the official inspectors arrive.
This infographic breaks down the core phases of the installation, showing how proper wiring and mounting are the foundation for a successful activation.
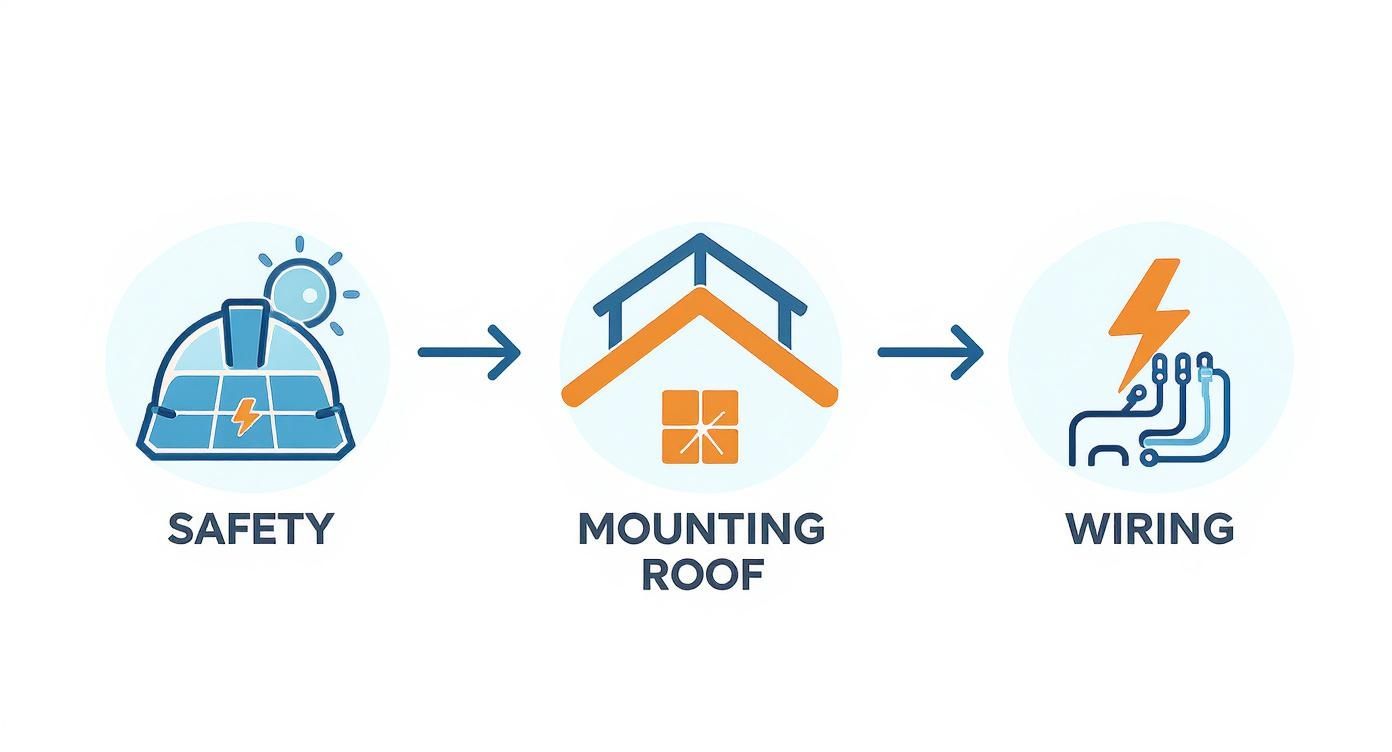
As you can see, getting the physical setup right is non-negotiable. It's what allows for a smooth transition to the final inspection and ensures the long-term health of your entire system.
Final Inspections and Getting the Green Light
Once your installer gives their internal thumbs-up, it’s time for the official inspections. First, your local building department will send out an inspector. They'll be checking to make sure the work meets all local building and electrical codes—a crucial safety and compliance step.
After you've passed that, your utility company conducts its own review before granting Permission to Operate (PTO). This is the final piece of paper you need to legally flip the switch and connect to the grid.
Getting that PTO from the utility is the moment of truth. It's the official go-ahead that transforms your home into your very own power station, allowing you to finally start generating clean energy.
A Simple Maintenance Plan for a Long Lifespan
Solar systems are built tough and designed for a 25-year-plus lifespan, but a little proactive care goes a long way in keeping it running at peak efficiency. The good news? It's pretty straightforward.
- Keep an Eye on Production: Your system's monitoring software is your best friend. Check in on your daily and monthly energy production to quickly spot any performance dips that might hint at a problem.
- An Occasional Rinse: For most people, regular rainfall does a fine job of keeping panels clean. If you're in a particularly dusty or dry climate with little rain, a gentle cleaning with a soft brush and water once or twice a year can give your production a nice boost.
- Quick Visual Checks: A few times a year, just do a quick scan from the ground. You're looking for any obvious debris like leaves, fallen branches, or anything else that might be blocking the sun.
For a more detailed look, especially on larger or hard-to-reach systems, using a solar panel inspection drone can help identify subtle issues before they become major problems.
This kind of proactive care is more important than ever. The global appetite for solar is booming, with cumulative solar PV capacity recently soaring past 2.2 terawatts (TW), a massive leap from 1.6 TW just the year before. This incredible growth is fueled by falling module prices, making solar an increasingly smart investment for homeowners around the world.
Common Solar Installation Questions Answered
Even after mapping out the entire process, it's completely normal to have a few questions rattling around. Let's tackle some of the most common things homeowners ask when they're on the home stretch of deciding to go solar.
Installation Timelines and DIY Considerations
One of the first things people want to know is how long it all takes. The actual on-the-roof work is surprisingly fast, usually wrapping up in just 1 to 3 days. But the full journey, from the day you sign the dotted line to getting that official "Permission to Operate" (PTO) from your utility company, is a different story. You should realistically expect the entire process to take about 2 to 3 months, which covers all the crucial behind-the-scenes work like design, permitting, and inspections.
gantt
    title Solar Project Timeline
    dateFormat  YYYY-MM-DD
    section Pre-Installation
    Contract Signed       :2024-01-01, 1d
    Site Survey & Design  :after Contract Signed, 14d
    Permitting Submission :after Site Survey & Design, 2d
    Permit Approval       :after Permitting Submission, 30d
    section Installation
    Physical Install      :after Permit Approval, 3d
    section Activation
    Local Inspection      :after Physical Install, 7d
    Utility Review & PTO  :after Local Inspection, 21d
Then there's the big question: "Can I just do this myself?" A DIY solar installation isn't impossible, but it’s a serious undertaking. If you have extensive experience in both roofing and electrical work, you might be able to handle it. Remember, you're dealing with high-voltage equipment while working at heights. Plus, when it comes time to connect to the grid, you'll almost certainly need a licensed electrician to make the final hookup safely and legally.
Performance in Different Weather Conditions
It makes sense to worry about how your investment will hold up when the weather turns. What happens if snow piles up or a layer of dust settles on the panels? Both can definitely reduce your energy output for a bit. The good news is that most panels are installed at an angle, so a good rainstorm usually washes away the grime, and light snow often slides right off as it melts.
If you get a heavy buildup, you can gently clean the panels yourself, but honestly, it's often safer to just let nature take its course. It's surprisingly easy to accidentally scratch or damage a panel.
Expert Tip: A standard grid-tied solar system automatically shuts down during a power outage. This is a critical safety measure to protect utility workers from live wires. If you need backup power for blackouts, you absolutely have to pair your system with a solar battery.
Your Role in the Bigger Picture
It can be motivating to see where your project fits into the global energy shift. While solar installations are booming worldwide, the pace of adoption varies wildly from place to place. For instance, in the first half of a recent year, the U.S. added a respectable 21 GW of solar capacity. However, that was only a 4% increase from the year before—a much slower growth rate than the global average.
This data, which you can dig into deeper by exploring these global solar power trends on globalenergymonitor.org, shows just how much room there is for growth. By choosing to go solar, you're not just saving on your bills; you're joining a massive, worldwide movement toward a more sustainable and independent energy future.
Ready to take the next step in your own solar journey? The team at Radiant Energy is here to provide a custom solar solution designed for your home's unique needs, ensuring you get the most out of your investment. https://radiantenergysolar.com